82 Naked Resto

Classic Goldwings

Help Support Classic Goldwings:

This site may earn a commission from merchant affiliate links, including eBay, Amazon, and others.

Earl43P

Active member
Joined
Nov 26, 2011
Messages
27
Reaction score
0
Location
Elizabeth City, NC
Thanks for the warm welcome, back in my intro thread. viewtopic.php?f=6&t=3007

Made quite a bit of progress, far too much to list.

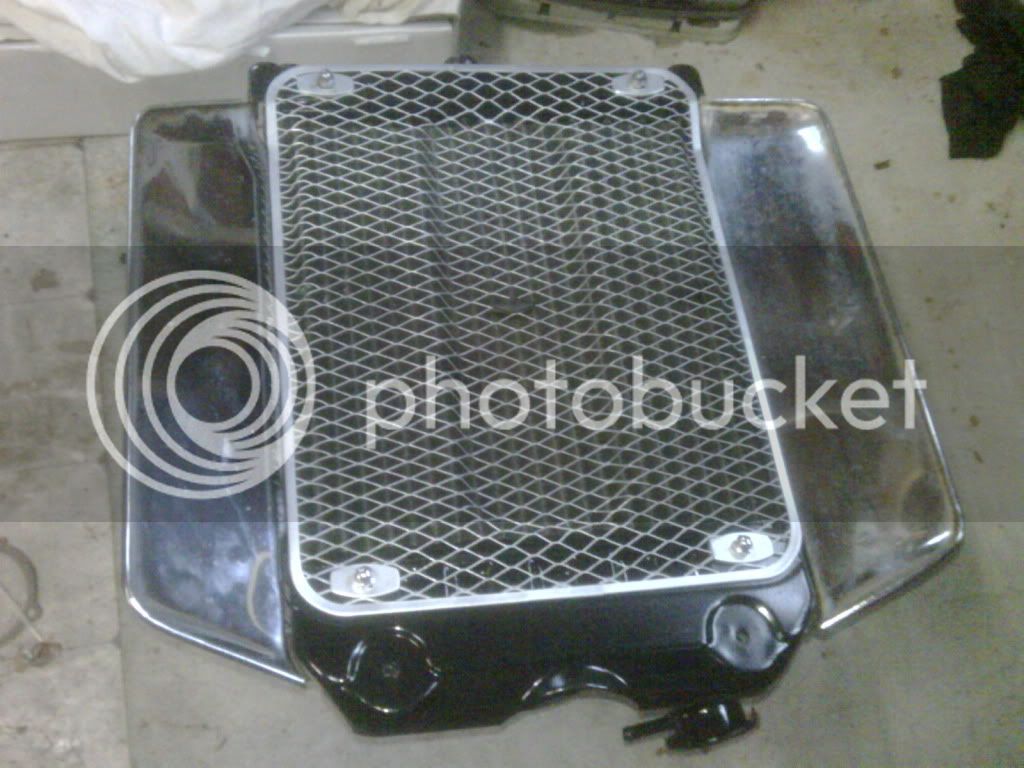
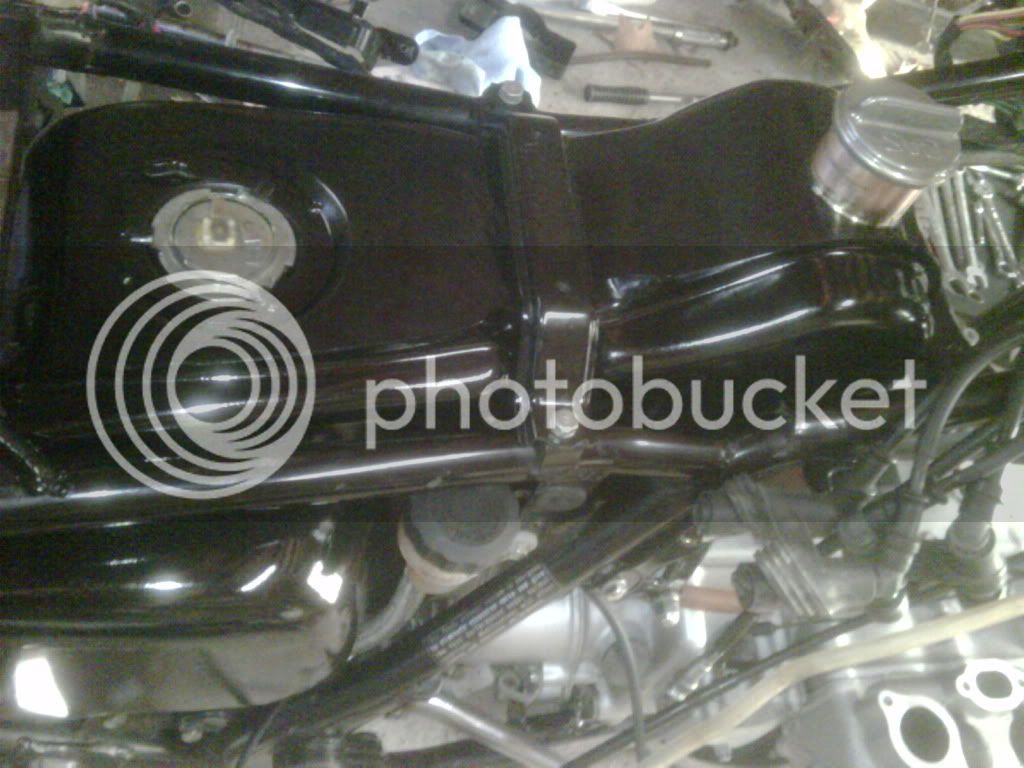
I'll throw this one up first, since I got the tip about Randakk's pages from here and got the tank tip from there. Elizabeth Radiator did a super job on the interior of this tank for me. Thanks, Joe!

IMG00071-20120201-1229.jpg
 
I saved this radiator assembly for late in the game, knowing it gets installed last.
Even painted the heat shroud, though not pictured. I'll take one of it once I reinstall the carbs.
Aron went through the carbs for me and I am waiting for bowl gaskets to arrive so they can go on.

IMG00072-20120205-1255.jpg


I am pretty certain my water pump was the culprit, making the oil into milkshake.
New one should come in with the bowl gaskets, hoping by tomorrow.
 
I used some wheel paint to cover the rock guard, after wrestling the rust off with a wire wheel.
Looks good from my house....


IMG00073-20120205-1256.jpg
 
Long story short, I've got the heads on and torqued, valve covers buffed and clear-coated/installed (new seals, everywhere).
Tank is back in, back tire, inner/outer rear fender installed, tail light buffed and polished, reinstalled. Rear air shocks buffed up and reinstalled.
Wire harnesses cleaned and properly routed and secured, battery case wheeled and repainted, reinstalled.
Cables and hoses all cleaned, fittings buffed up, cables lubed, miscellaneous hardware buffed up. You should see how nice the original radiator hose clamps and spring-guards cleaned up (painted too). I should have redone the intake tube clamps like that, but they had no rust.

Gauge cluster top lens was absolutely brown, removed that and fashioned a Lexan cover, needs final trimming and bonded on with a bead of silicone. I'll try to remember to take a photo of that gem, after I repaint the plastic housing, which I patched up with 2 part epoxy and fiber.

The major work remaining is cleaning off the remaining gasket from the case for the front sump (WP housing) and install all that with the new WP.
I've put that off, saving my back for a one day laying on the floor onslaught.
 
Thanks for the comments!

Another weekend spent working on Black Betty, as my wife called it this afternoon, complete with a couple verses.

Finished up the front sump and new water pump installation.
Did a bunch of odds and ends and by 1:30 this afternoon decided to add fluids and make noise.
First start was relatively uneventful except for a carb fuel leak, which I have a resident expert for.

Here's my big question.
I just finished a semi-overhaul because it had coolant mixed in with the oil (bought it that way, was not running).
I filled the crankcase with kerosene and motored the engine over with the plugs out so the kero would clear out all the old milkshake oil. I cranked it for about 20 seconds, 4 times. Drained the kero and it was milky, but nothing like the oil that I previously removed. So I added new oil and drove it (first time, whooohooo). Revs great, lots of power, and the smoke cleared out after about a minute of riding. I drove it about a mile and a 1/2 total. Idles great, restarts easily.

The new oil is milky!

I was meticulous about the head gaskets (no evidence that the old ones were bad either), and scrupulously anal about the waterpump, its seals, and the front sump installation. I was absolutely convinced the front sump was where the mixing had to be coming from. I put the o-rings on the dowels that needed them and the o-rings that needed placed in their bore before the sump went up were held in with a very light film of gasket sealer type 2 (non-hardening) on the case side bore.

So, where ELSE could the coolant mix with the oil?

Or, (crossing fingers) does enough residual oil remained un-drained that could make this new oil look milky?
I know it doesn't take much water to make oil cloudy, but that's why I ran the kerosene through it!

Somebody give me some good news.......
 
Do not be discouraged! When you drain the oil, you do not get it all out! There is about 18 or more oz left in the trans and other areas that do not drain.

If you want to get it all out, fill it again with 2 quarts of 10w40. Run the engine for about 2 minutes. Drain the oil from the plug and empty the filter. (remove the filter for this next step). Put the filter housing back on and drain plug back in. Start the engine and run for 20 seconds. Shutdown and drain the rest of the oil!
 
Or just run it up to operating temperature and let the water evaporate. A little condensation can cause it to get milky.
 
Well, that's encouraging!

It definately got up to operating temperature, although I have serious doubt about the accuracy of either the fan switch or coolant temp sender. Once I stopped and let it idle, the fan cycled on. Temp gage was just at the first tic mark, not even into the "normal" range yet.

I can't actually street it until I get plates/insurance. But my neighbors know I have a new toy.


I'll run it some more with the milky oil, then drain it. I'll sacrifice 2 quarts, run it, drain it and refill.

Keep your fingers crossed for me!
 
dan filipi":2icijpr7 said:
Really? Run it for 2 minutes without oil in it?

I know there's oil left in it but is there enough to get oil pressure?
It is not actually 2 quarts only...it includes the residual oil in the trans and galleries. When I did this with the '83 engine, i ended up with just about 3 quarts of oil in the end. The point of only adding 2 quarts is that brings it up to the low mark on the reservoir (with the residual oil) so no danger of smoking the engine for 2 minutes. But to push through the milky oil, there has to be enough to get oil pressure and circulate continuously, then drain.
 
just run it and keep changing the oil till it either proves its going away or that there still a problem ...thats what id do ...but you have to moniter it closely .....and the oil level and coolant level too is the coolant clean ....you have done so much ...this is not the time to throw in the towel ....if it is a head gaskit thats not that bad ...im thinking it not but that remains to be determin....if you had a way to pressure test the coolant system it would go a long way to figuring it out.....it could be that the head gaskits are fine and the head itself is cracked it dont happen often but we had a 1200 on here that had a cracked head that realy took some time to figure out....just stay with it it will get figure out ...theres just not that much that can go wrong for this to be hidden long
 
I'm not too awfully worried about it yet, now that I know how much residual oil gets trapped. Thank you all for that.
I was planning on an oil change anyway, since the kerosene had to dilute it somewhat.

Today's bad news was twofold.
The petcock seals are leaking.....so much for the pretty paint job on the tank.

I also figured out why it was so difficult to roll it; both front calipers were not releasing.
Pulled them off thinking I could push each piston out 1/4" and clean them up, but all 4 are too far gone.
Deep pits and it looks like some goober grabbed them with visegrips (wasn't me!).

Small setbacks, but that's why it was planned as a winter "project".

I am heartened by the opinions on the milky oil though! Thanks for all the comments.

FYI, I did put new head gaskets on there and examined the heads and case with a 10X loup, and found no cracks.
Doesn't mean the "jugs" couldn't be cracked inside the case, but unlikely.
I'm still convinced the water pump was the source of the milkshake oil, simply based on the amount of corrosion on its shaft, right forward of that pressed in seal excluding the oil pump. I replaced that seal as well (all seals on the front sump are new). The water pump also had a very notchy forward bearing (yes, I tore that thing down to Parade Rest). Whoever said that rebuilding the water pump is not DIY was correct. Snapring #2 is pretty tough to get at, plus that spring-loaded seal assembly is a bear.

The good news is I rode it aroung the neighborhood again after work today and my work partner stopped by to get some solder and pumped me all up with how well it runs and looks so far. Encouraging words are always welcome.

I'll try to remember to take some decent pictures of my fire hazard sitting outside in good light!
 

Latest posts

Top