wedoo2
Well-known member
I wanted to record a stator change on my 82 1100. I decided to change the stock stator instead of doing a poor by conversion for reasons stated elsewhere. I'm going to take pictures of the progress as I go along. Could be kind of slow as I have been sick this week and I only have so much energy right now.
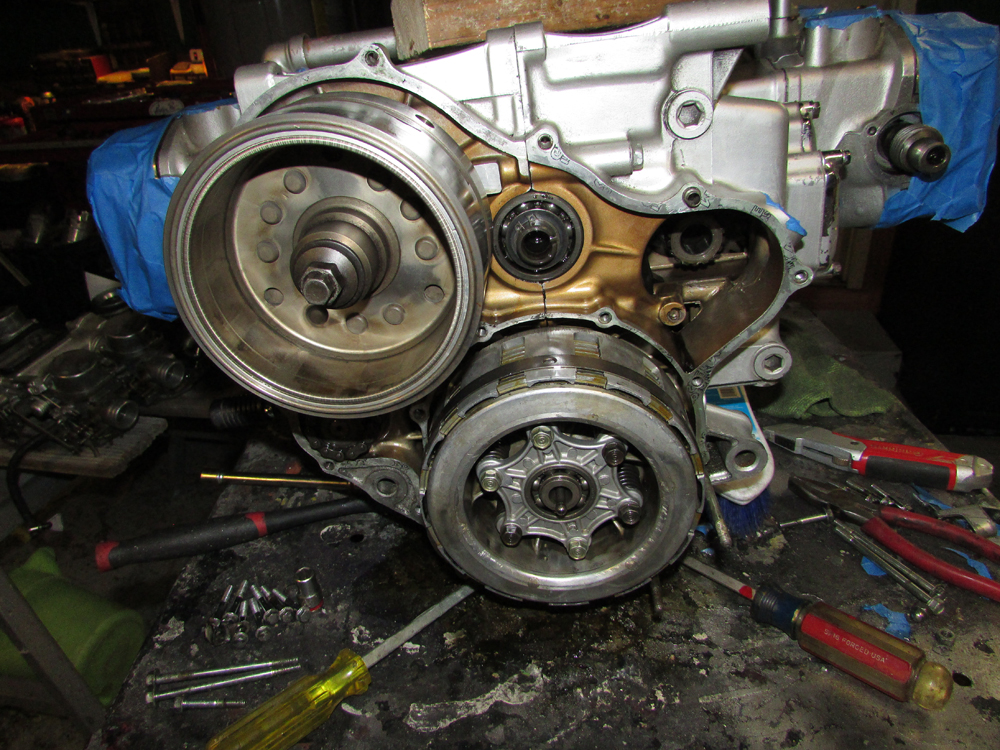
Replacing the stator in an 82 1100 requires that the motor be removed as it is located rear of the transmission and cannot be accessed unless the motor is either out altogether, or at least turned sideways enough to get to it. And that would be stupid.
I will try to put bolts and nuts back into where they came from as I go, or bag and tag them. Easiest way to make sure you have the right fasteners and not a bunch of extra parts. Ahem. I also will detail anything that is usually not accessible like the frame and I will be painting the motor while it is out.
So let the fun begin. Need to take all the top stuff off first. I had to loosen the right saddle bag to get to the seat bolt. The saddle bag is fastened with four 10mm bolts, two on the inside and two on the bottom. I found that they stay on fine with the two inside bolts secured.

This is just to get to the seat bolt. It is an allen head and very long. I use the air wrench.

Off with the seat.

In order to get the false tank off (and about a million other things) the lower fairings on both sides need to be removed. There are, usually, three phillips head screws holding them on. Pretty easy stuff so far. I had a couple of 10mm bolts holding mine on.

Once the lowers are off you can access a 10mm bolt under the false tank on both sides. They are hidden up there.

Once removed, take the false tank off.

I'm ready to take the engine guards off but, of course, the exhaust needs to come off first as the guards are wedged in between two of the downtubes. The pipes are attached in a couple of places. There is a crossover tube between the two exhaust pipes and are attached with a holder underneath by two 12mm bolts. There are bolts on each side to attach the pipes to the frame.
There are four studs underneath the cam covers that hold the pipes in place. The exhaust pipes are held in place on each stud by a 12mm nut.

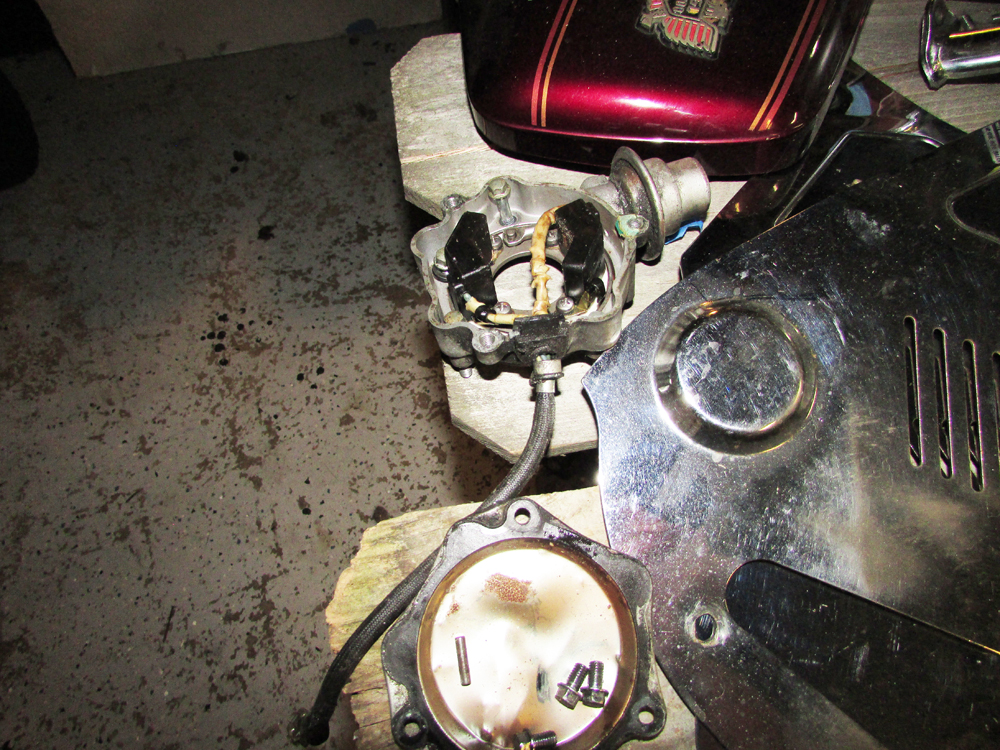
There are copper rings in each hole in the exhaust and you will not want to loose them. I've been told by some people to change them, some say no. I probably won't change them since I don't have an exhaust leak. Actually, not the hardest thing to change anyway.
No more exhaust.

Long post, i'm tired.
Replacing the stator in an 82 1100 requires that the motor be removed as it is located rear of the transmission and cannot be accessed unless the motor is either out altogether, or at least turned sideways enough to get to it. And that would be stupid.
I will try to put bolts and nuts back into where they came from as I go, or bag and tag them. Easiest way to make sure you have the right fasteners and not a bunch of extra parts. Ahem. I also will detail anything that is usually not accessible like the frame and I will be painting the motor while it is out.
So let the fun begin. Need to take all the top stuff off first. I had to loosen the right saddle bag to get to the seat bolt. The saddle bag is fastened with four 10mm bolts, two on the inside and two on the bottom. I found that they stay on fine with the two inside bolts secured.
This is just to get to the seat bolt. It is an allen head and very long. I use the air wrench.
Off with the seat.
In order to get the false tank off (and about a million other things) the lower fairings on both sides need to be removed. There are, usually, three phillips head screws holding them on. Pretty easy stuff so far. I had a couple of 10mm bolts holding mine on.
Once the lowers are off you can access a 10mm bolt under the false tank on both sides. They are hidden up there.
Once removed, take the false tank off.
I'm ready to take the engine guards off but, of course, the exhaust needs to come off first as the guards are wedged in between two of the downtubes. The pipes are attached in a couple of places. There is a crossover tube between the two exhaust pipes and are attached with a holder underneath by two 12mm bolts. There are bolts on each side to attach the pipes to the frame.
There are four studs underneath the cam covers that hold the pipes in place. The exhaust pipes are held in place on each stud by a 12mm nut.
There are copper rings in each hole in the exhaust and you will not want to loose them. I've been told by some people to change them, some say no. I probably won't change them since I don't have an exhaust leak. Actually, not the hardest thing to change anyway.
No more exhaust.
Long post, i'm tired.


 opcorn: