


[url=https://classicgoldwings.com/forum/viewtopic.php?p=200654#p200654:3otea38q said:brianinpa » Yesterday, 9:48 am[/url]":3otea38q]
[url=https://classicgoldwings.com/forum/viewtopic.php?p=200605#p200605:3otea38q said:wedoo2 » Wed Feb 21, 2018 8:46 am[/url]":3otea38q]
A while back I put blue LEDs in the dash and I love they way they look, and the way they work, both night and day.
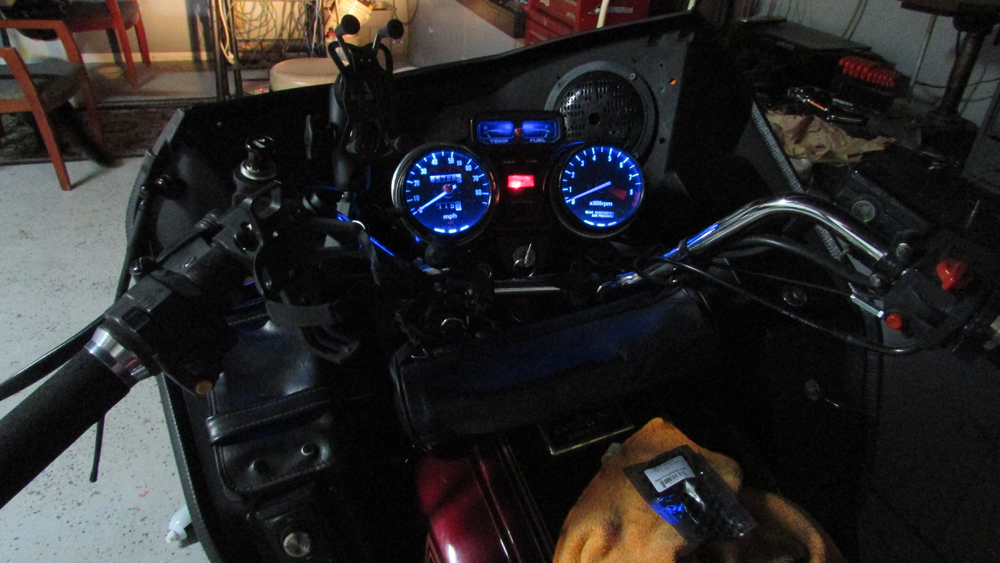
But they were creating a big blue glare on the windshield. Looked like a couple of blue boobs and impossible to ignore. I put on some metal sheets below the hood to extend it out and the glare is gone.

Need to find some molding material to edge the metal since it is pretty sharp.
That looks good. I might have to try that on the 87 to match the accent lights I have underneath it.
Hi Brian what part number for the led bulbs did you use! I like how it looks and want to upgrade also.
Thanks in advanced for the info!
Ben


