


thesteve
Active member
After picking up an 83 GL1100 as a project, I soon discovered that the carbs were both gummed up and leaky. Cleaning the carbs didn't faze me, but upon reassembly I found
they leaked from nearly every gasket and something was wrong with the accelerator pump. Rebuild kits looked to be nearly $200 for some rubber pieces, so I decided to convert
the bike to EFI. This will be the third bike I've completed this conversion on; the first was a 1992 Suzuki Katana and the second was a 1997 Suzuki GSXR.
Let's begin.
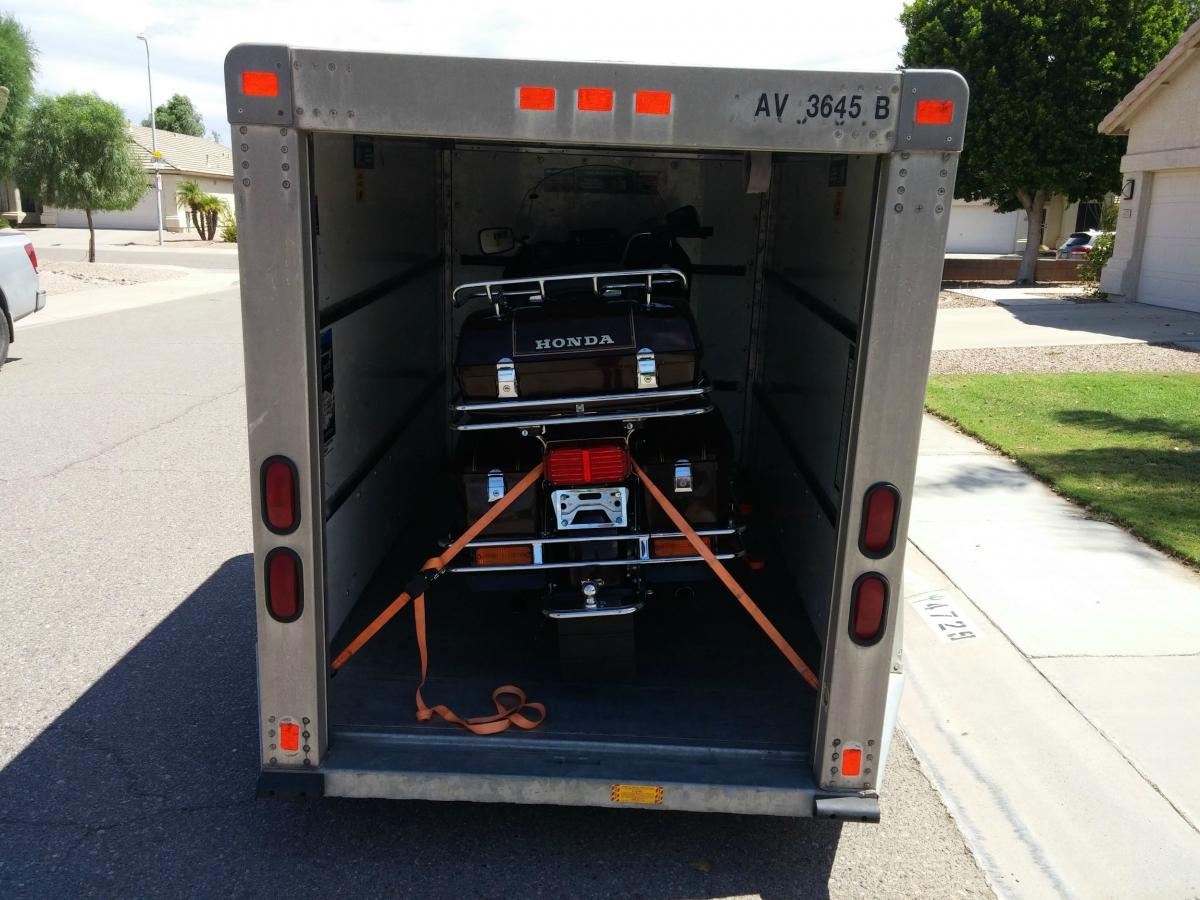
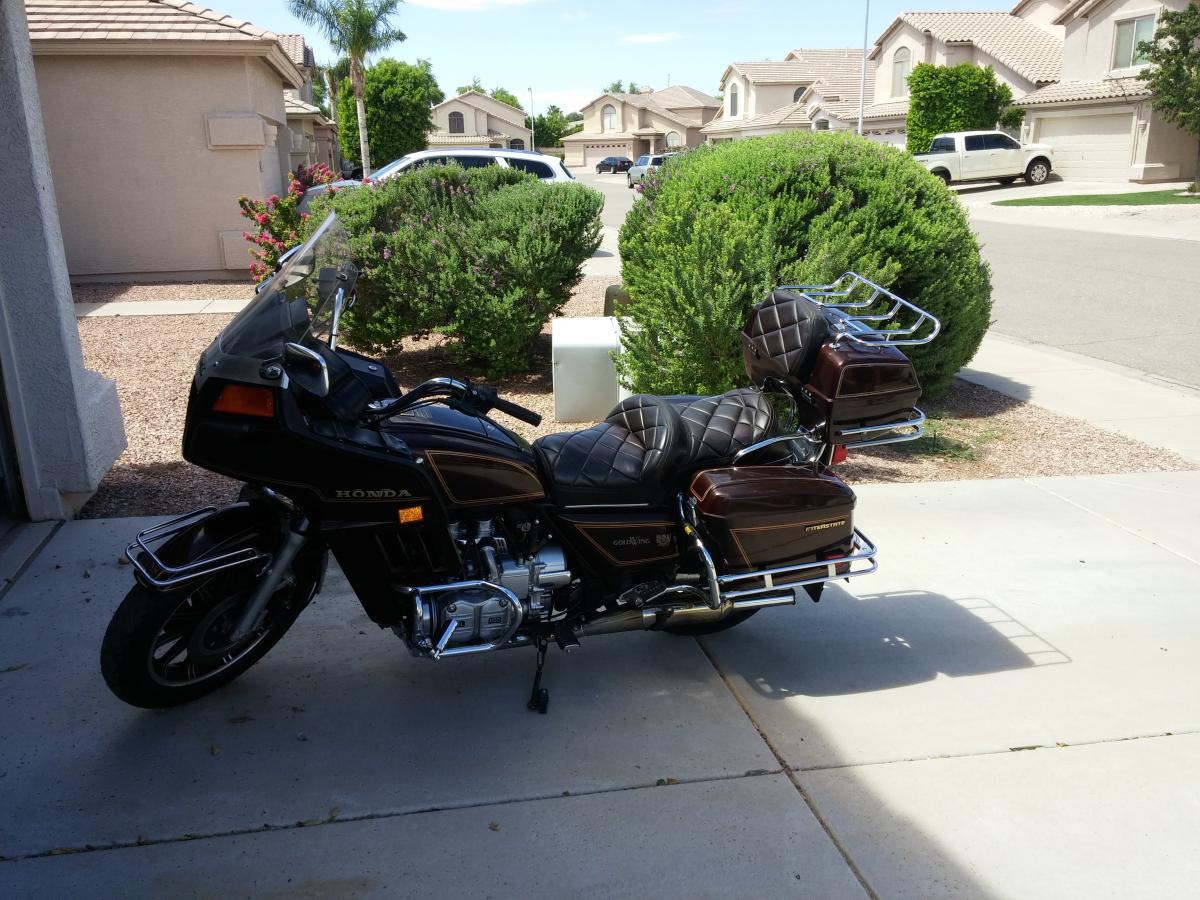
Here's the new toy:
The previous owner said the carbs were just cleaned and had a receipt showing it was done earlier that month. The shop completely took him for a ride, and after the carbs
were "cleaned" and $1000 worth of work completed that didn't fix anything, the shop said he needed a pulse generator which they couldn't get. Basically saying "we can't
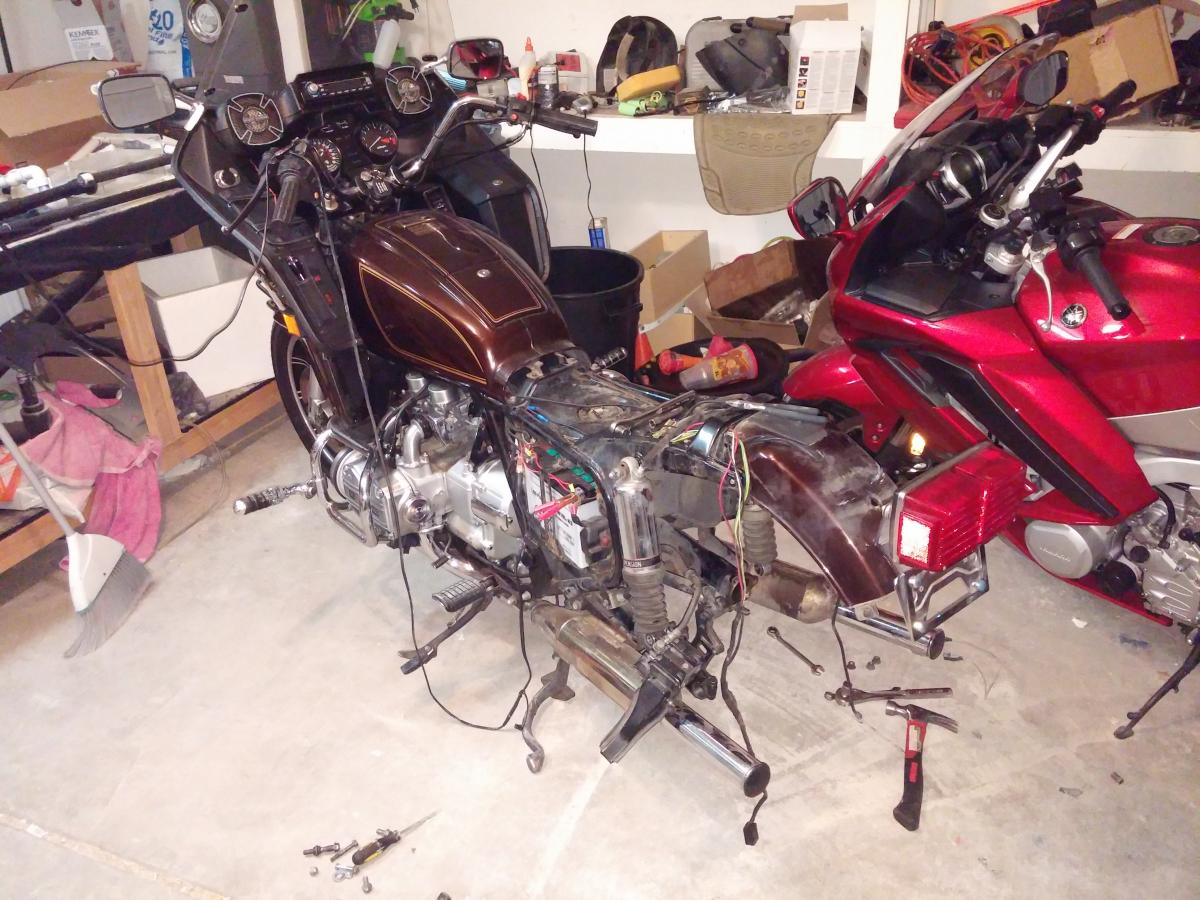
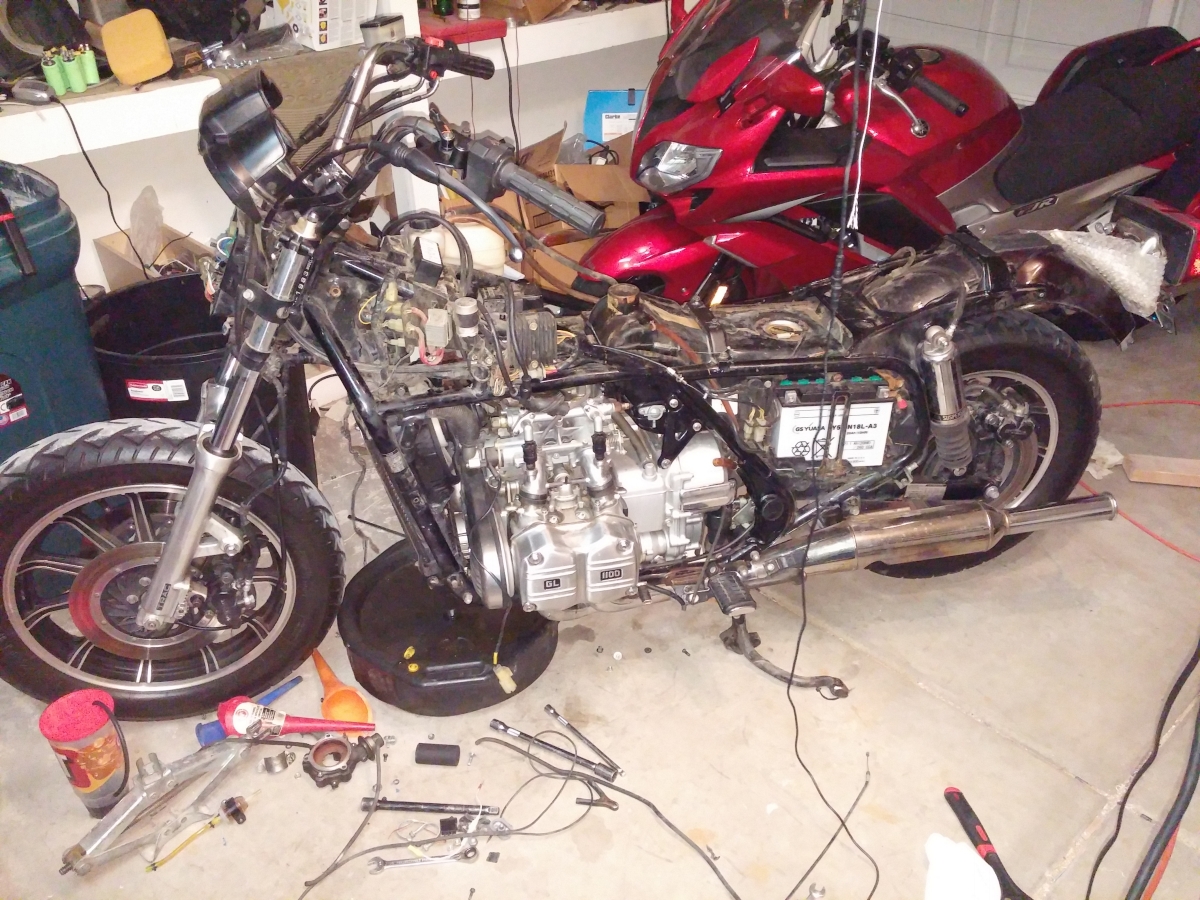
figure it out. Here's your bill; come get your bike." I began the process of stripping it down:
I then sat down and thought about it. The pulse generator didn't fit the diagnosis. All 4 cylinders fired and it would rev slowly to redline. This was a carb issue.
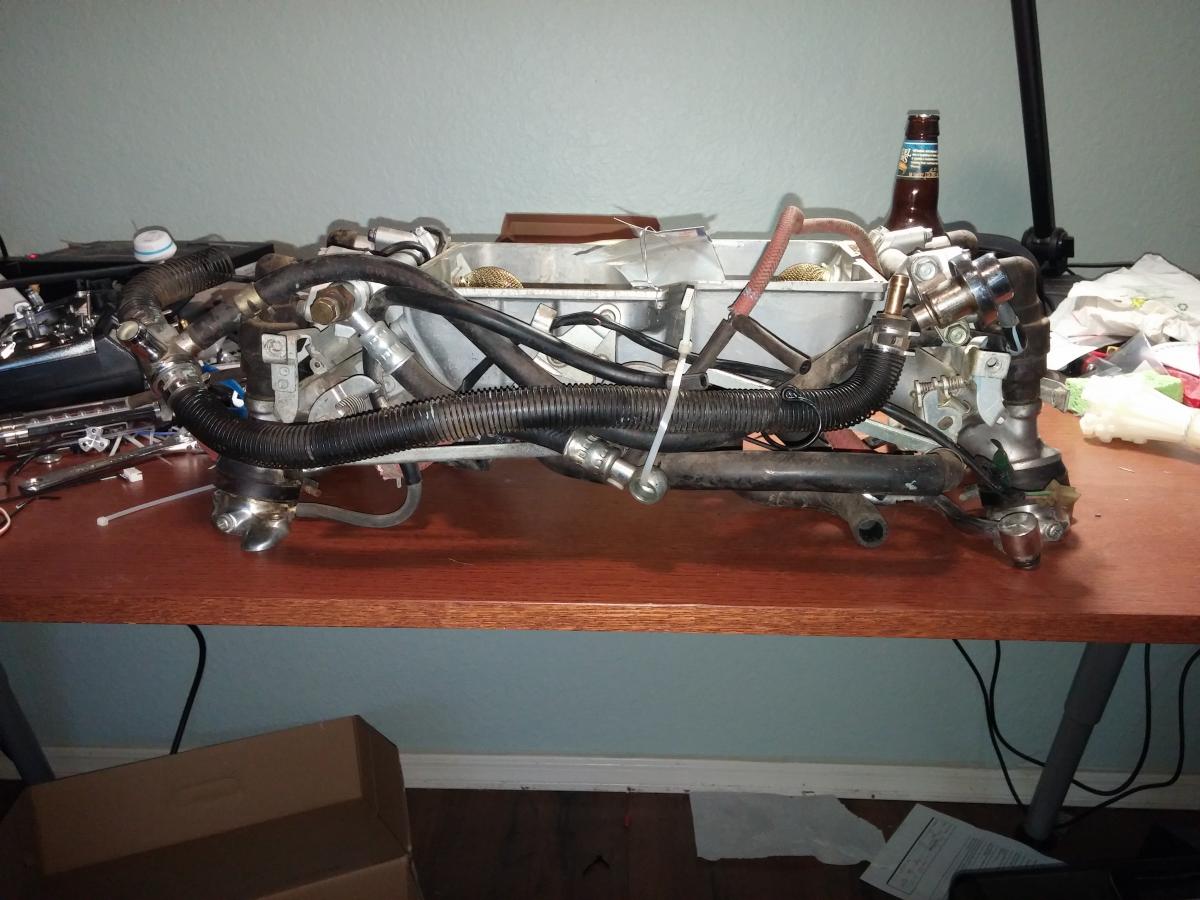
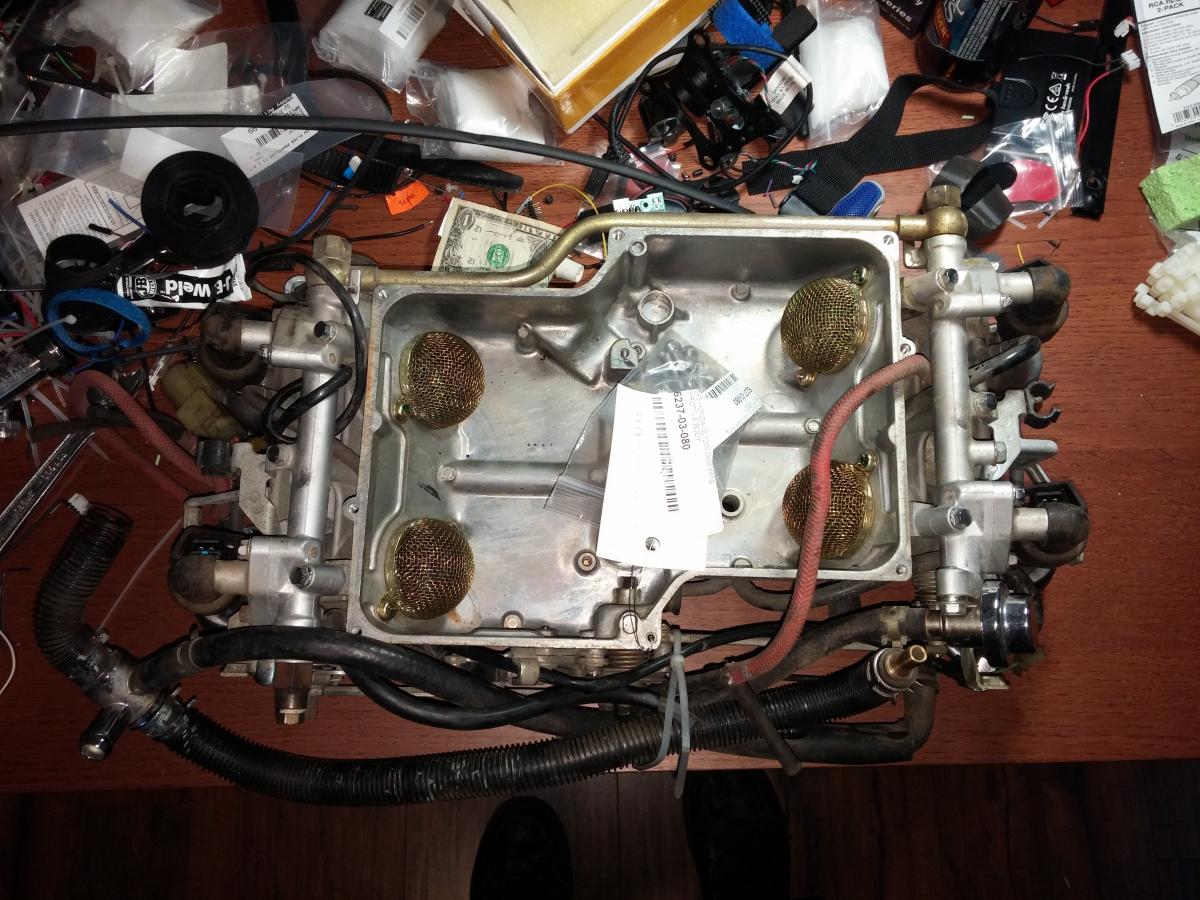
After opening up the carbs, I found that they were mostly clean. They leaked at every gasket and the didn't work well, but they were clean. Found some threads showing EFI
conversions were possible, so I decided to start collecting parts.
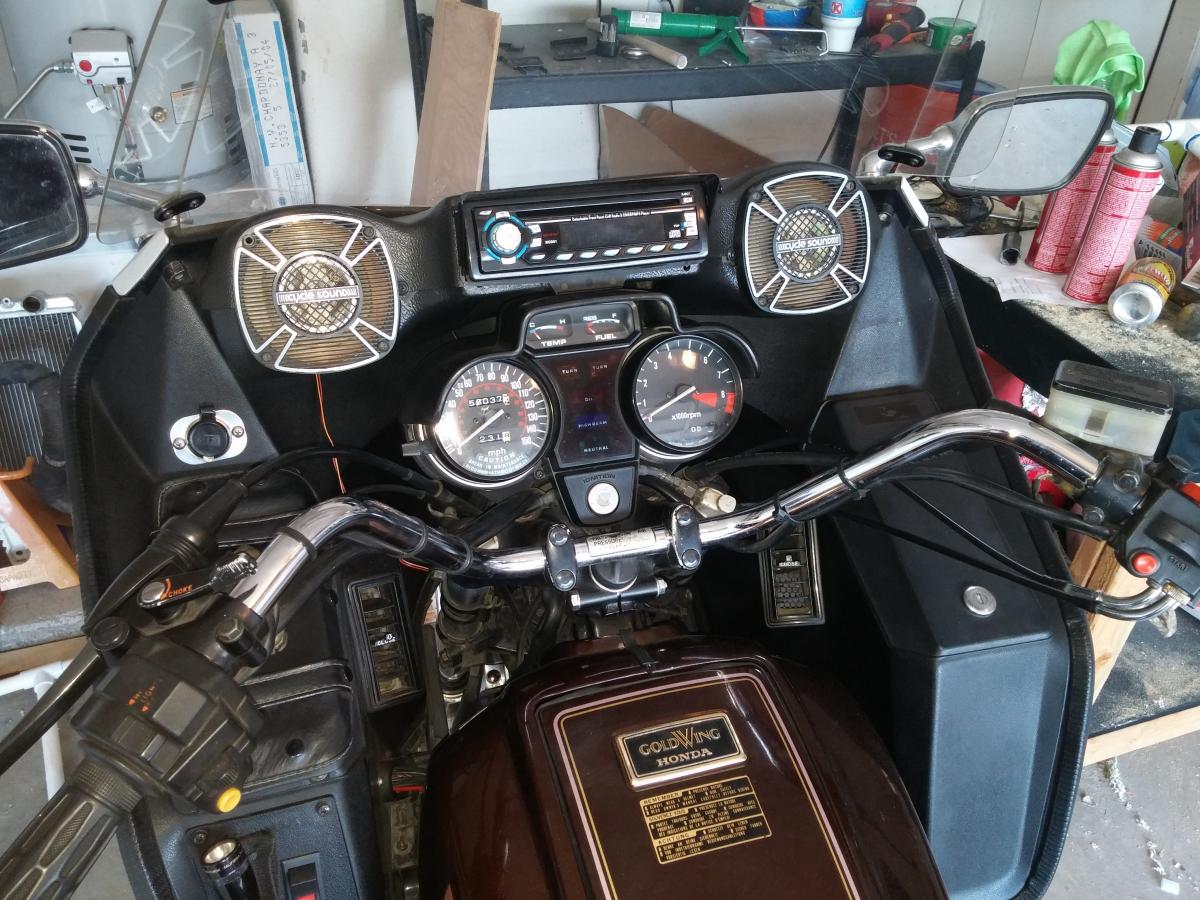
So here's where we stand.

I'm stripping the excess weight and touring parts from this bike at the same time; I have the FJR next to it for actual long distance riding. For the purpose of this thread
I'll skip most of the weight loss and style changes and focus on the EFI conversion itself.
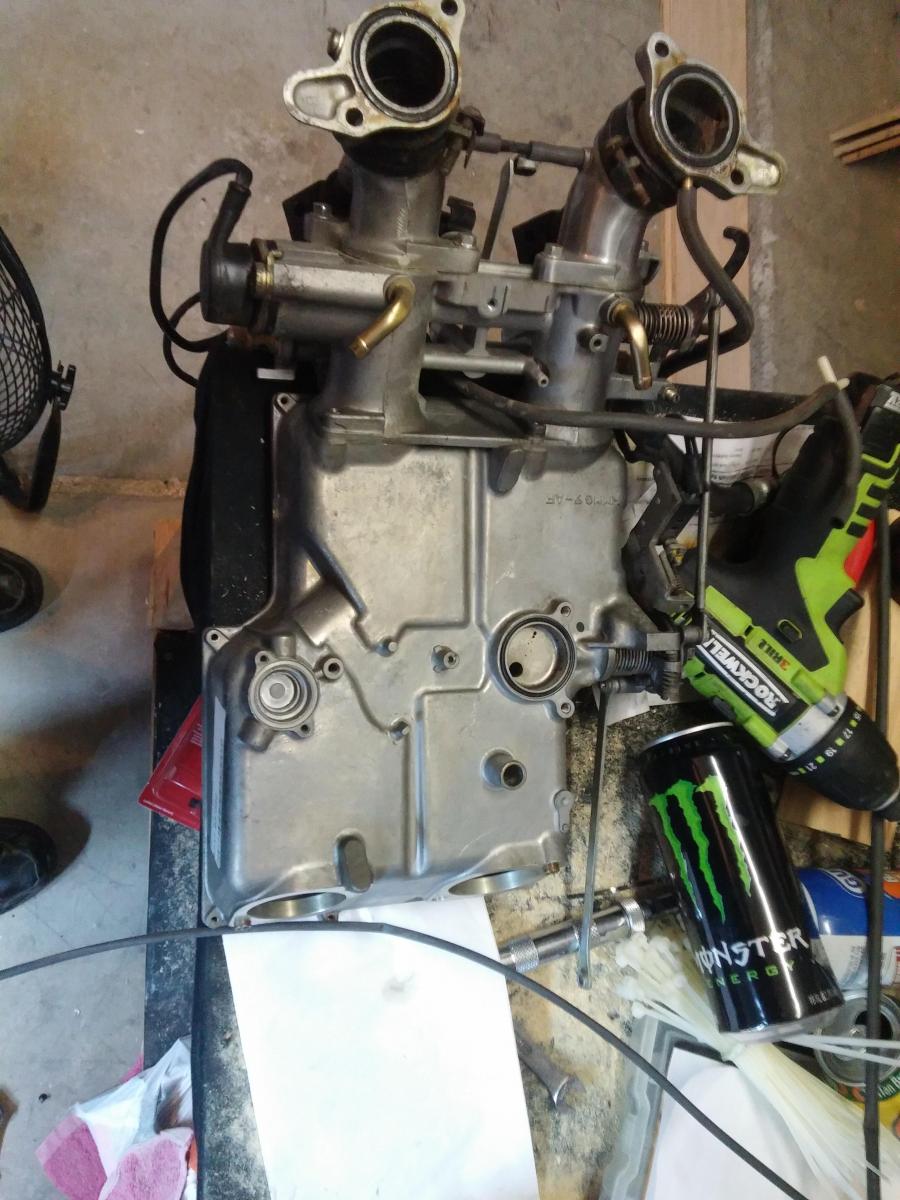
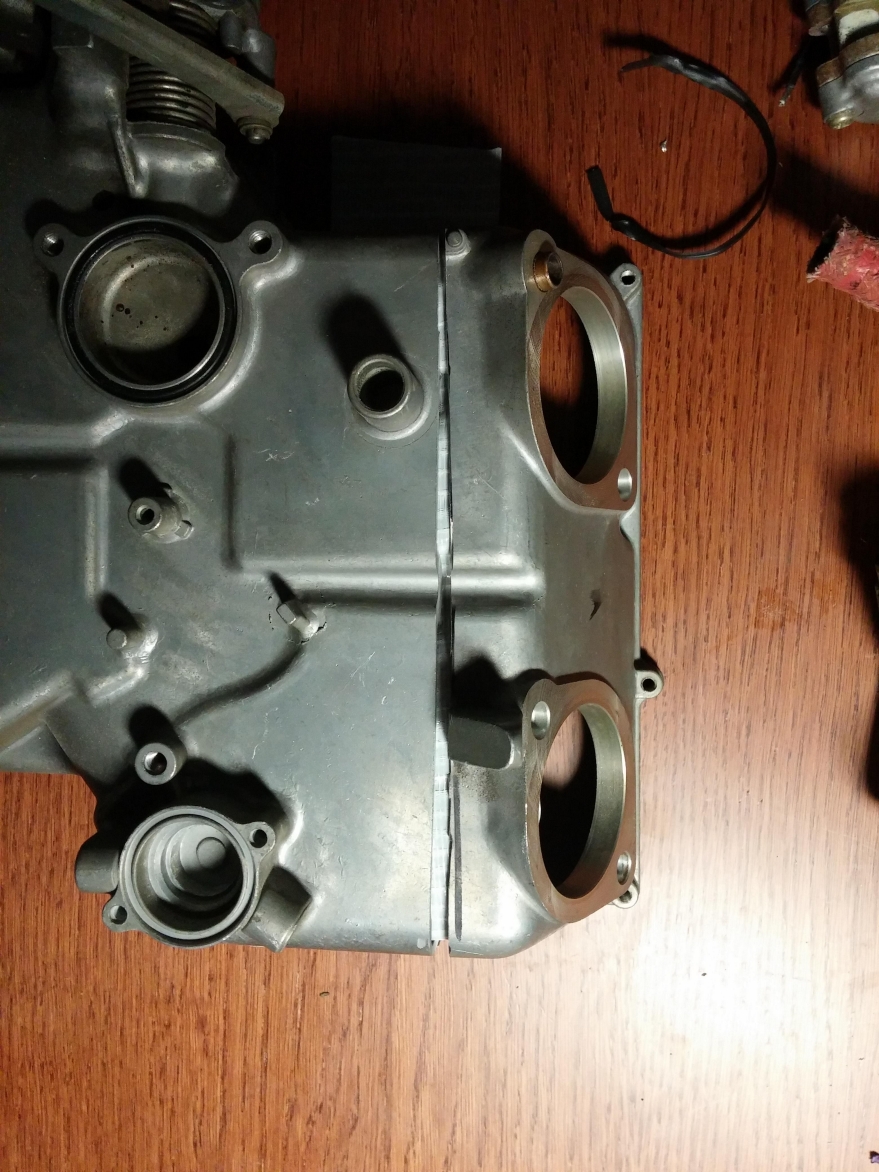
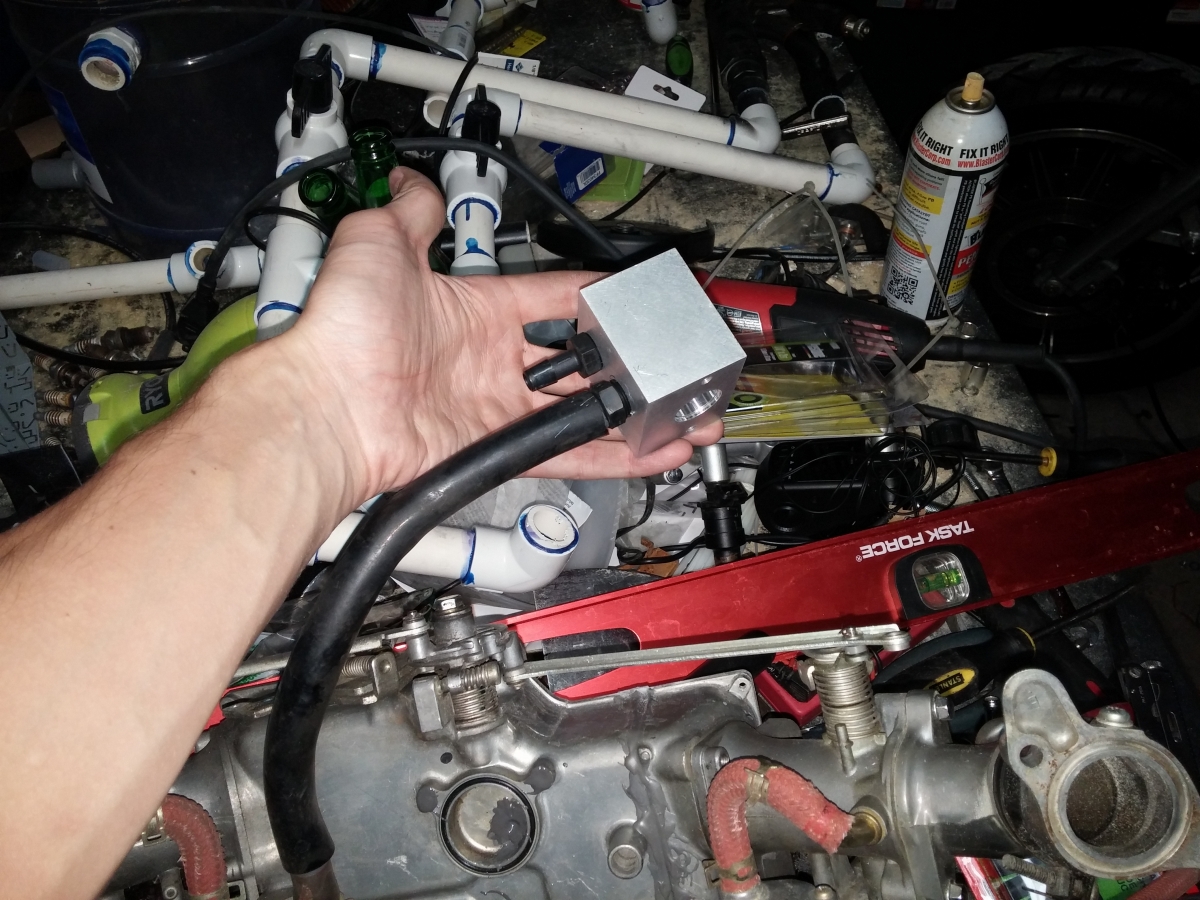
GL1200 plenum has arrived:
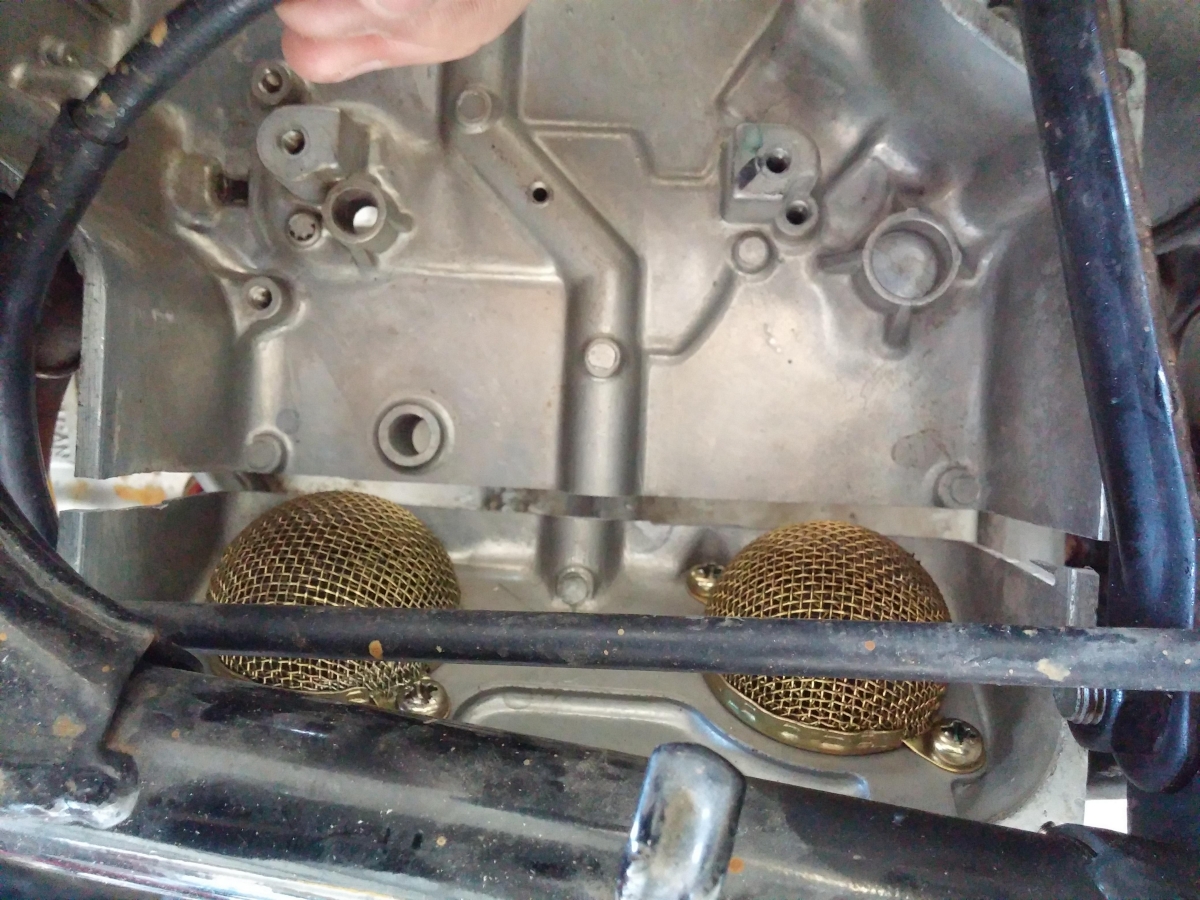
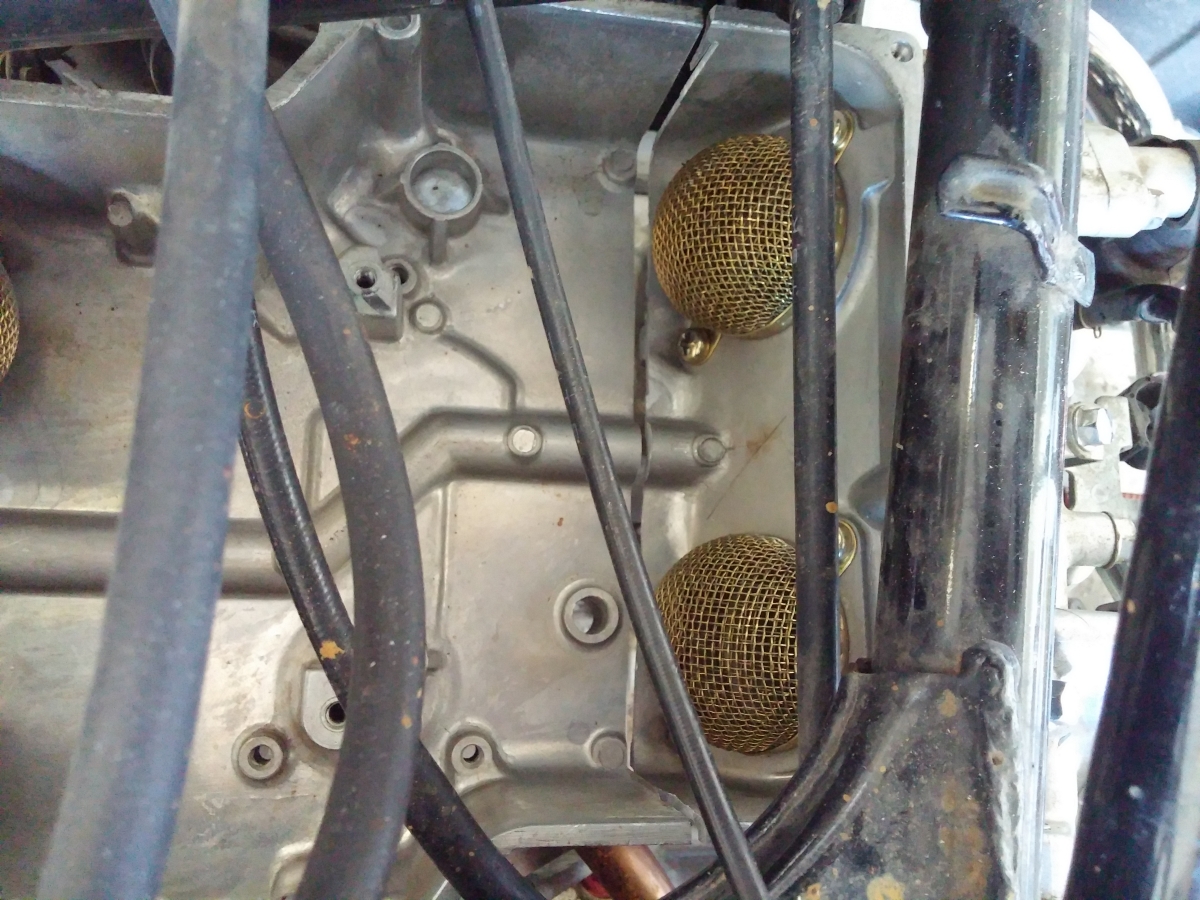
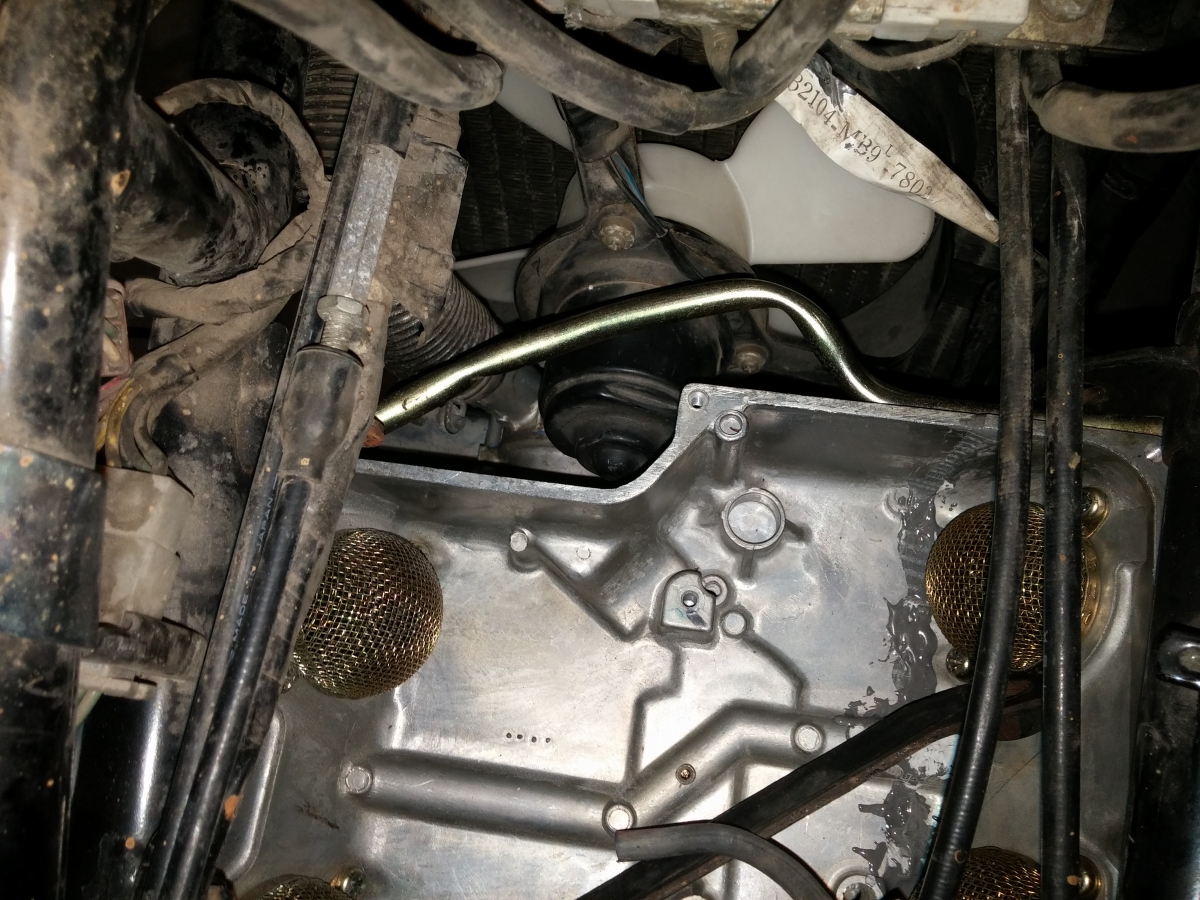
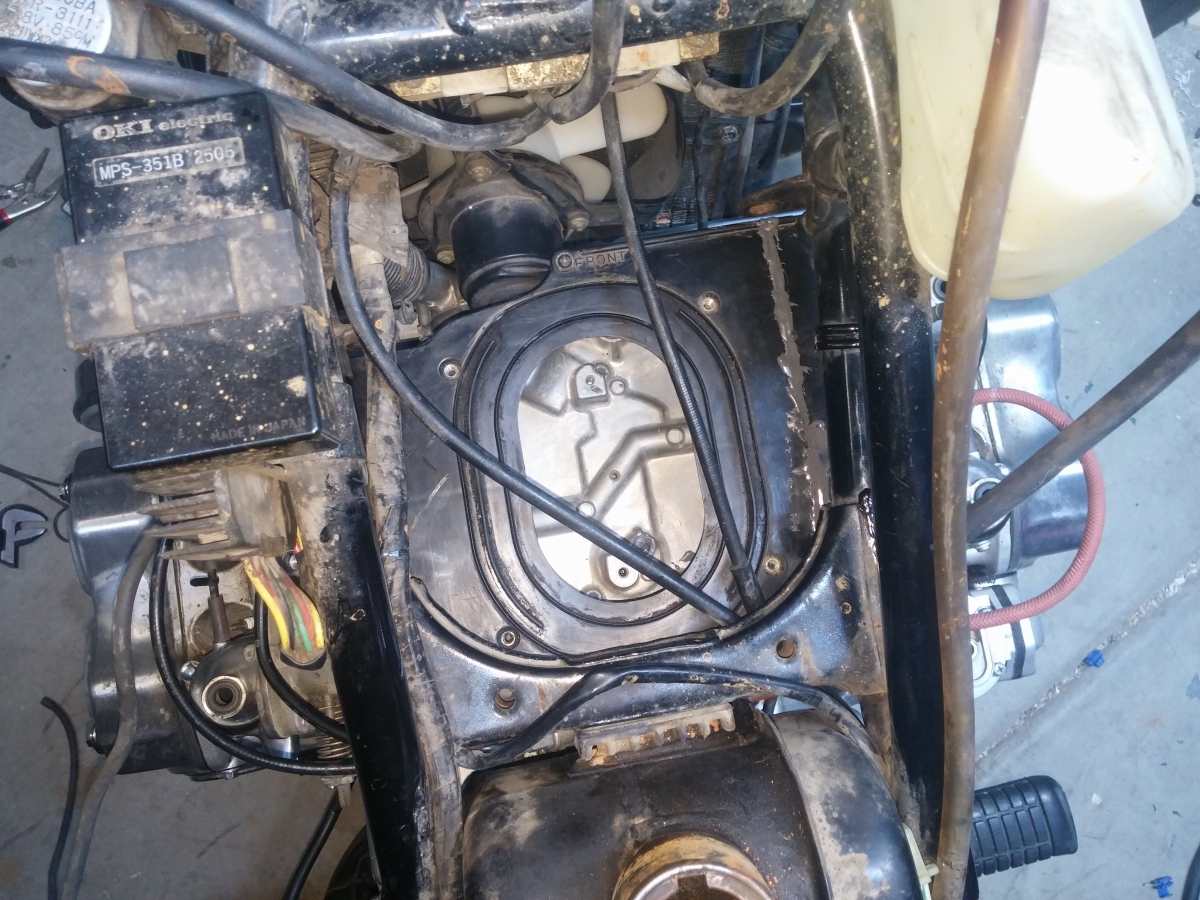
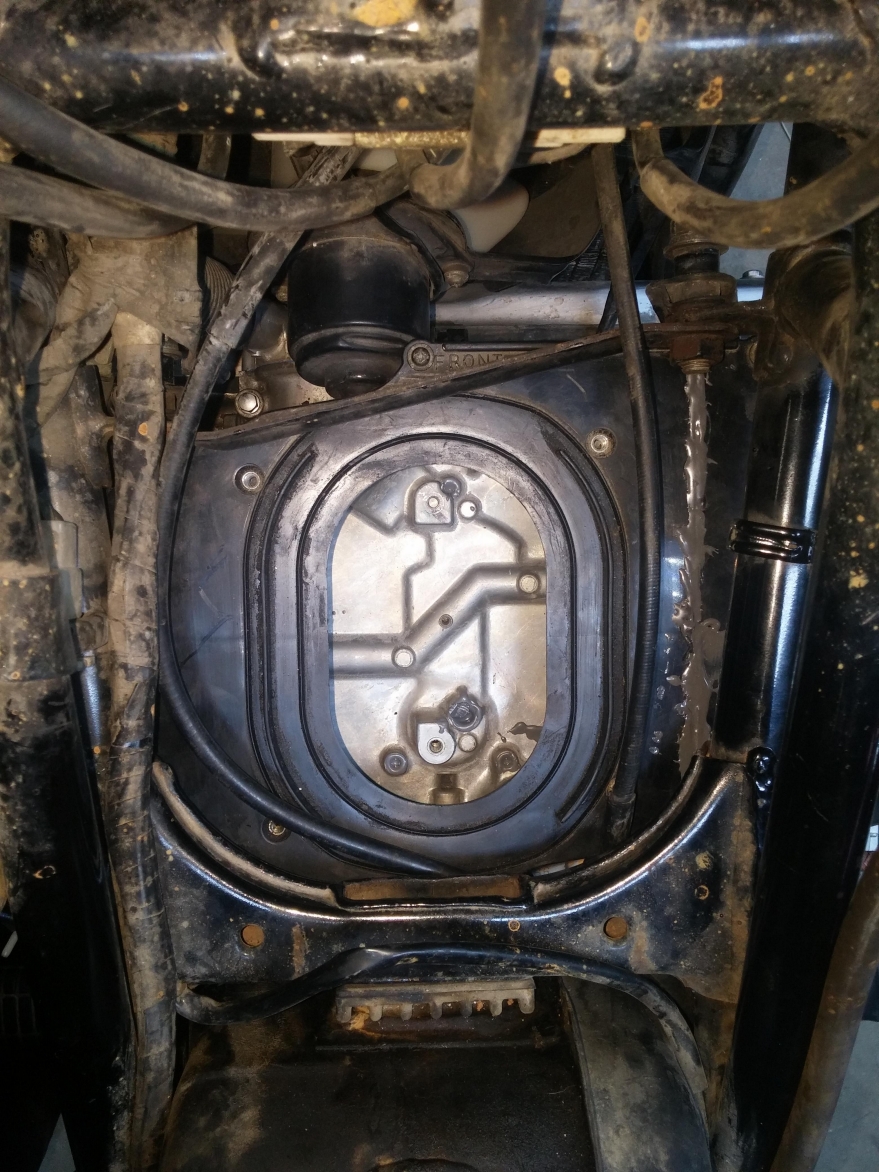
Had to remove this air blocking plate to make some room:
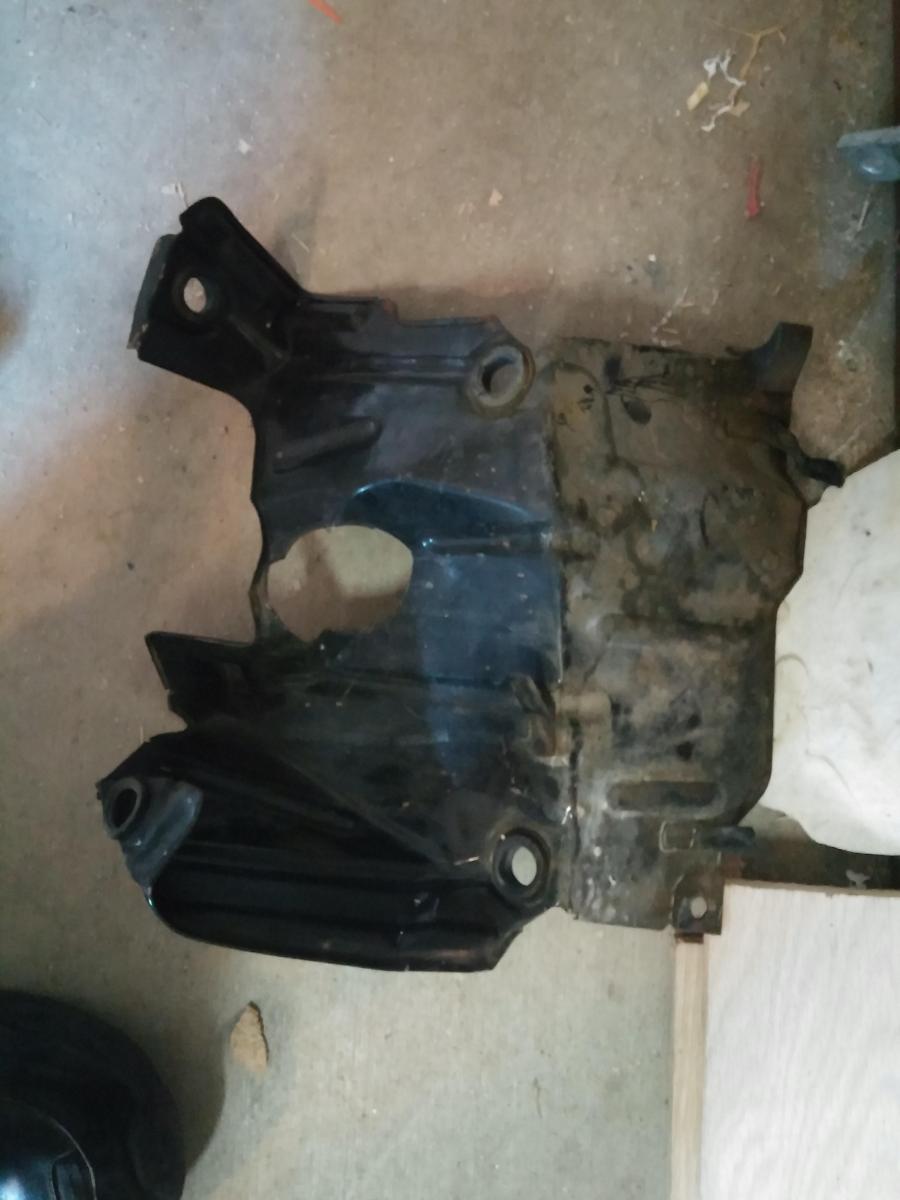
Tons of room now:

Initial test fit with the left side bolted up:
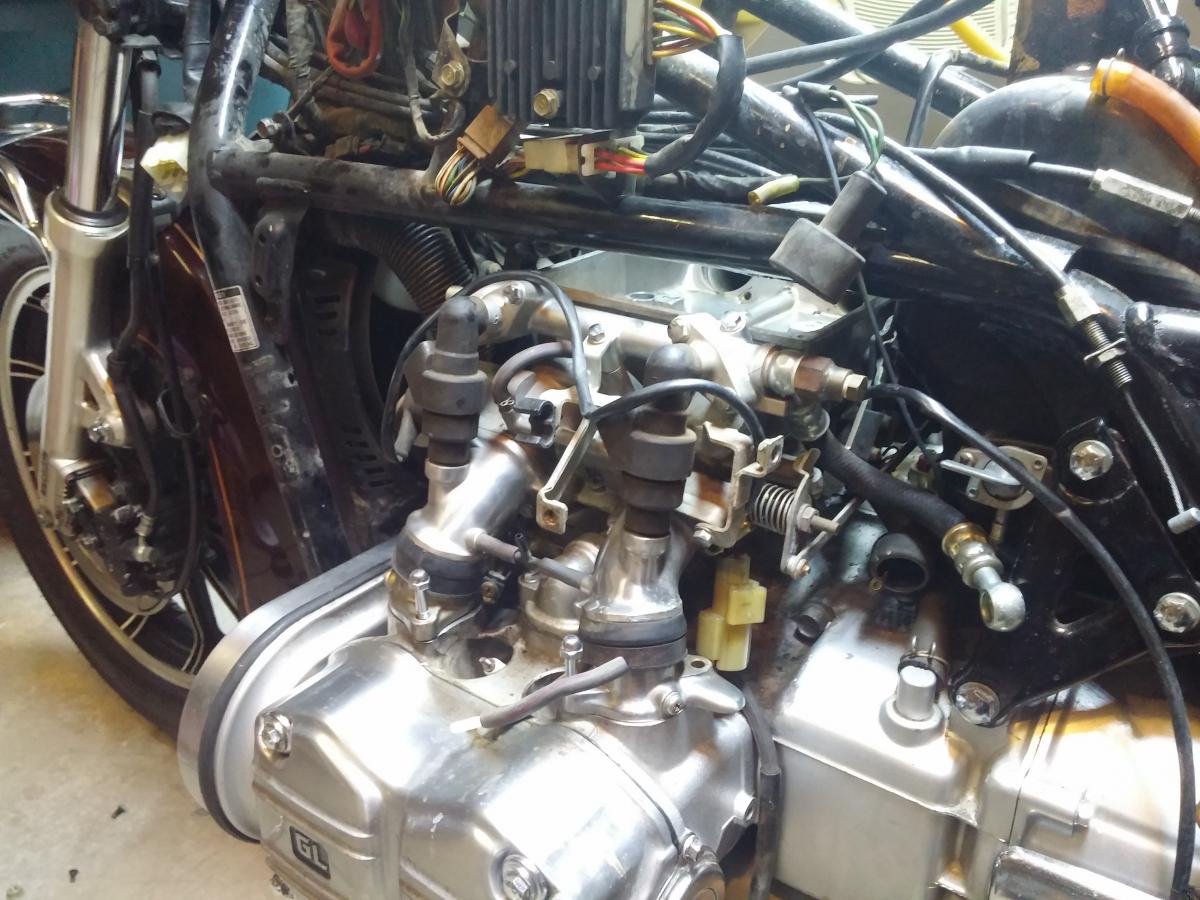
About .6" overhang as expected.

Planning the cuts:
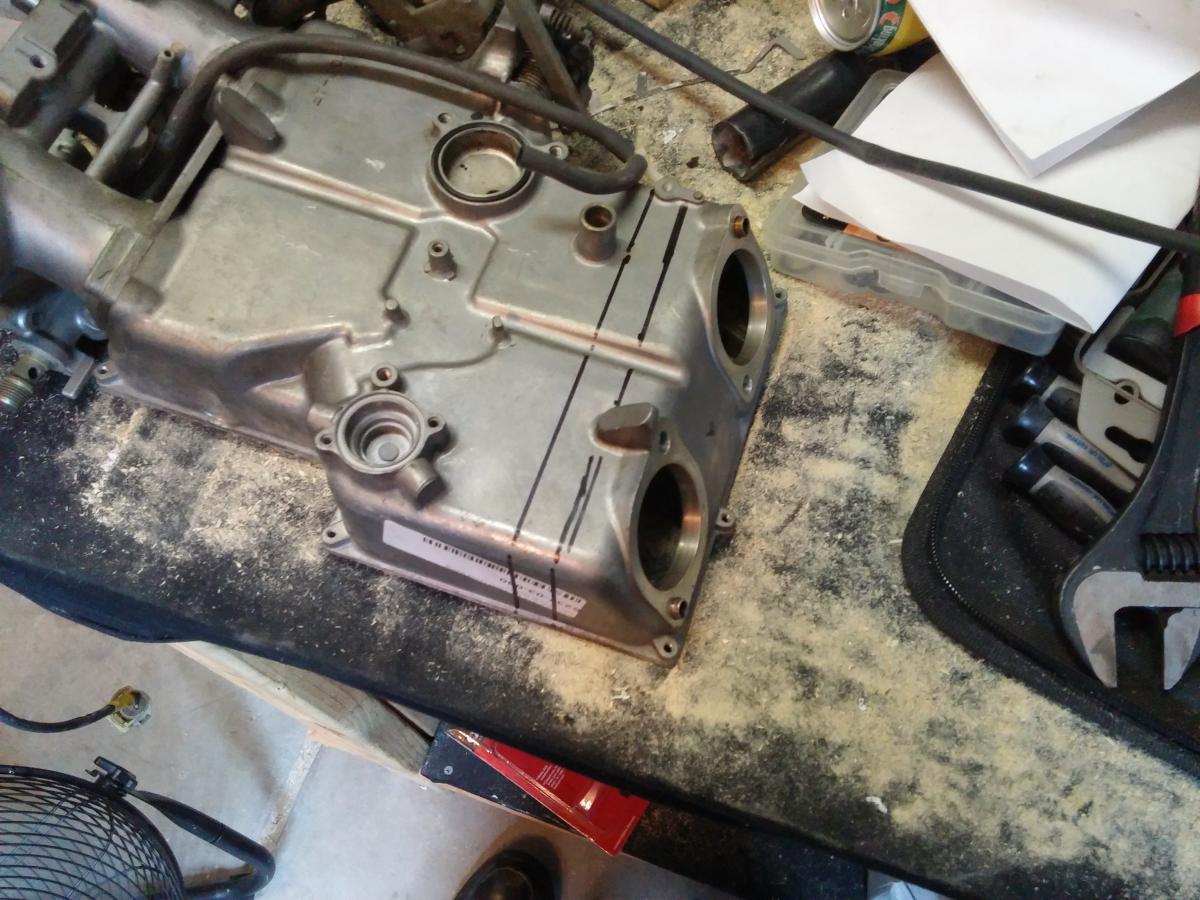
Chopped out the 0.6" section with an angle grinder:
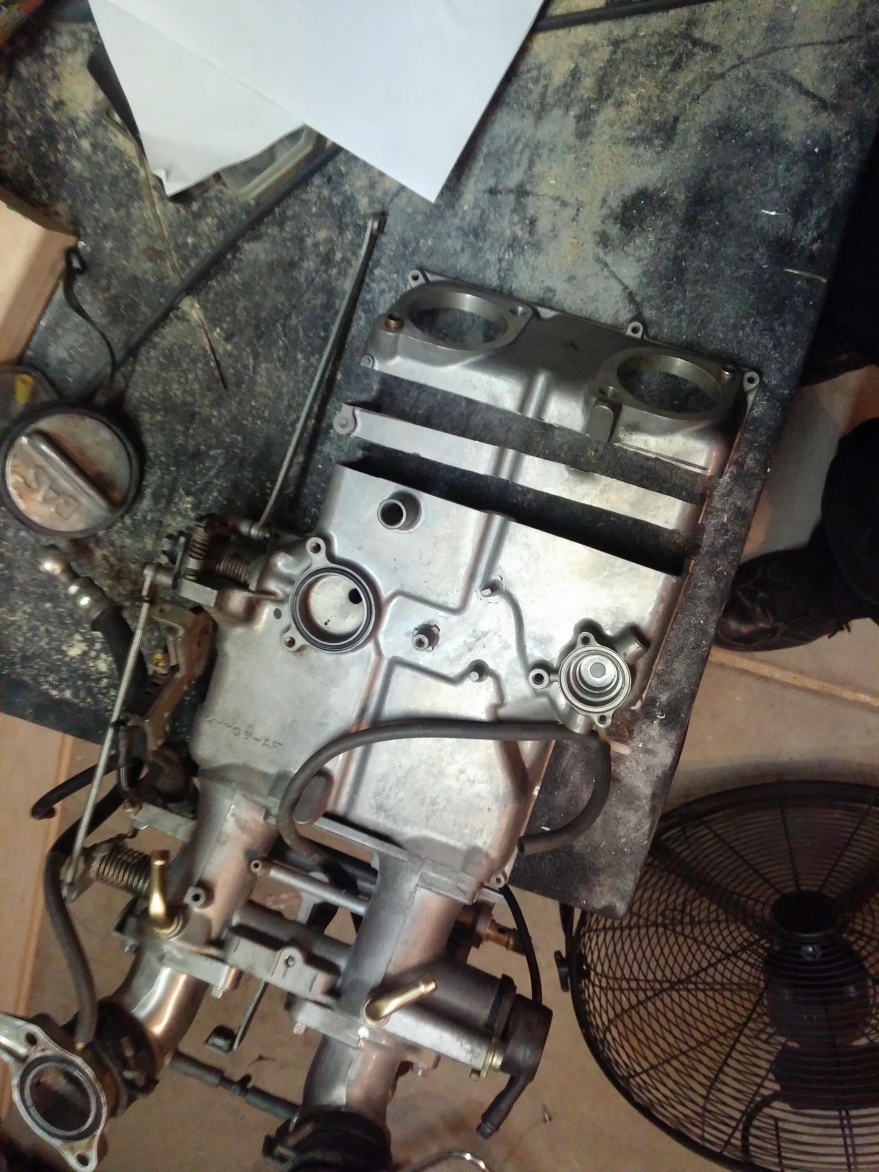
Needed a bit of cleanup:
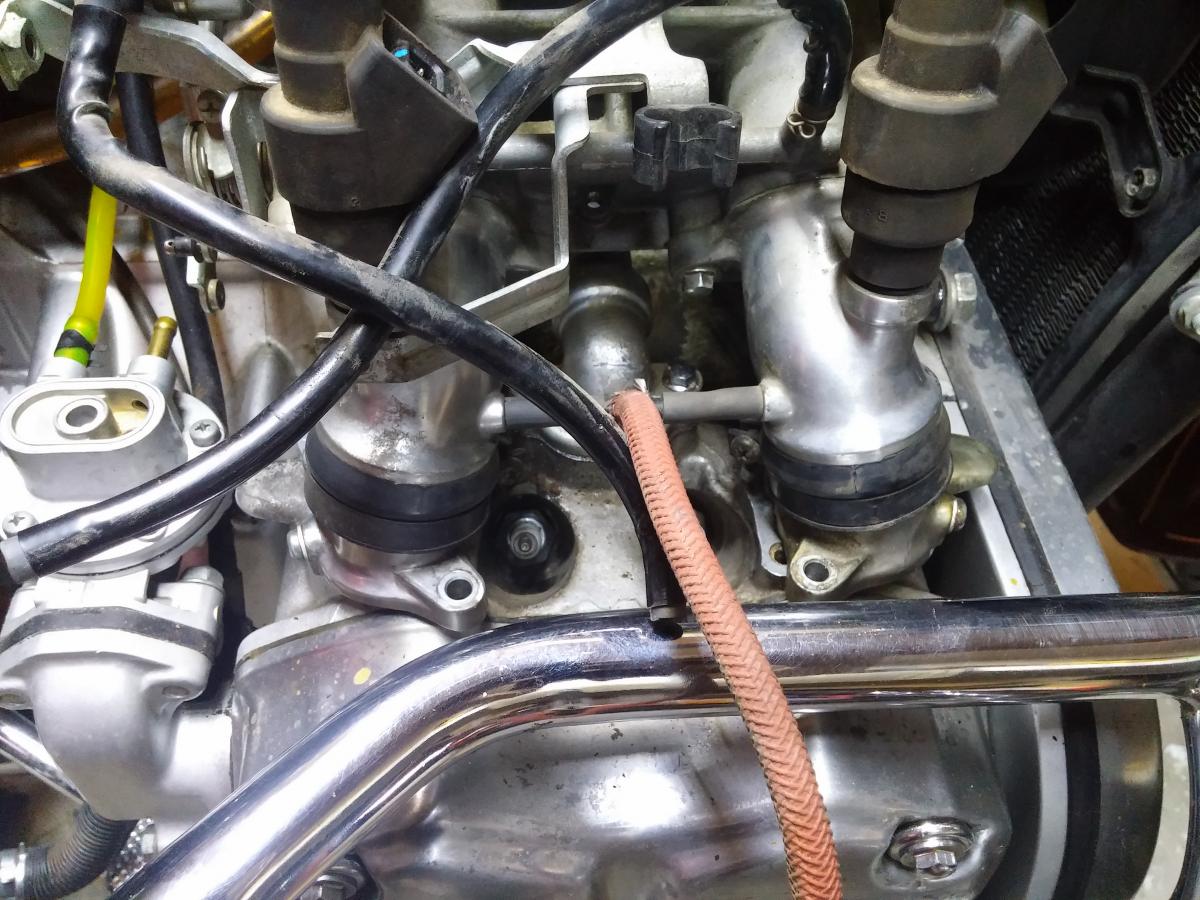
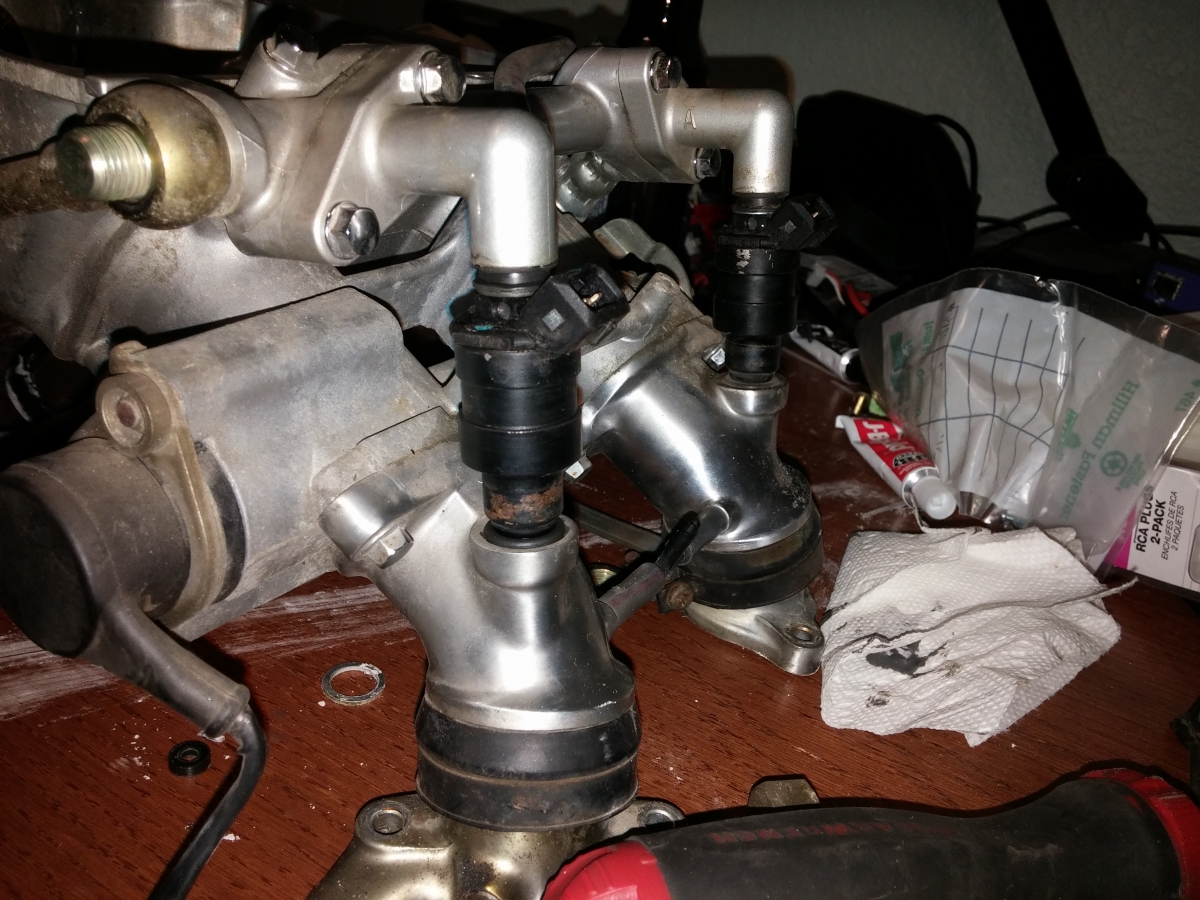
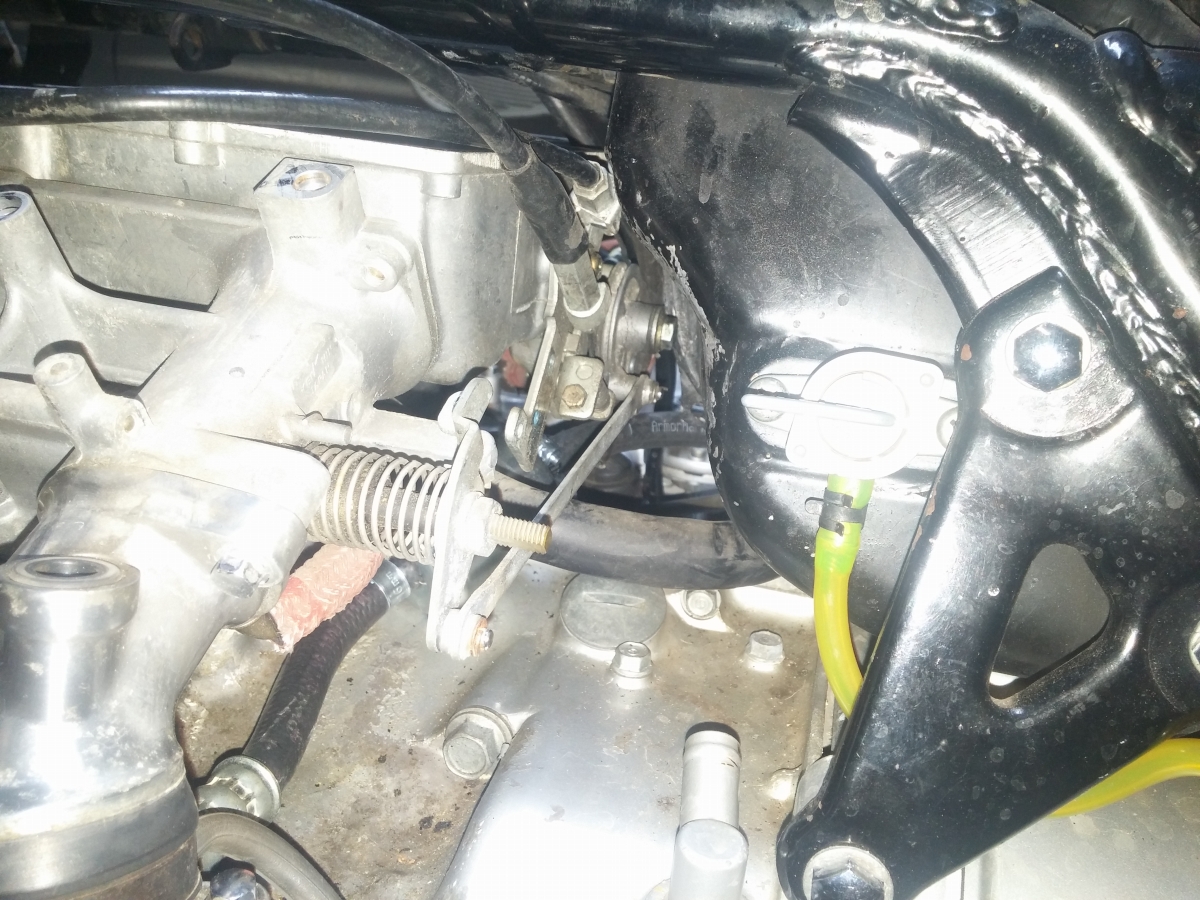
Bolted up the two sides and found the TPS hits the motor mount:
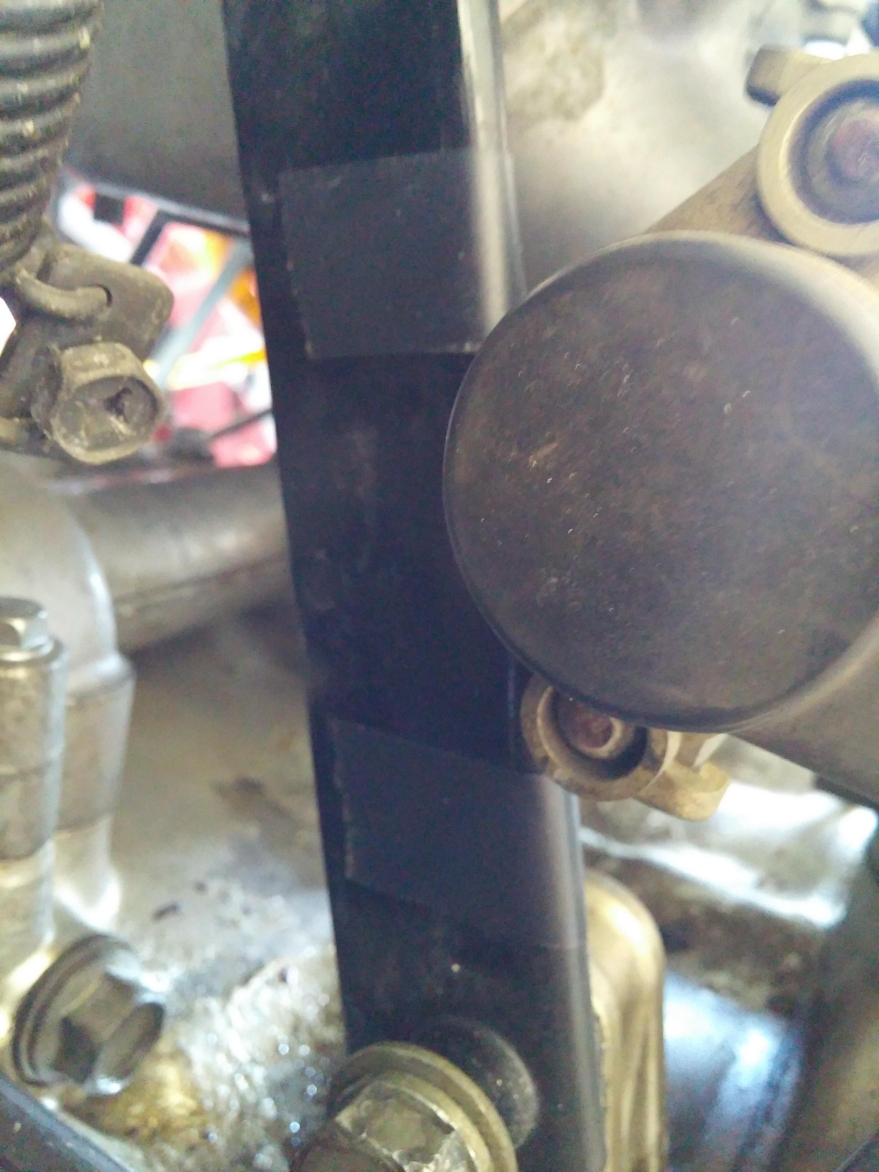
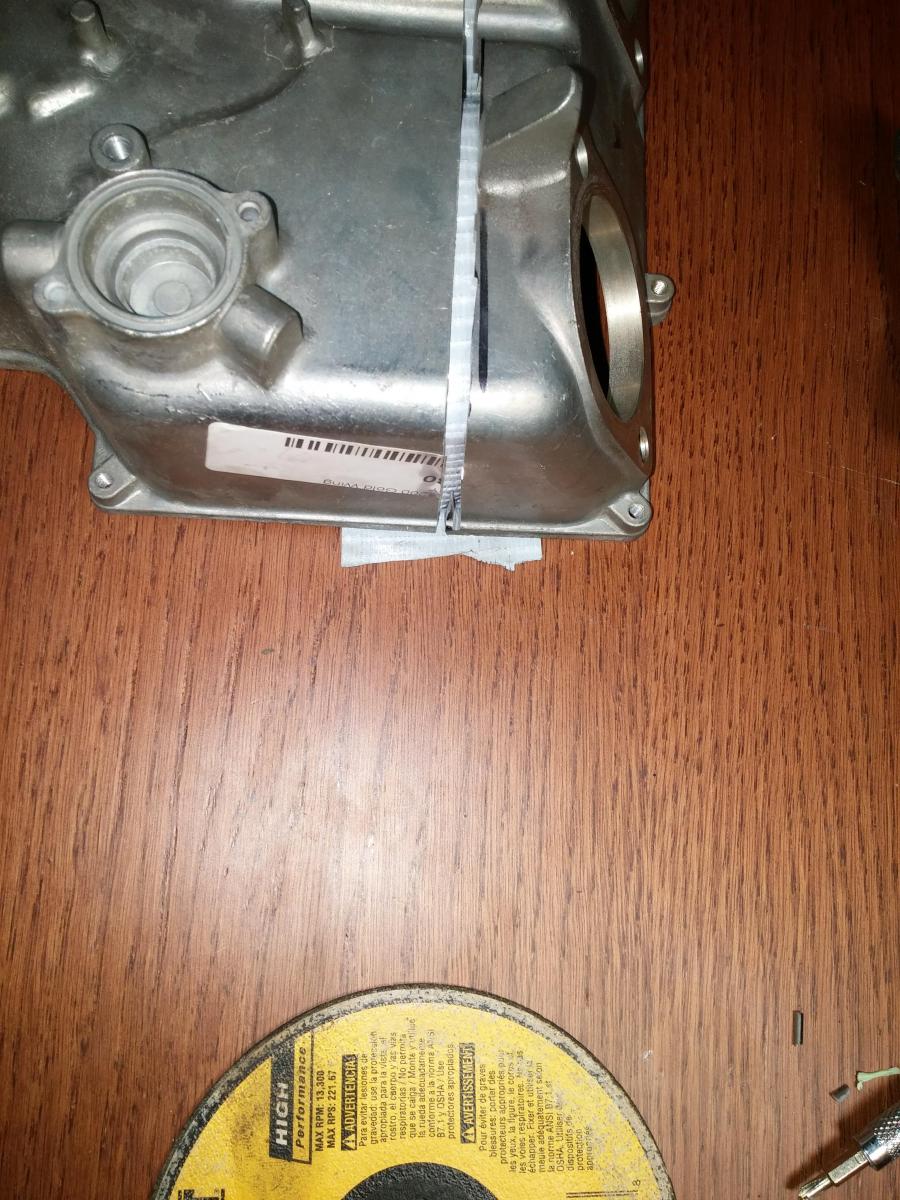
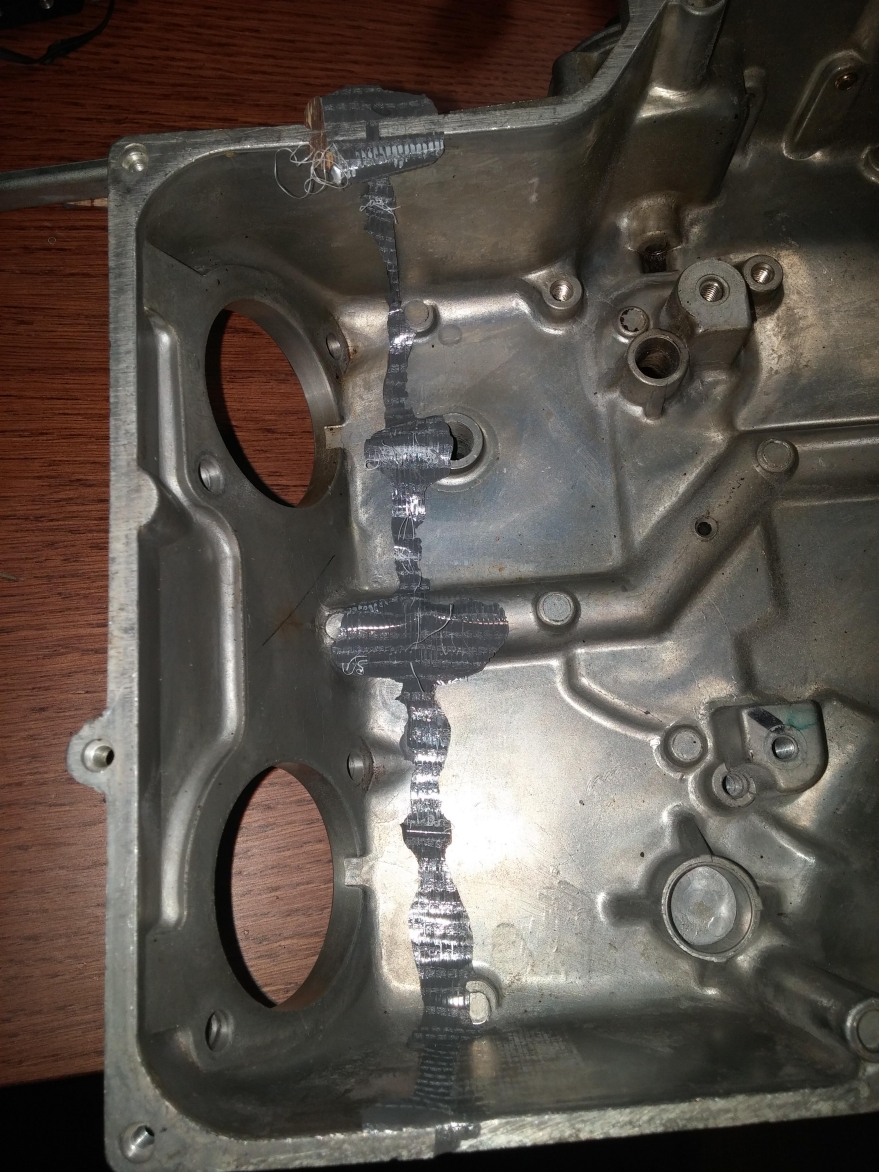
I marked the offending section with tape and trimmed it up.
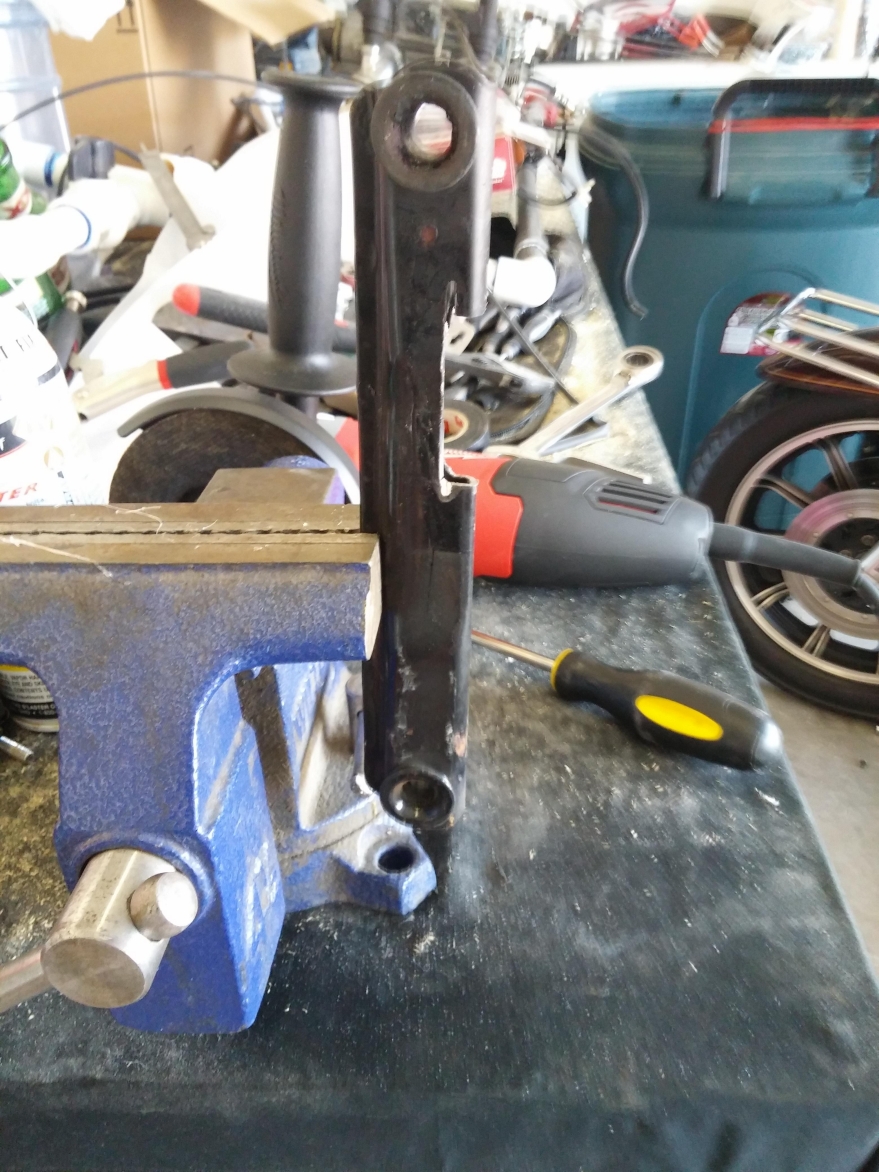
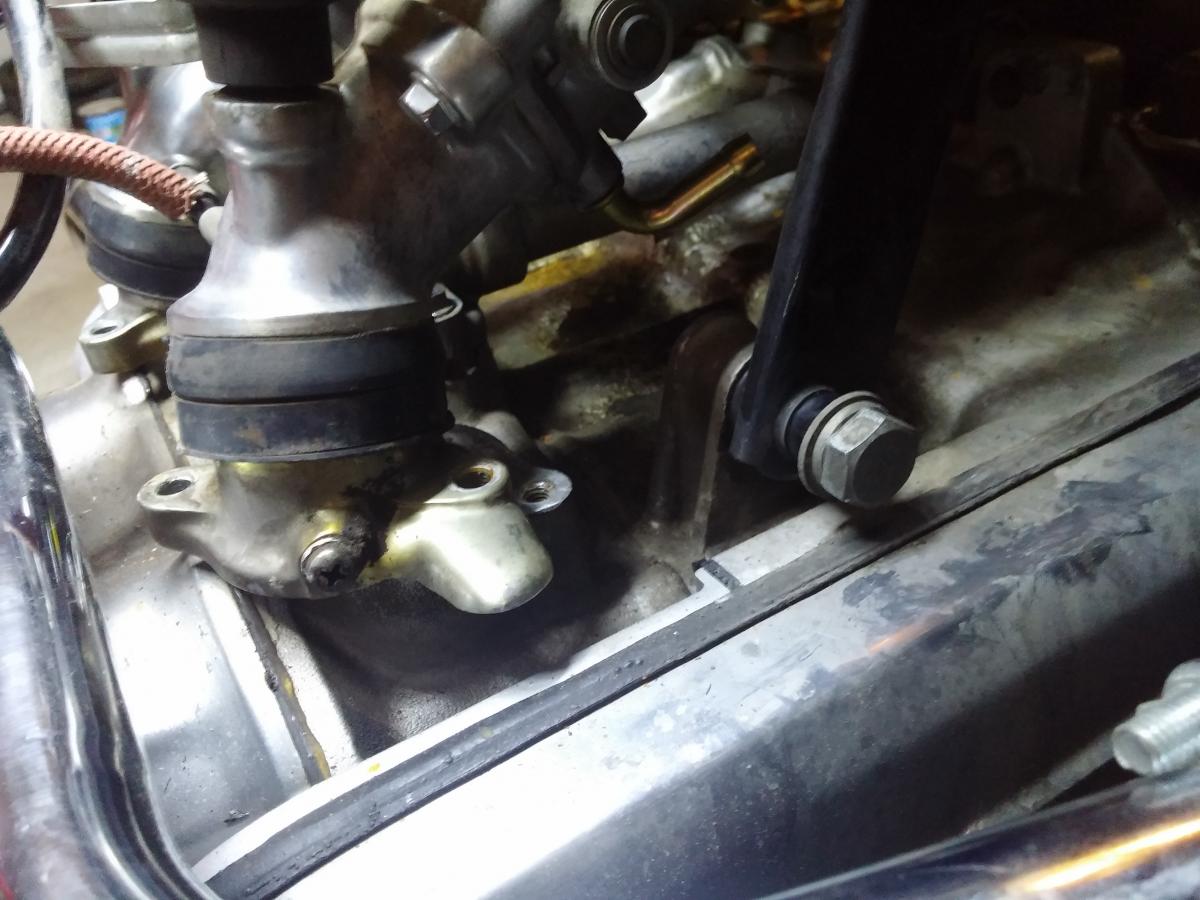
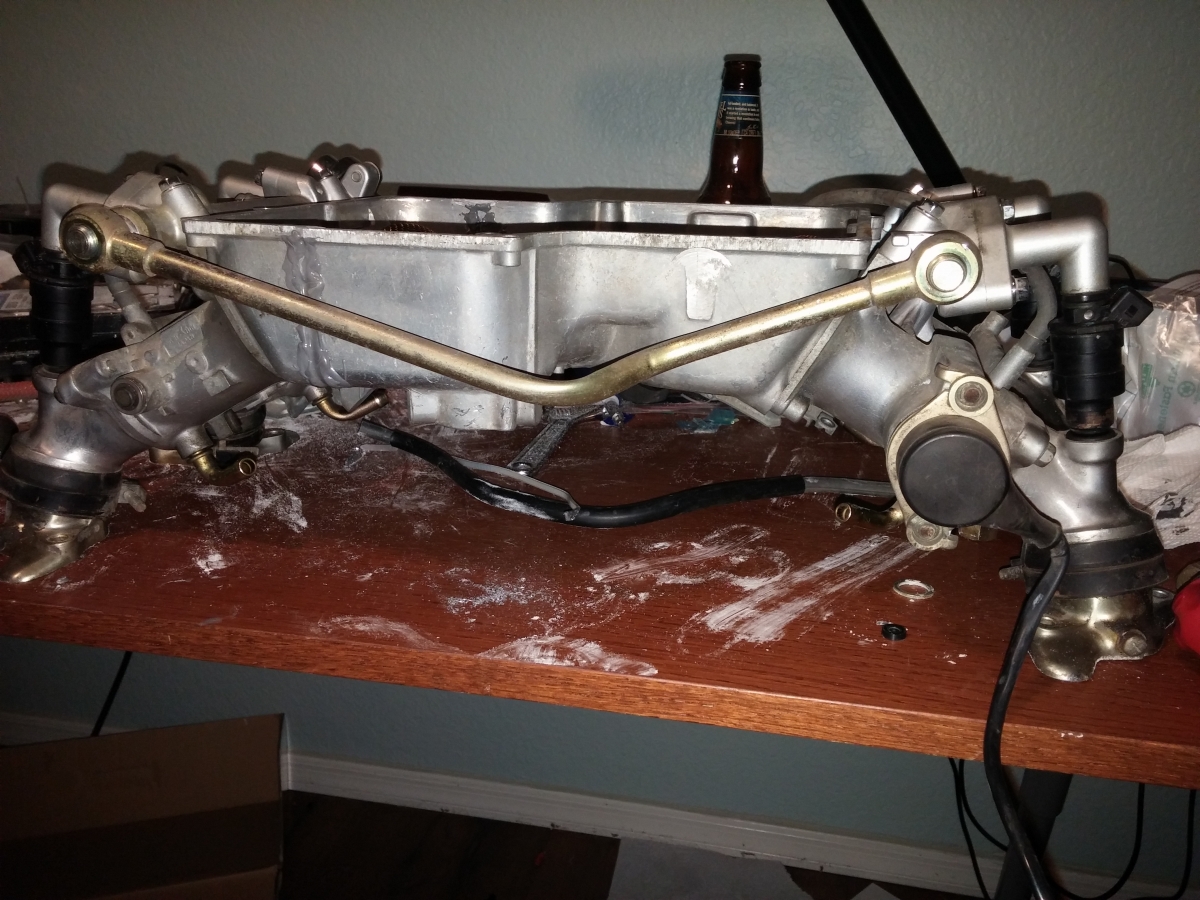
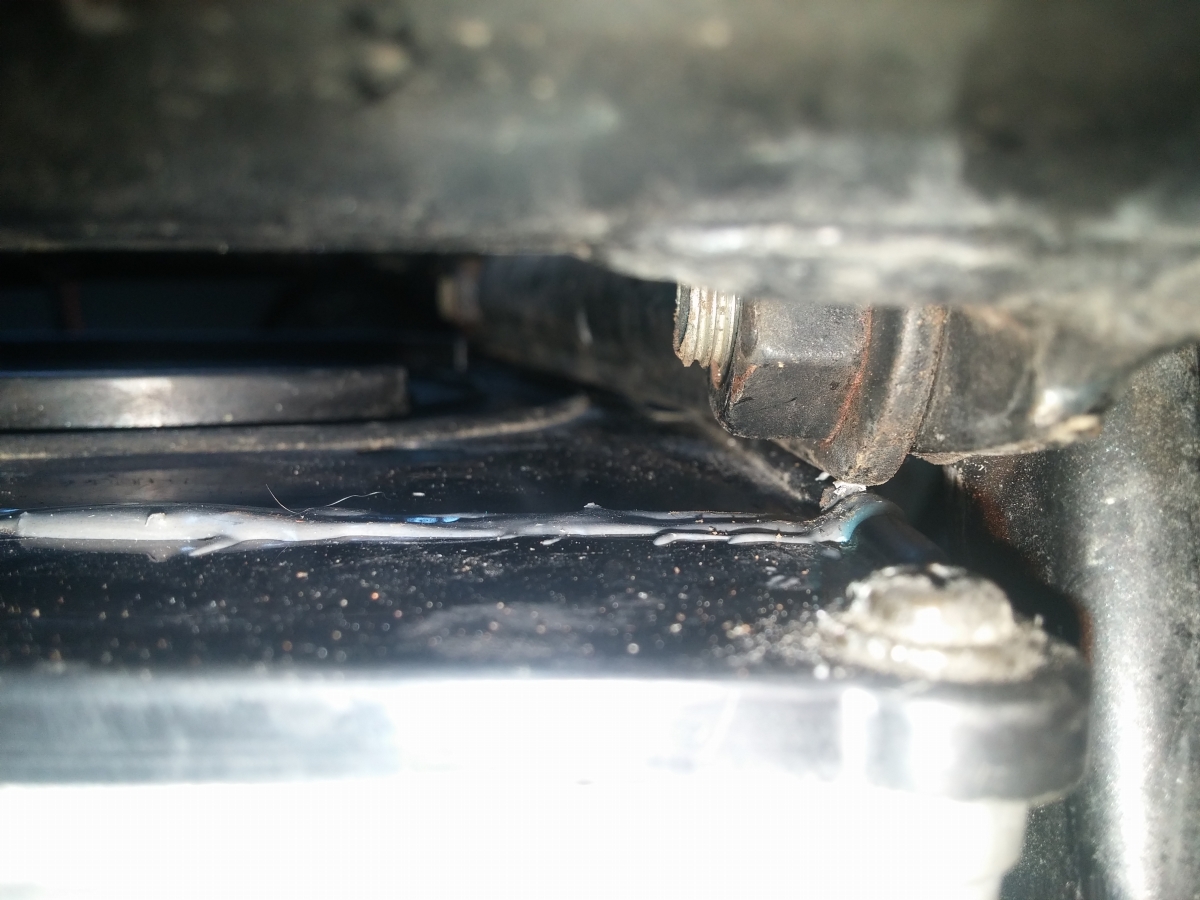
Now that the mount is out of the way, here's how it bolted up:
Not bad. Slight gap, but small enough to fill in. Plenty of room to move it around as needed.
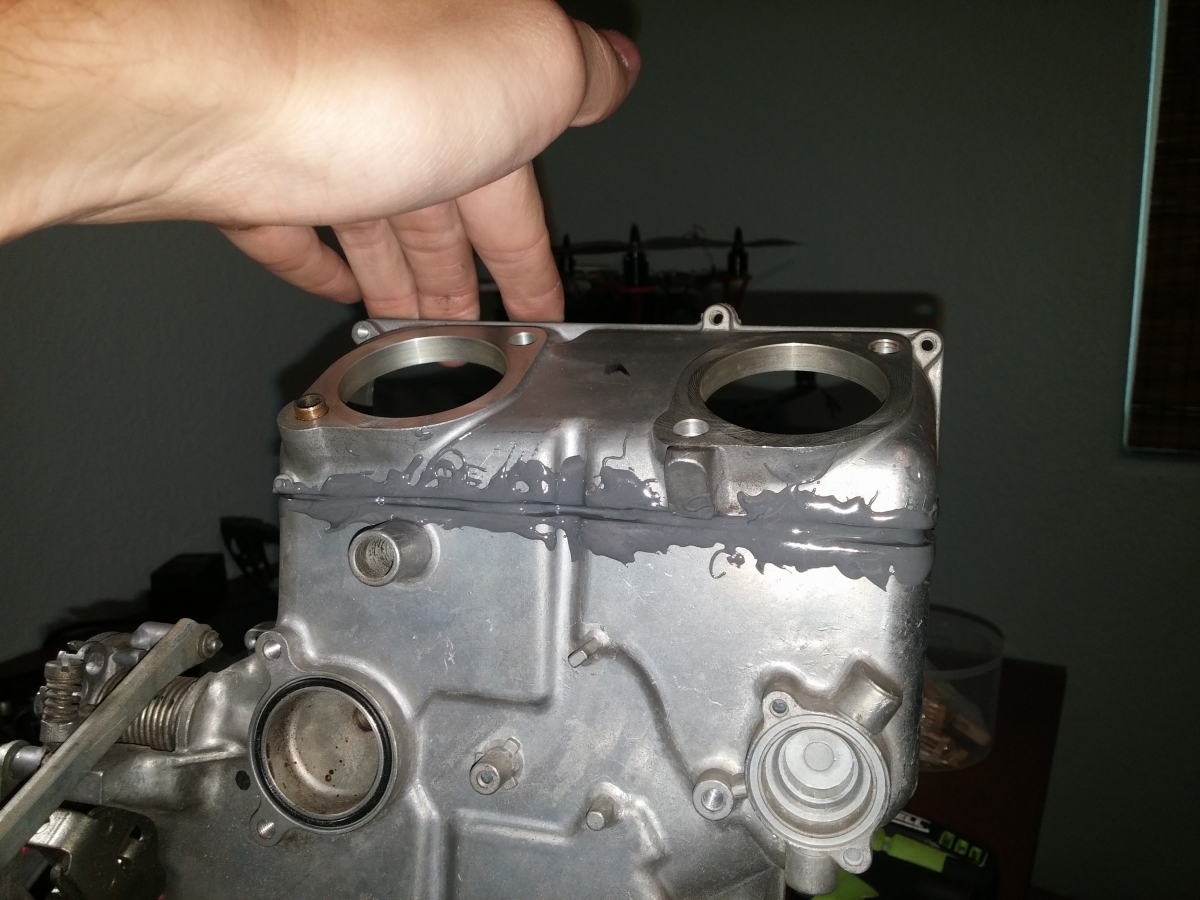
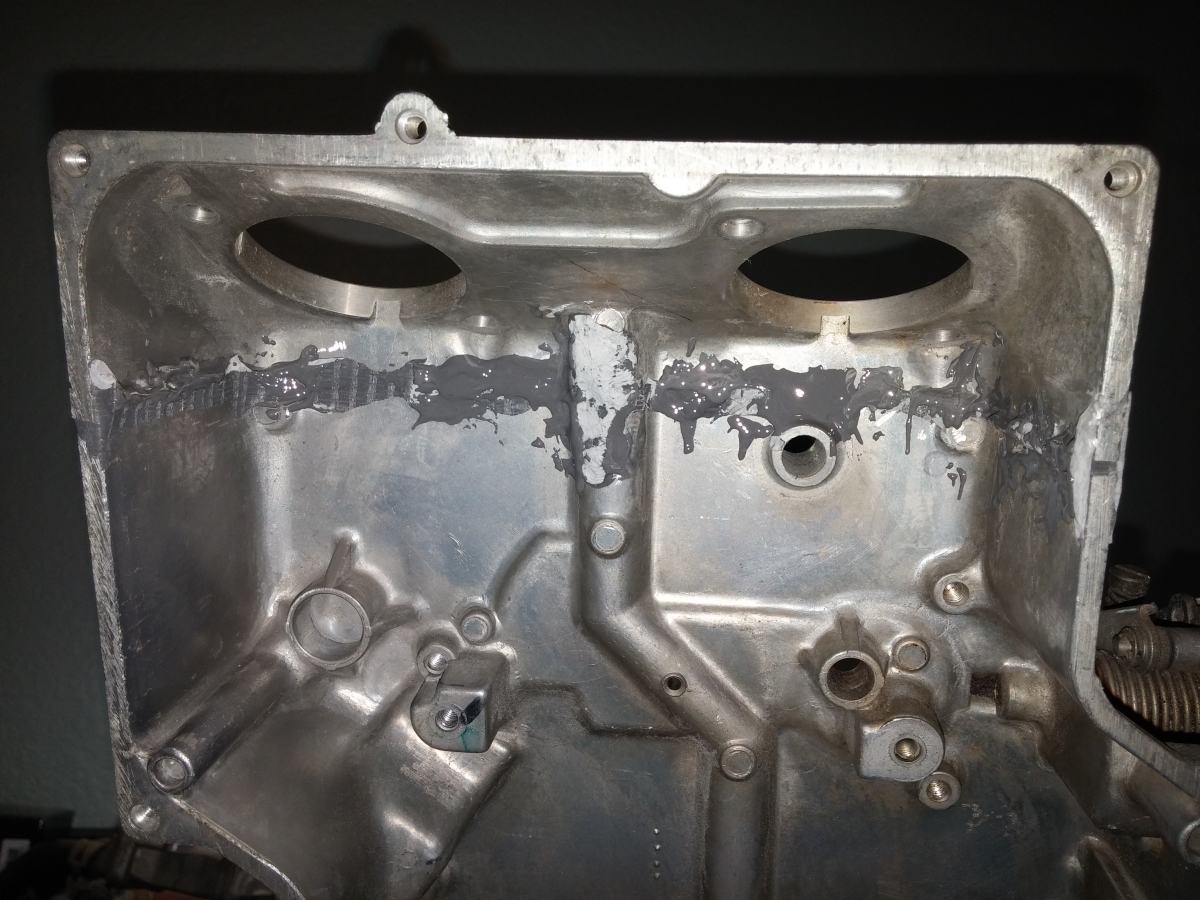
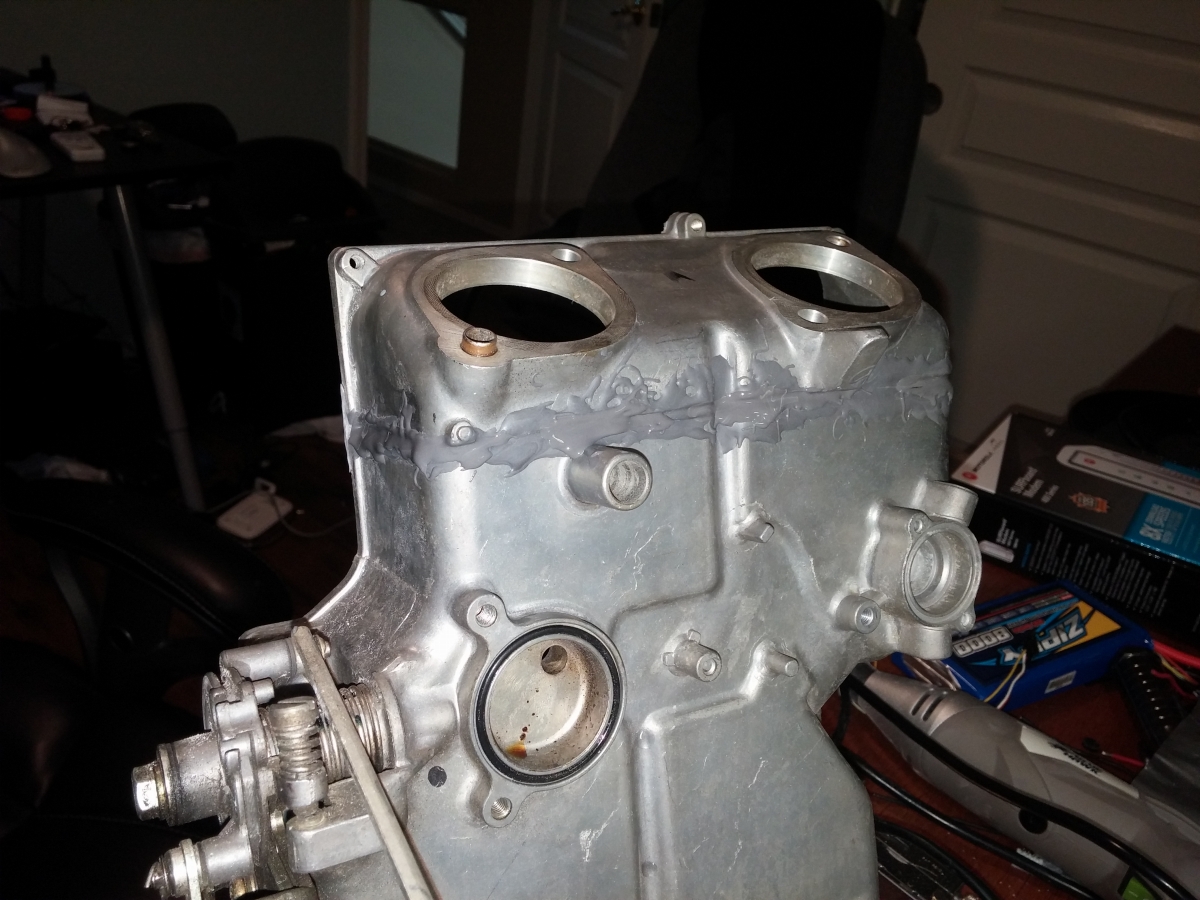
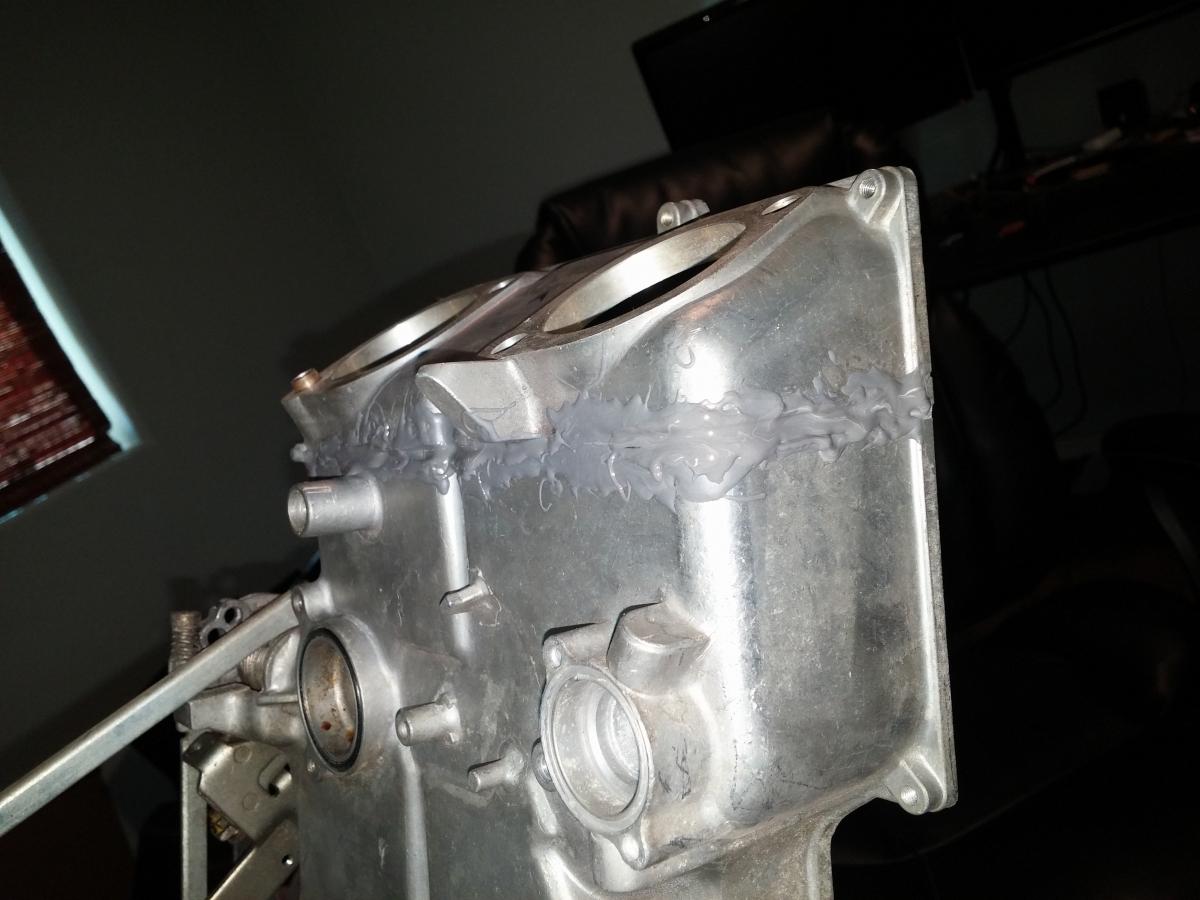
Back off the bike and prepping for JB weld. Backed the gap with duct tape so keep the epoxy in place while curing.

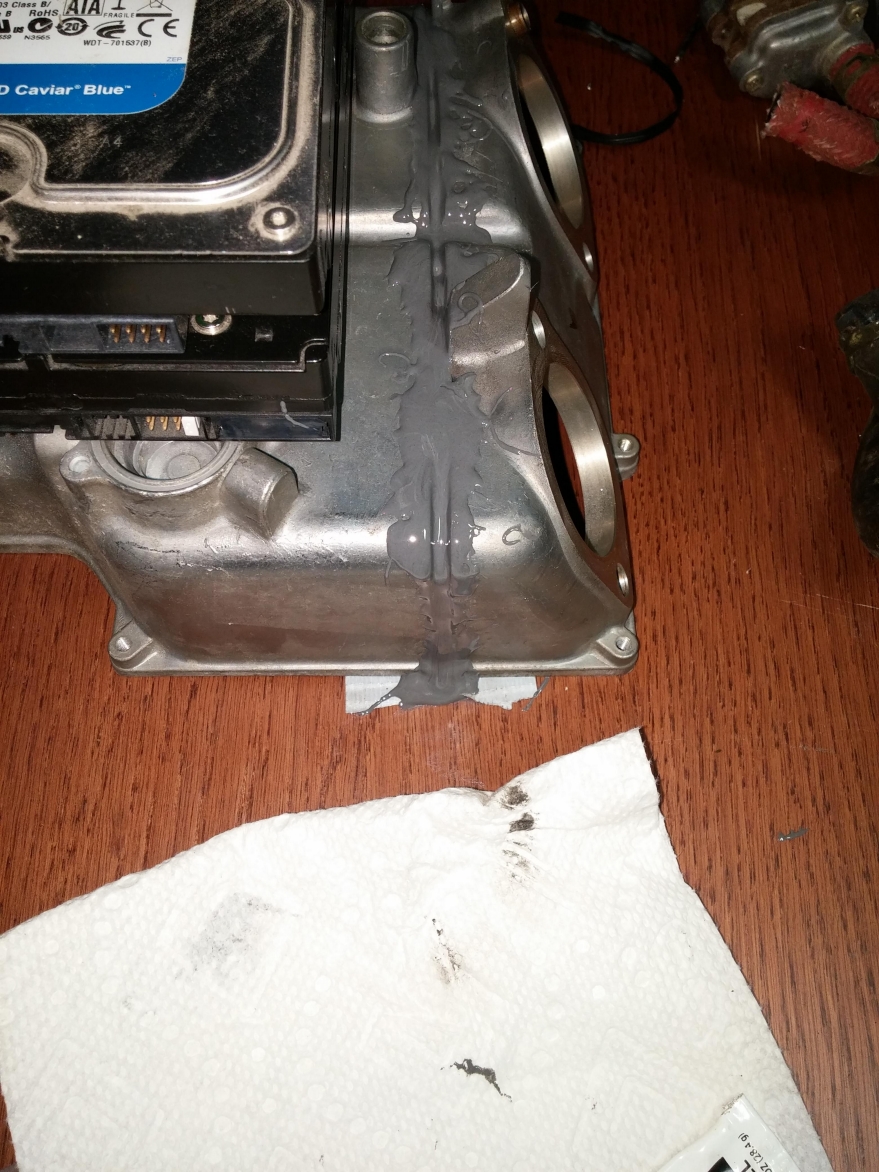
First application of JB weld. Hard drive for weight.
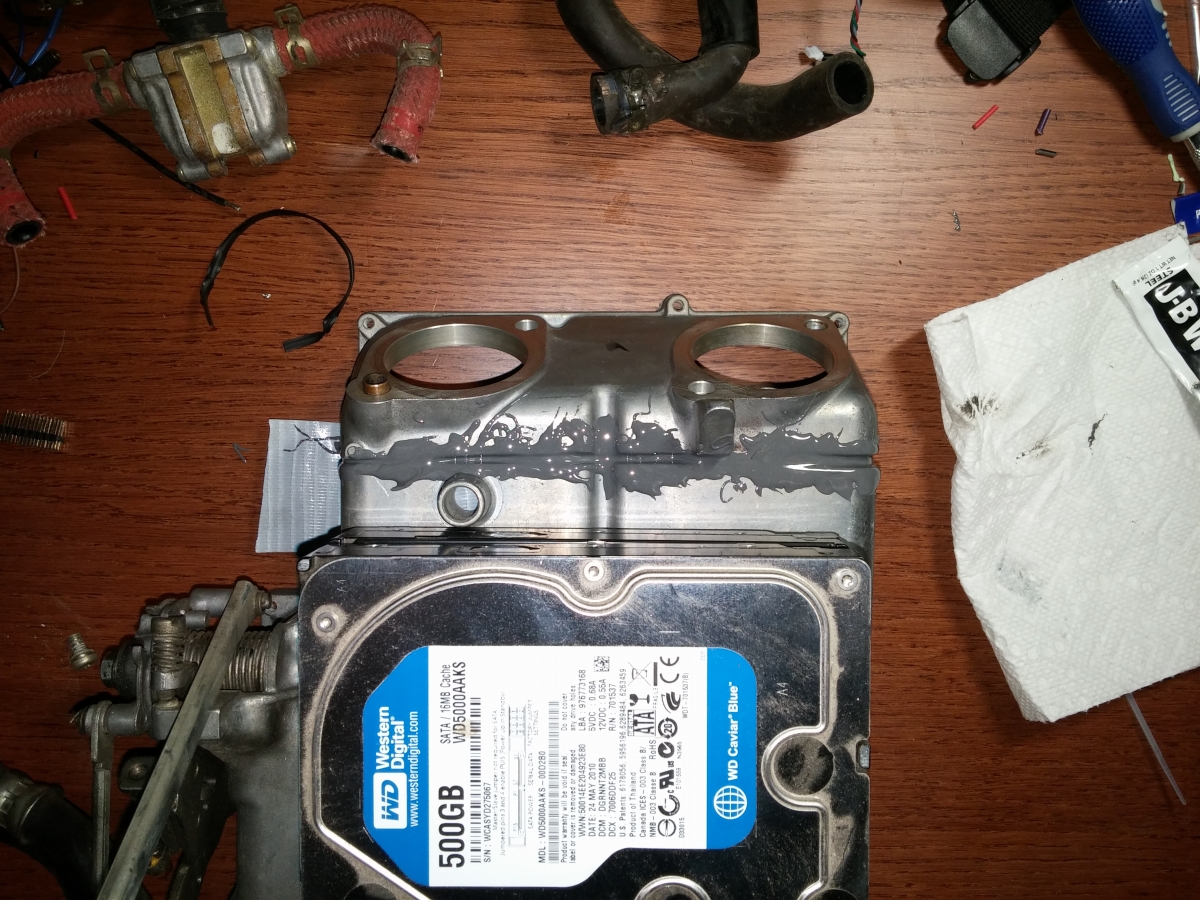
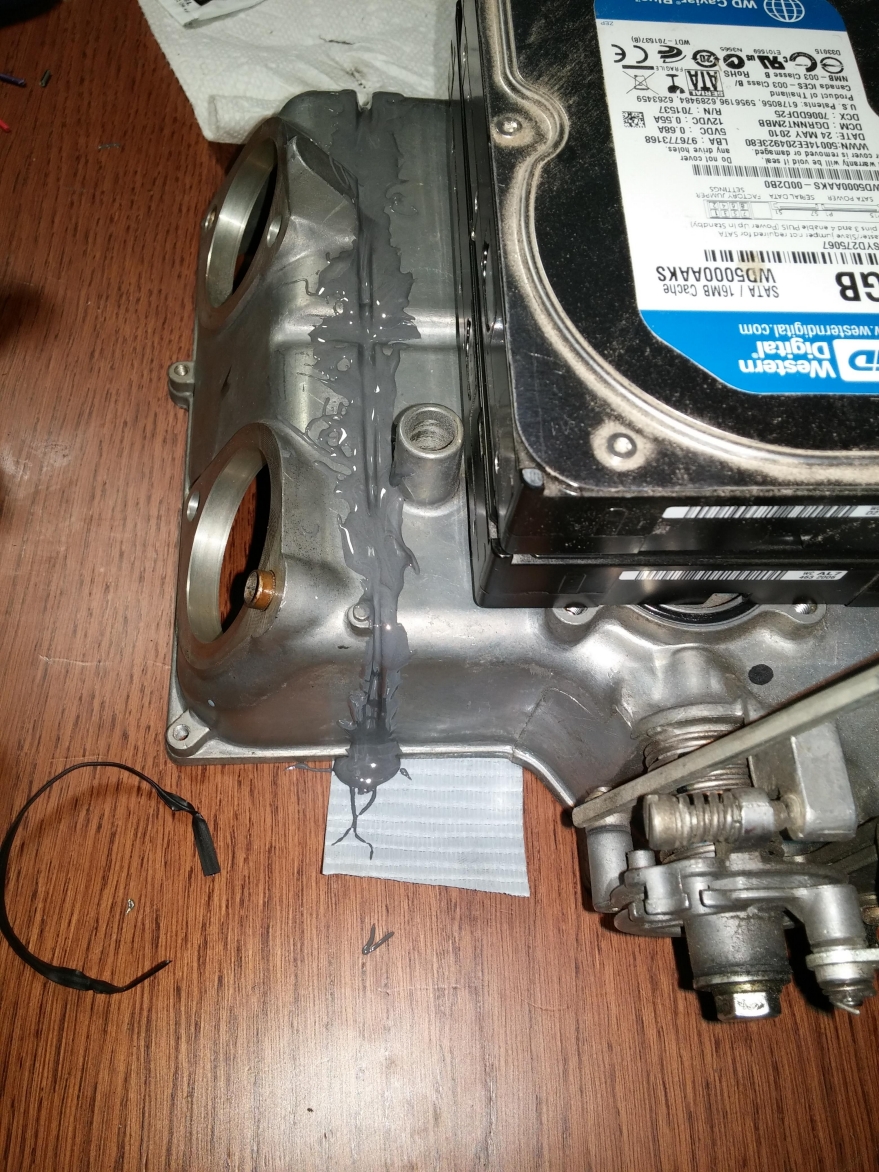
I recommend taping it better so you don't glue it to your desk like I did:
First coat dry, tape peeled off:
Looks pretty good. A bit thin in some areas.
Started tapping on it with a screwdriver to test the adhesion. Had a couple sections fail:
No matter, time for round two:
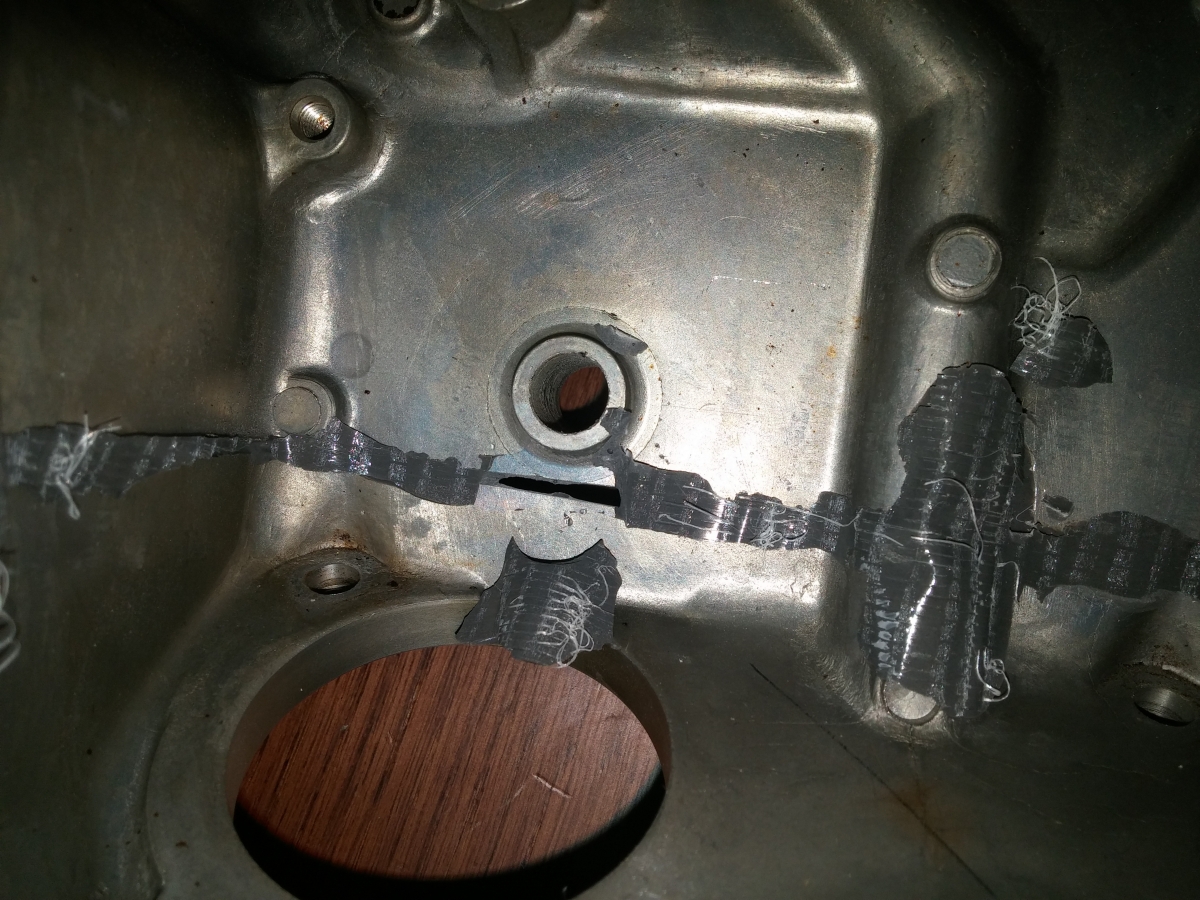
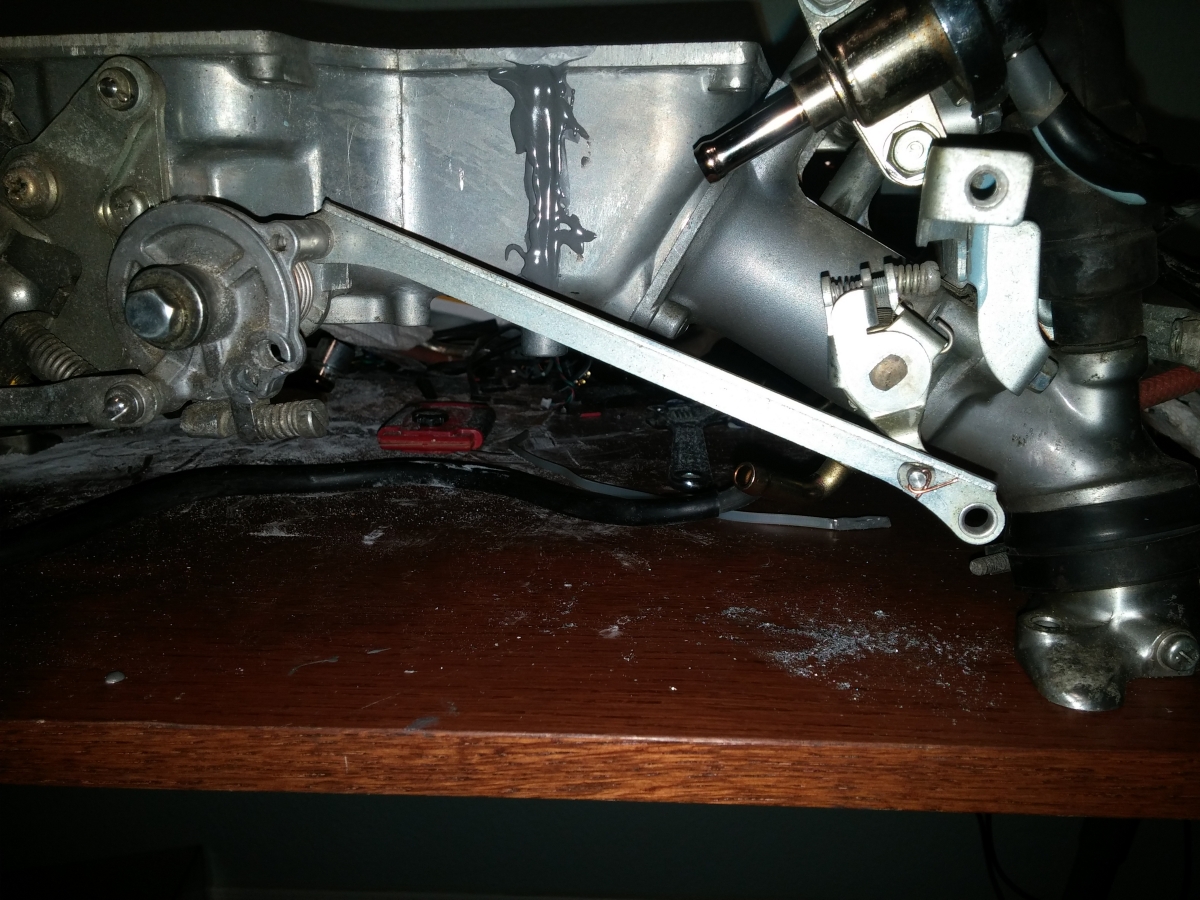
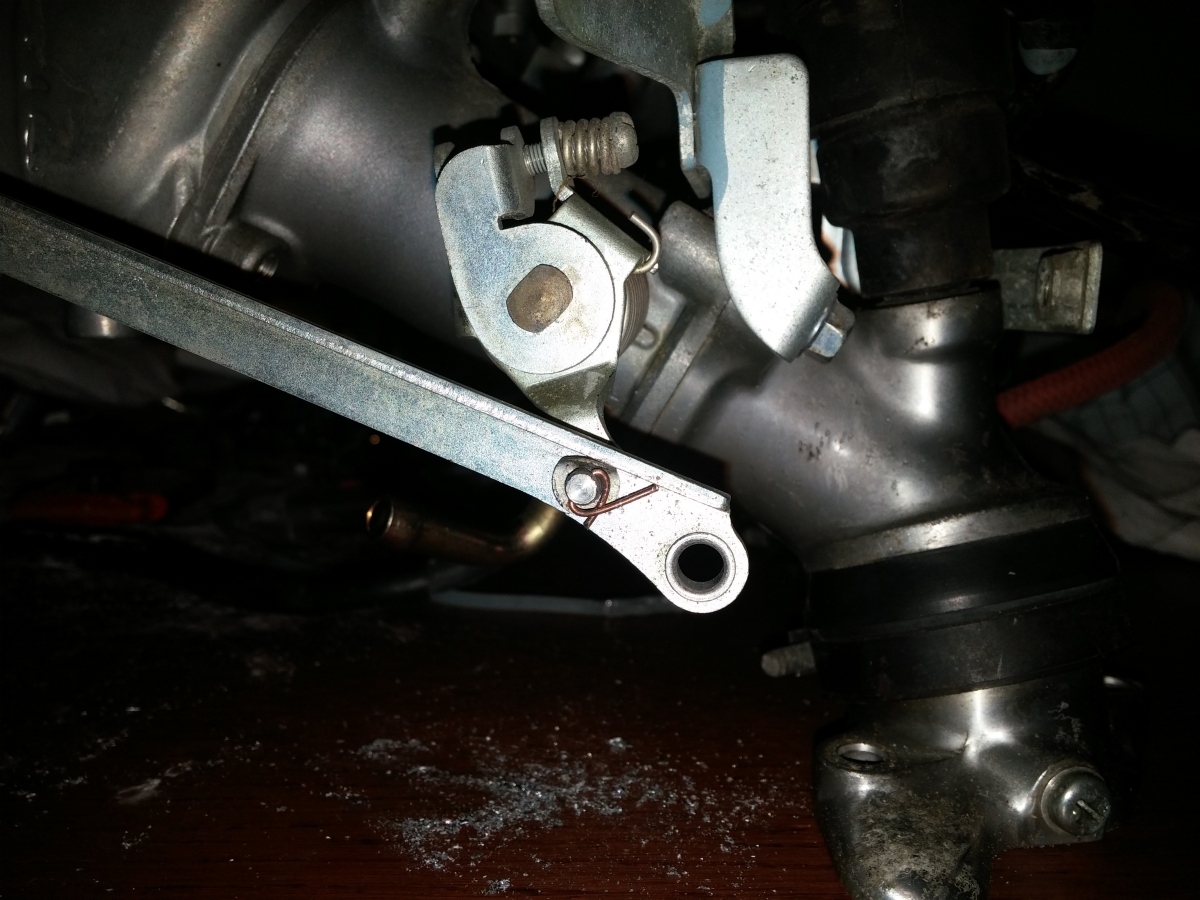
Round two worked great. Ground some of the excess down with a Dremel and moved onto the throttle linkage. Had to drill a hole to accommodate the shortened plenum:
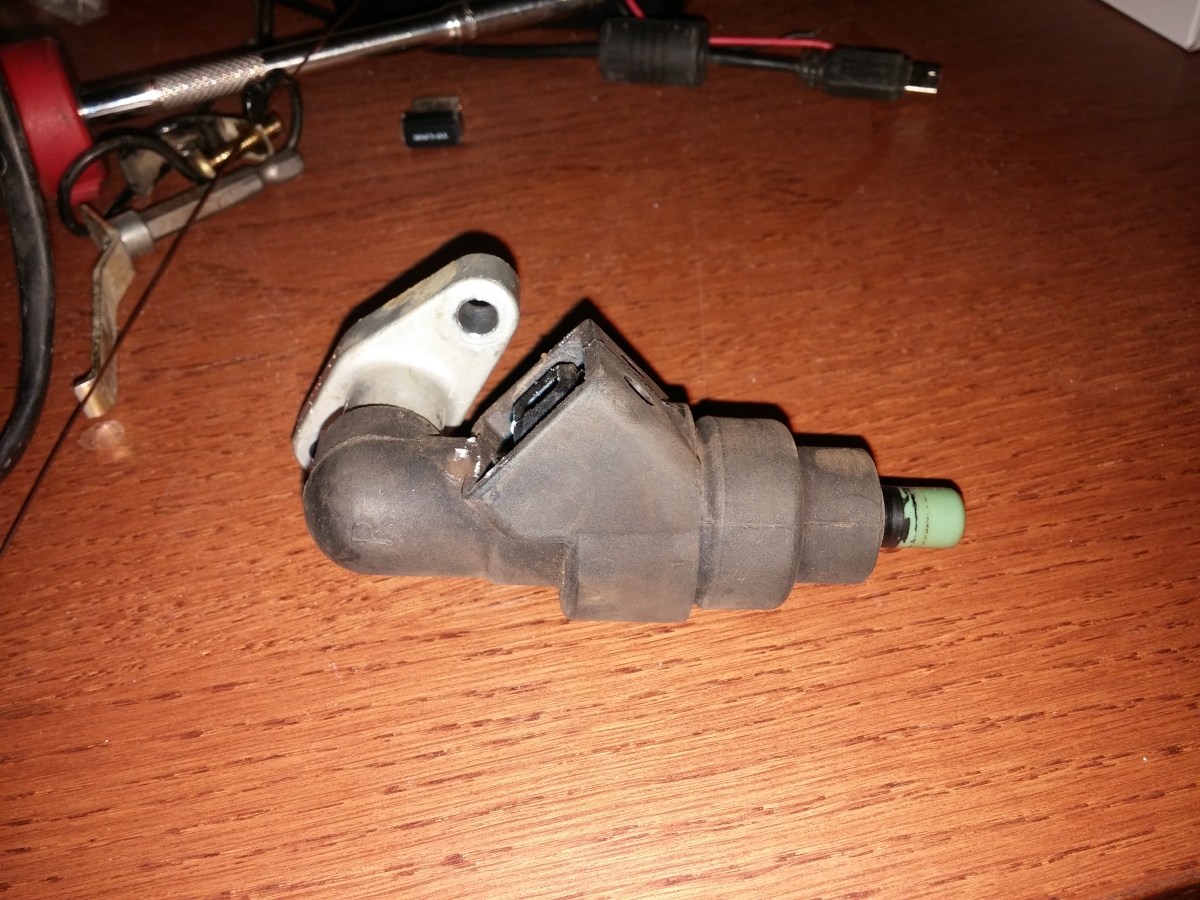
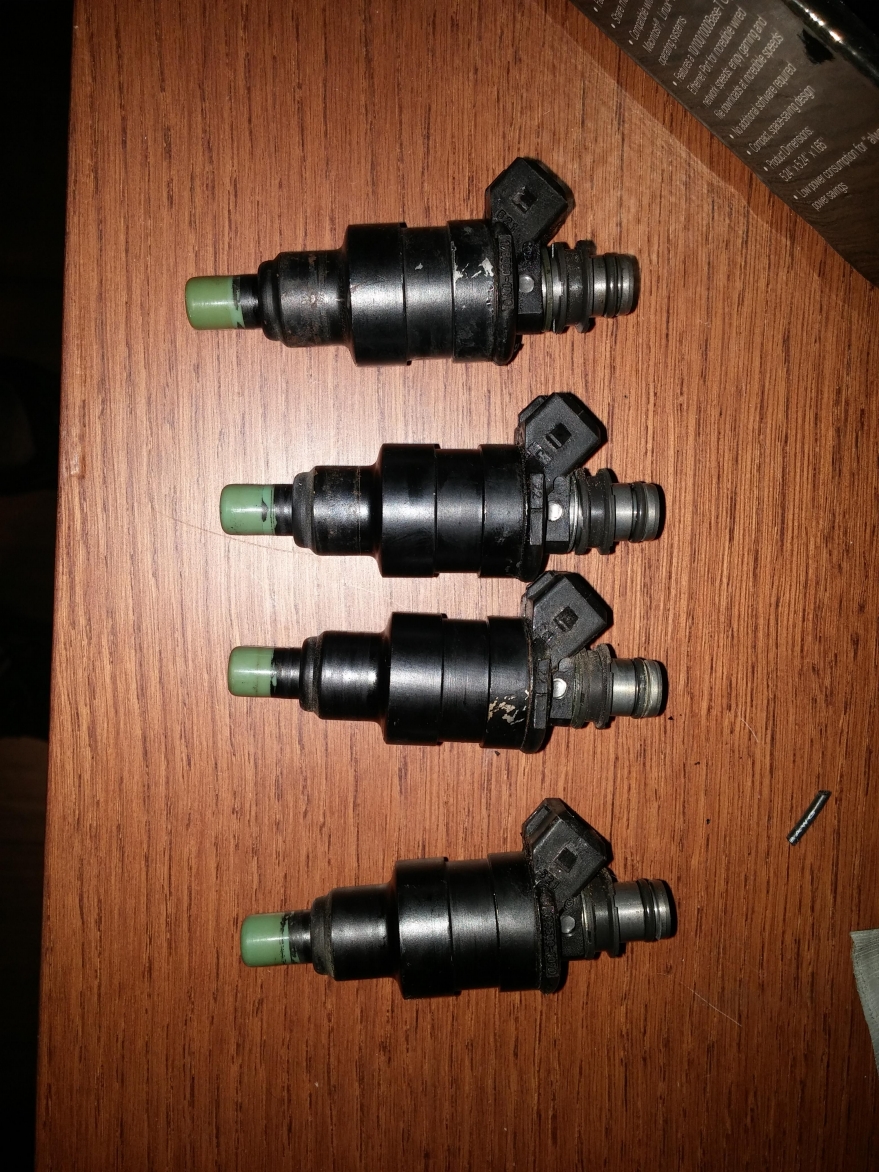
Since I was going for a more stripped down look, I removed the ugly rubber boots from the injectors:
I bent the fuel rail at this time. Don't do that; wait until it's on the bike. This hit the fan and had other clearance issues.
I replaced the fan thermoswitch with a coolant temp sensor. Unfortunately this is on the cold side of the thermostat. I drilled a small bypass hole to prevent the sensor from
lagging too far behind.
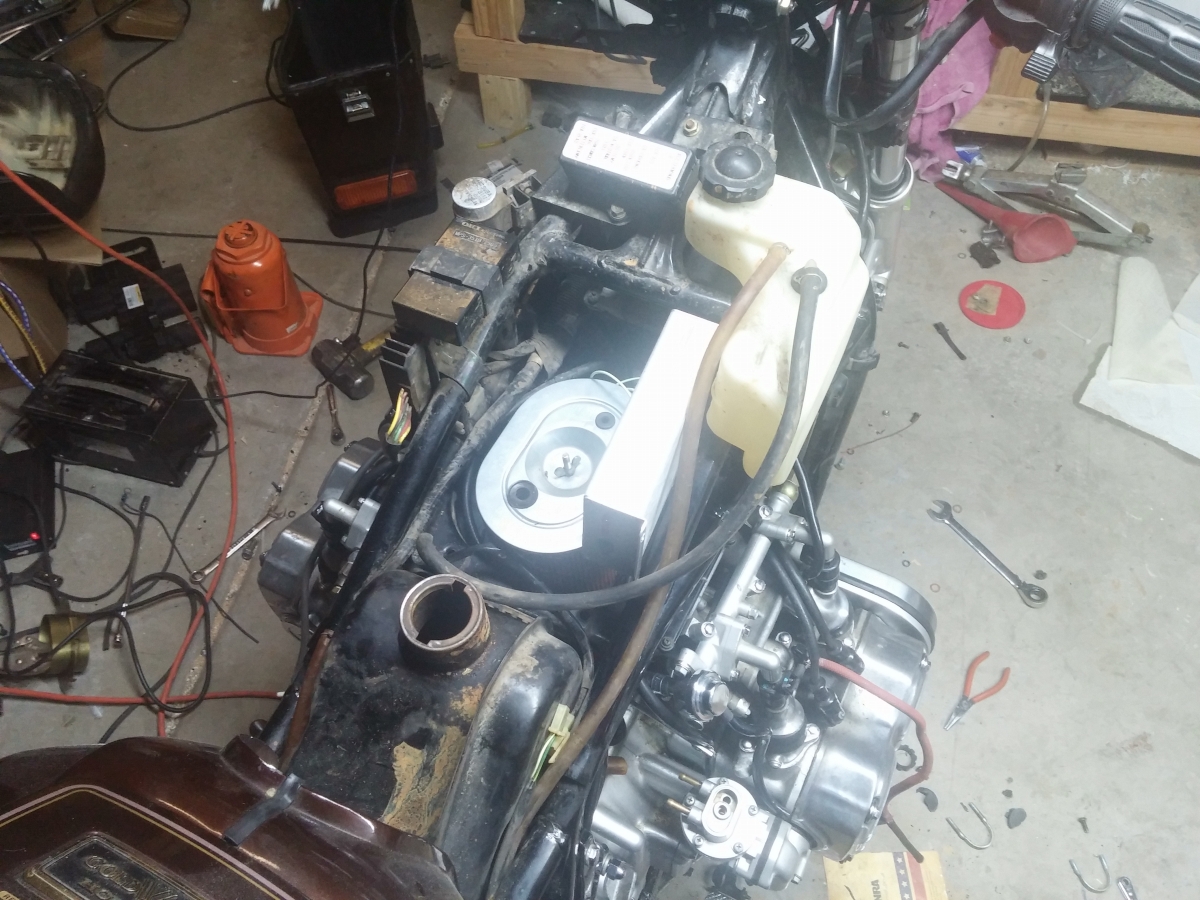
JB weld is dry, and now the plenum is bolted into place:

Making good progress:
Mounted the fuel pump under the bike. It's tucked up in there higher than it looks. There's no way it could be hit by any road debris.
High pressure rated fuel filter:
Petcock size vs pump supply line:
Line from pump to filter, coming up from next to the driveshaft:
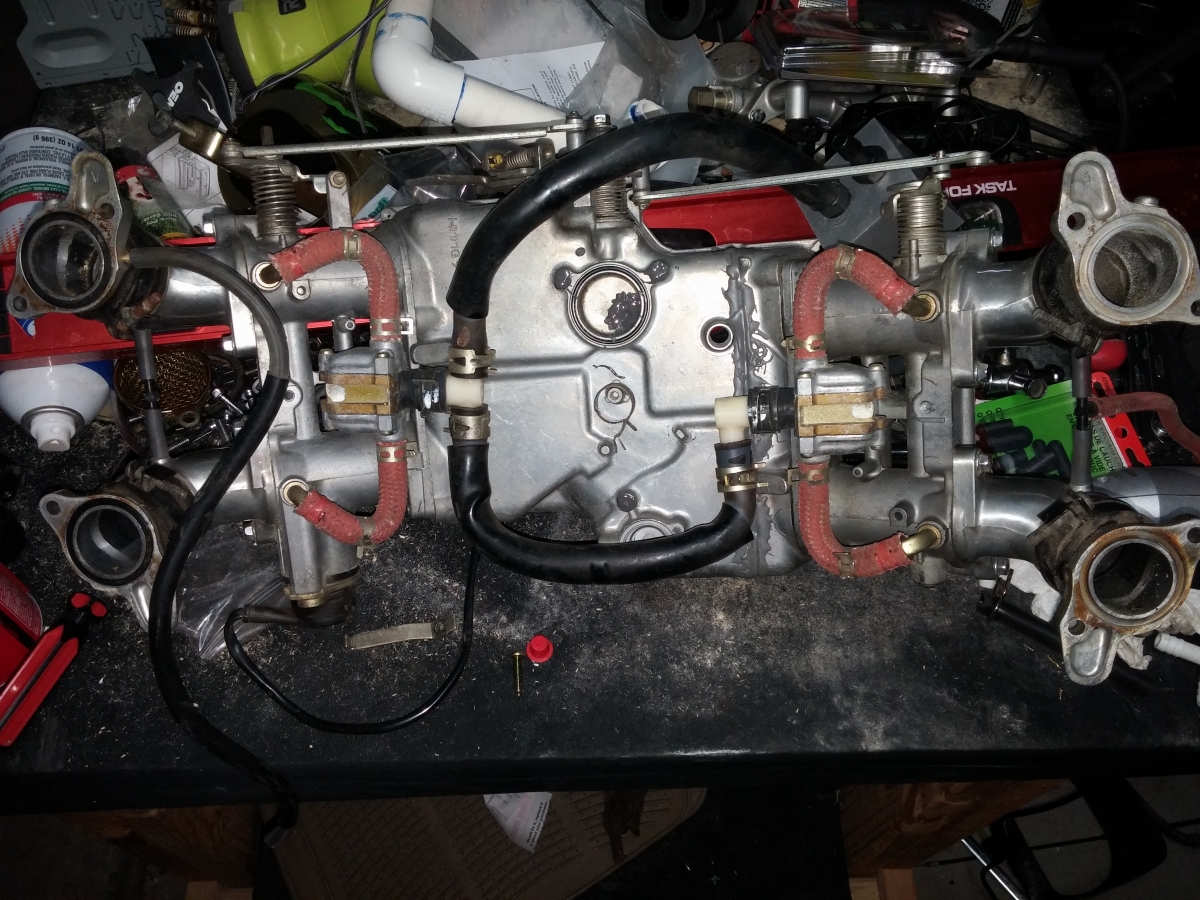
Sealed up a few emissions holes and began looking at the idle control. The junction boxes with the red hoses all had reed valves in them for some reason. I removed the reeds
so they're now free-flowing junctions. The hose at the top will go to a GM style stepper motor IACV.
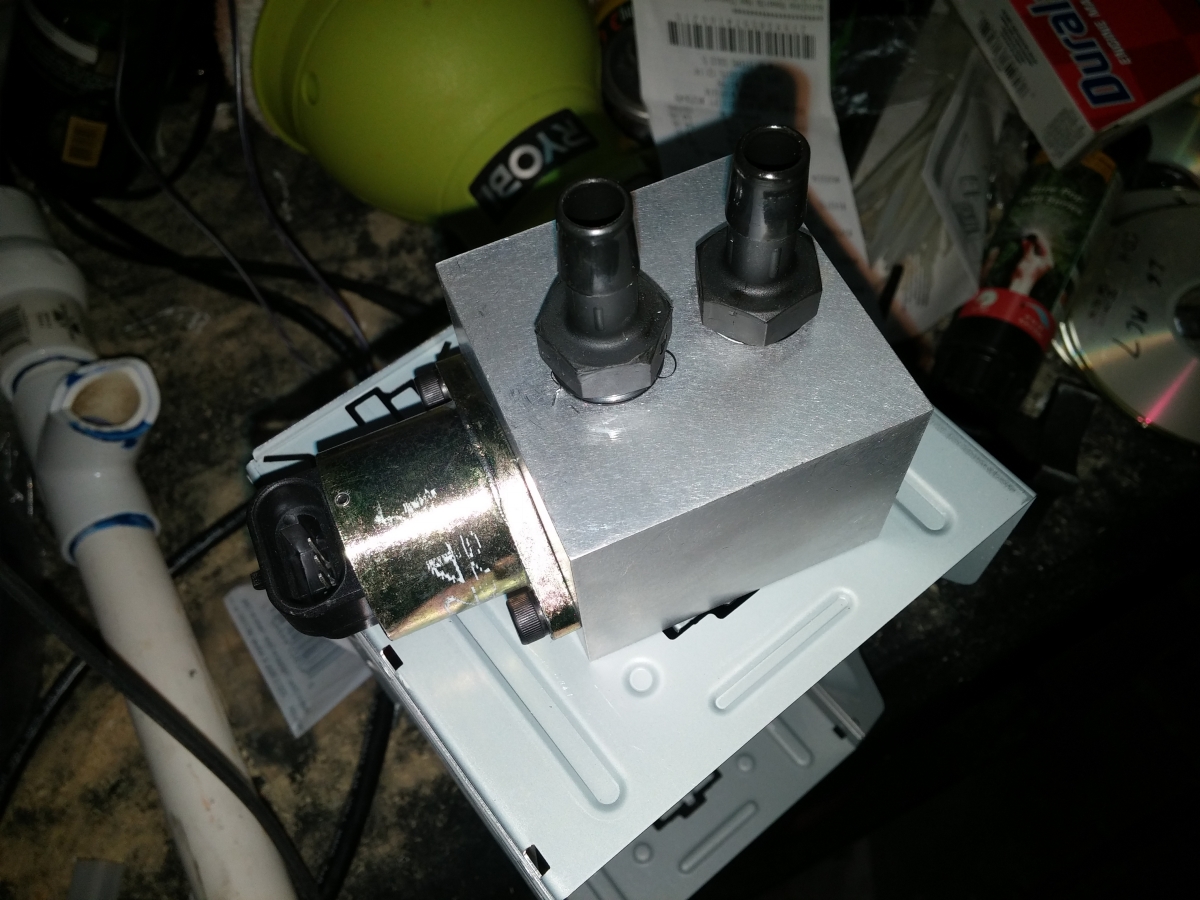
IACV housing from diyautotune.com. Fits an early 90s Jeep Cherokee IACV:
Throttle cables connected with no modifications:
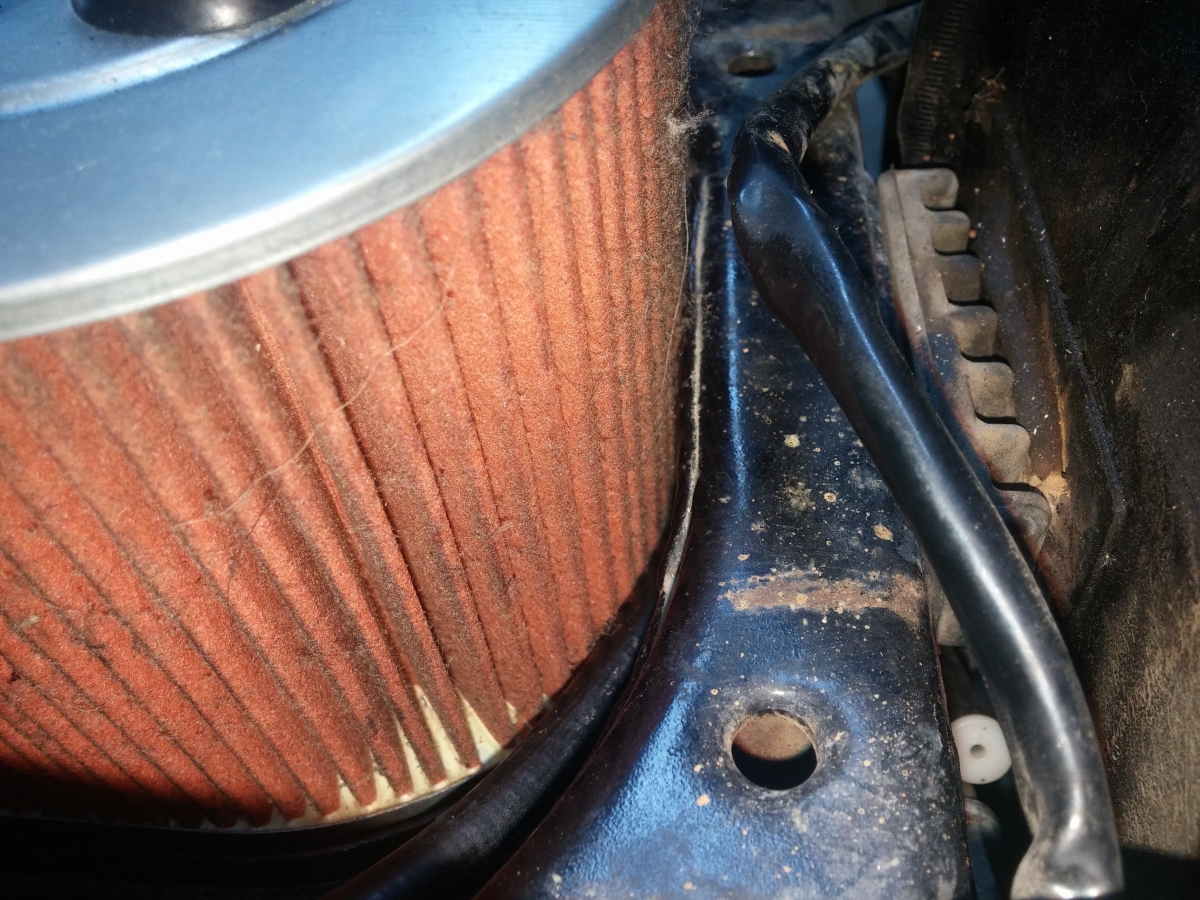
Airbox lid from a GL1200. Sectioned to match the plenum.
Tight squeeze:

Perfectly centered. Entering the home stretch now.
GL1200 air filter. Smaller hole is plugged, larger hole fits the intake air temp sensor.
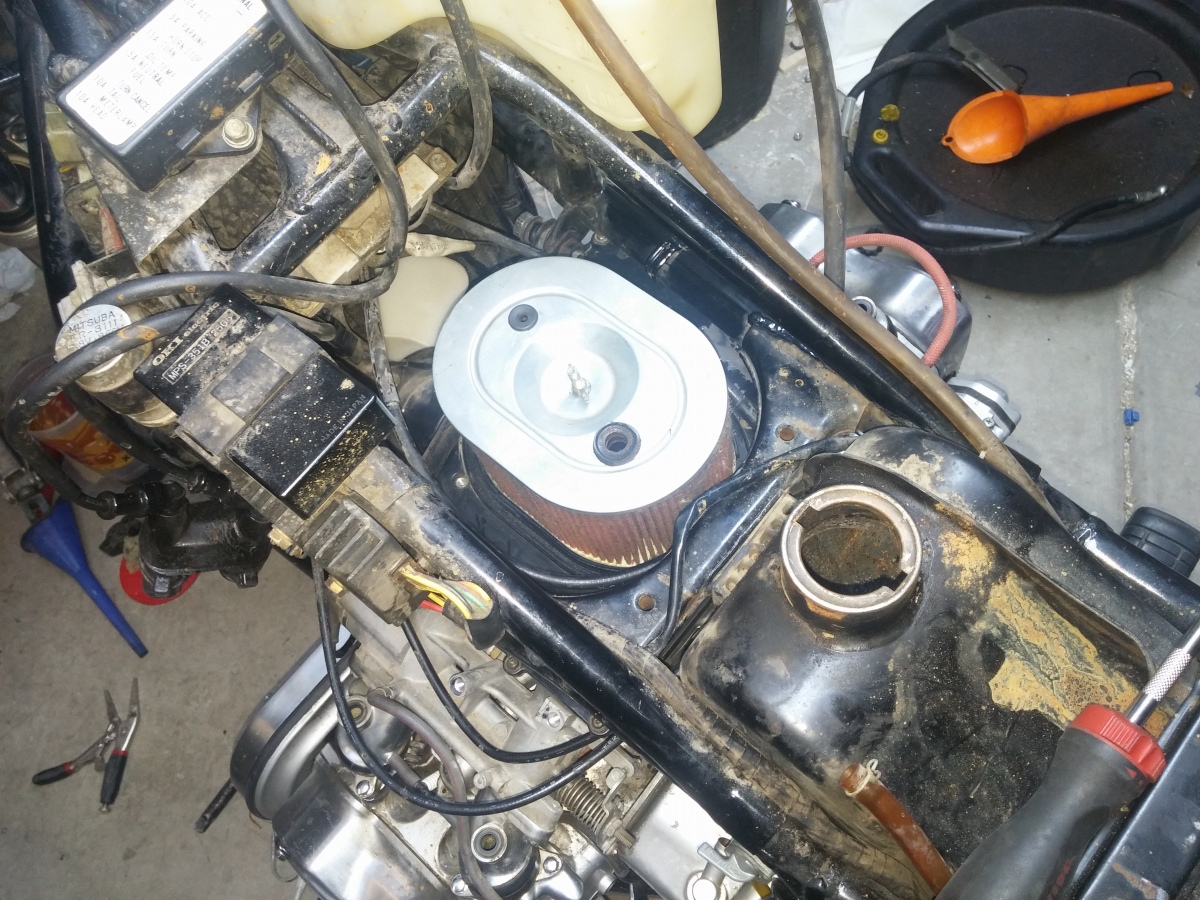
No room for the airbox itself, but the filter fits in nicely:
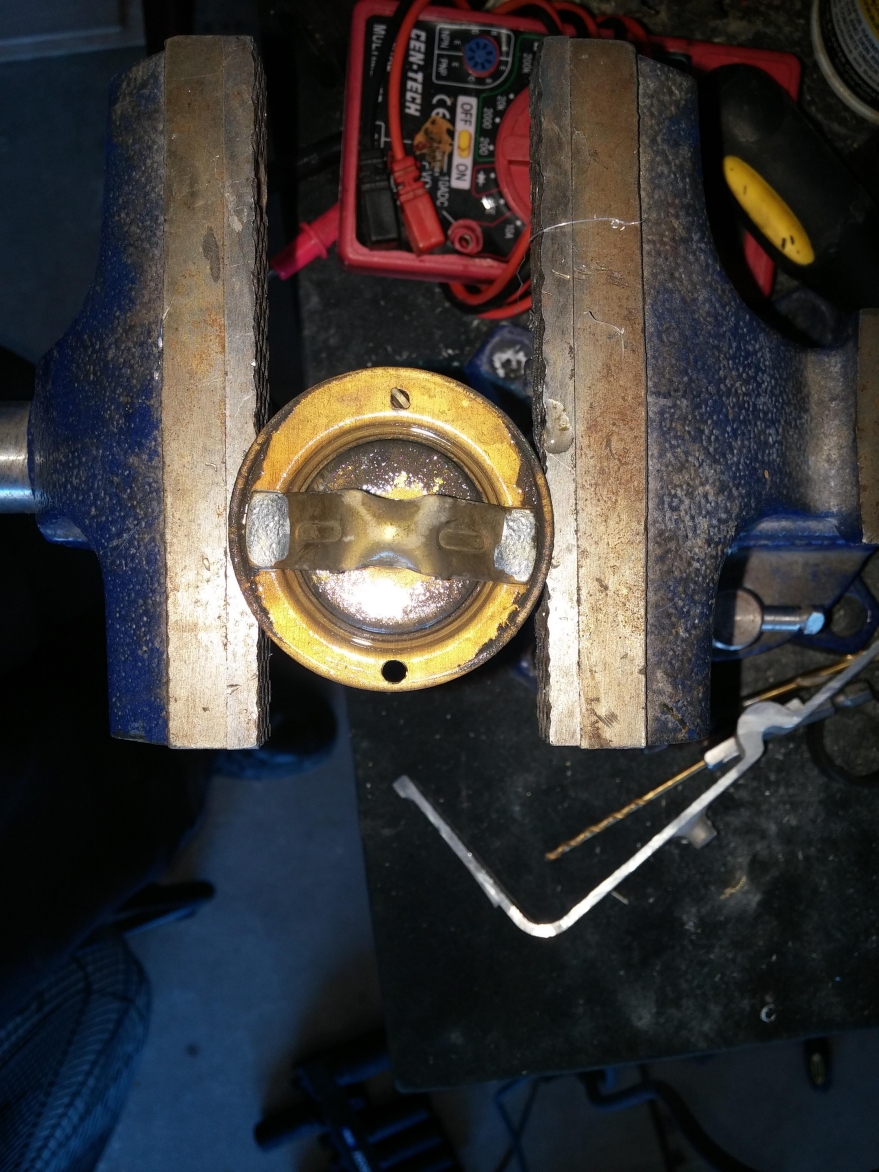
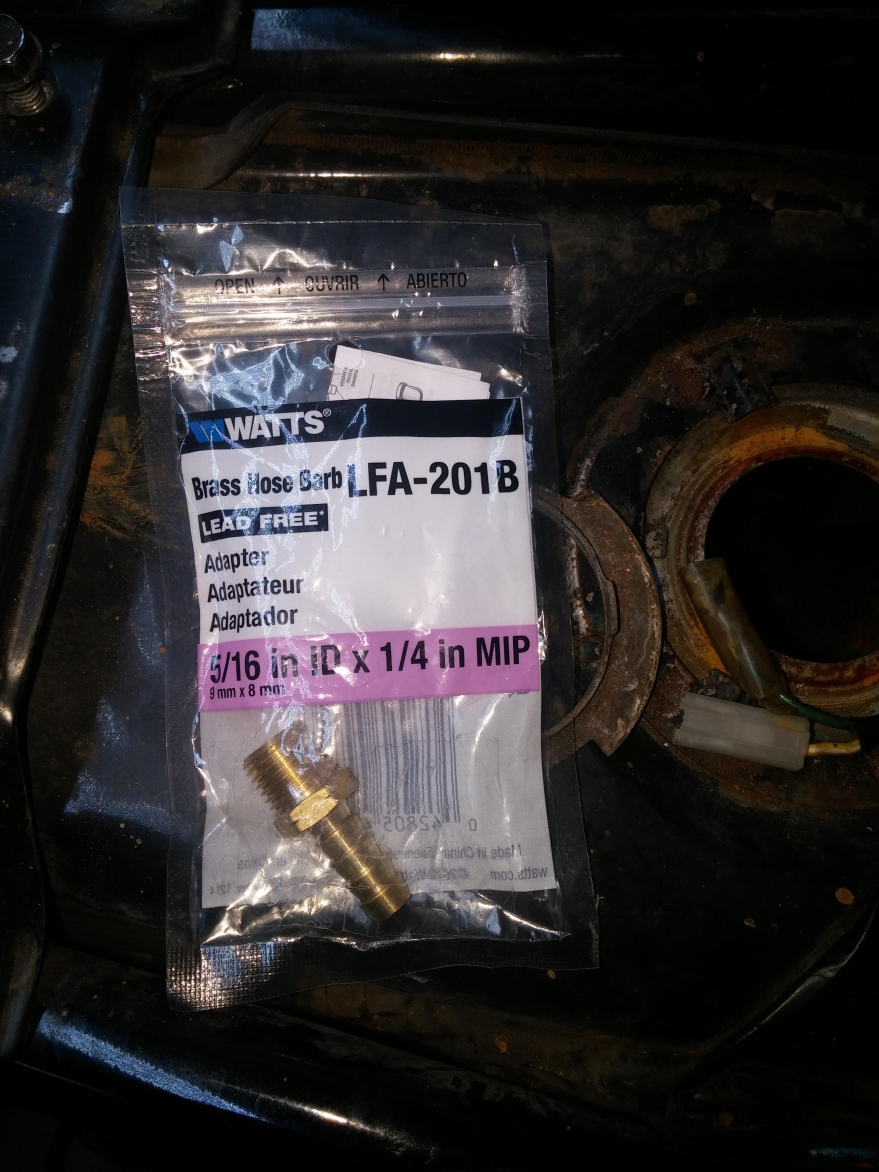
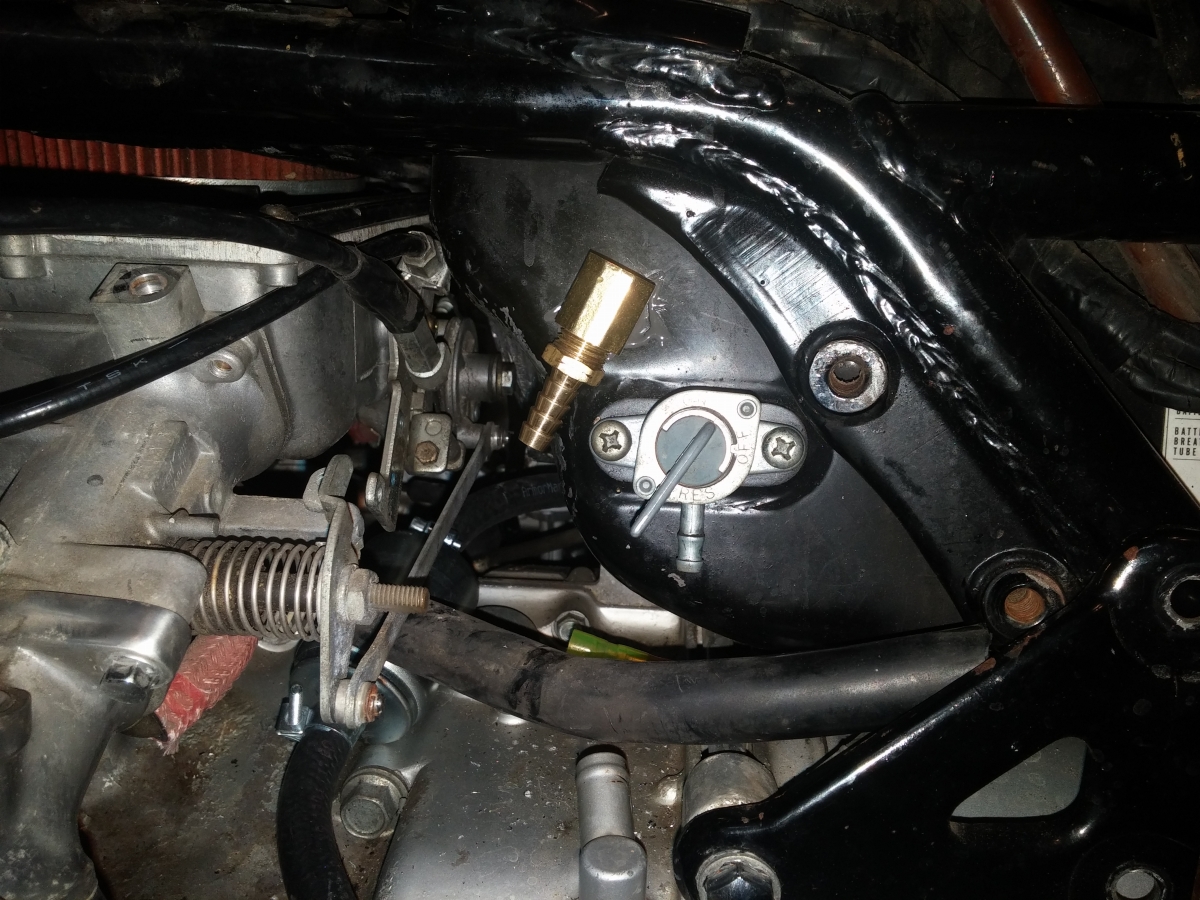
I decided the petcock was too small to feed that fuel pump, so I bought a few 5/16 barbs:
Fuel return off the pressure regulator:
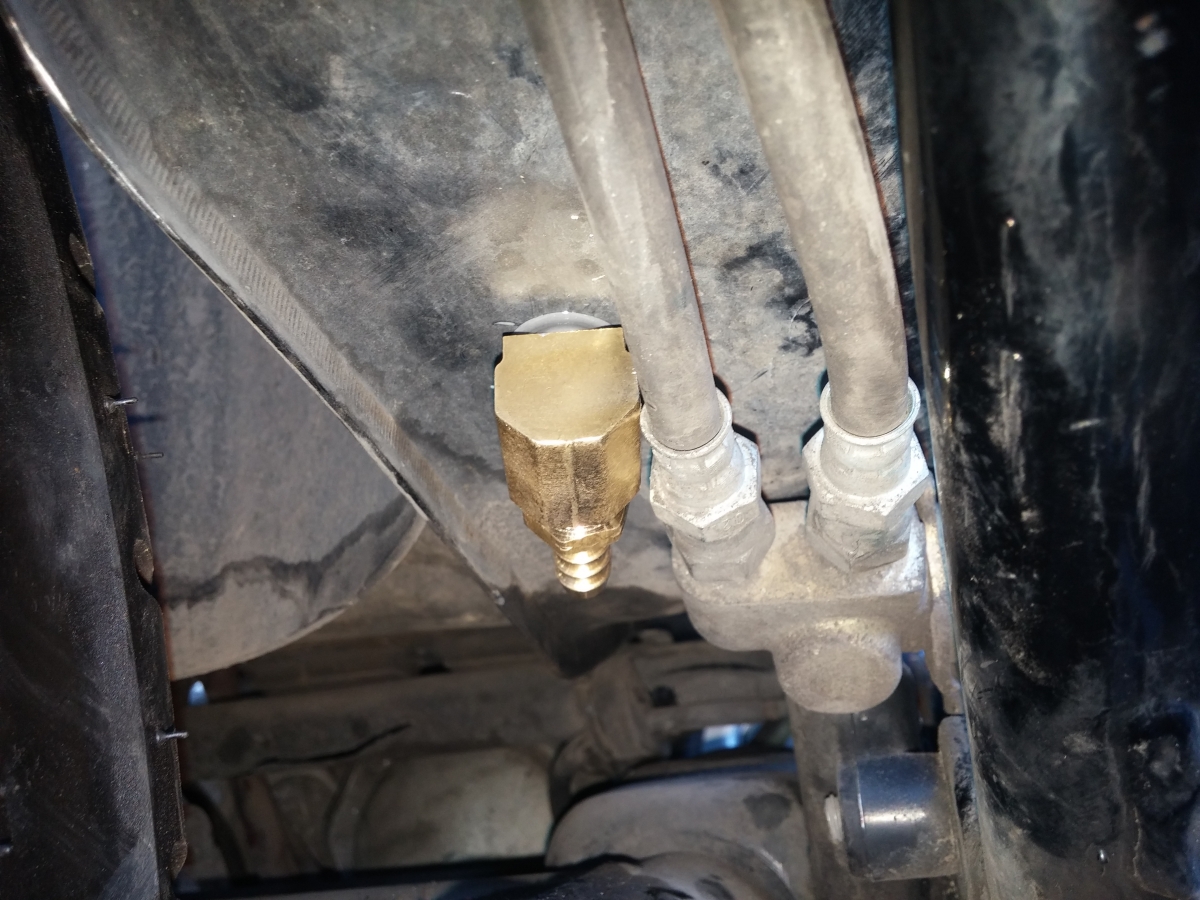
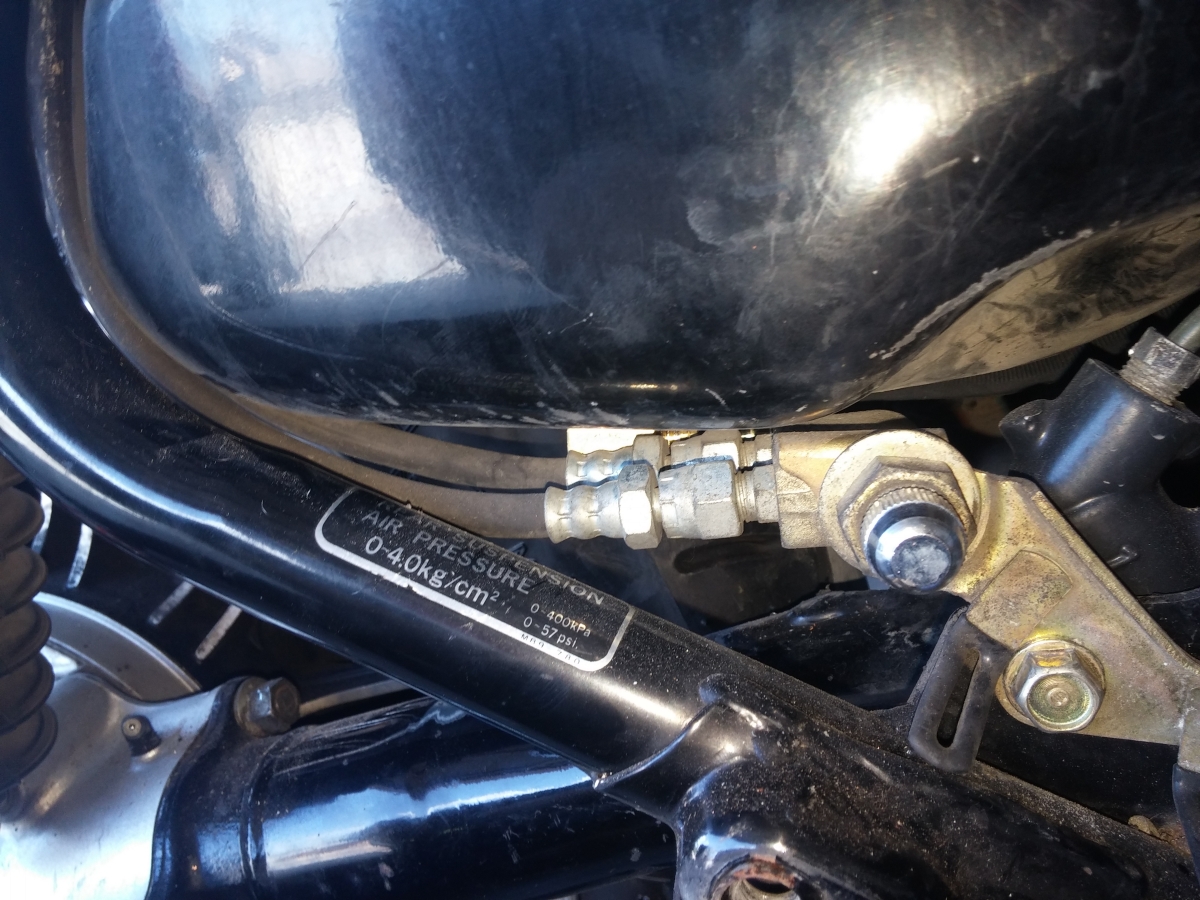
Fuel feed from the lowest point in the tank next to the air suspension:
Both fittings were threaded extremely tightly into drilled and tapped holes in the tank. I used JB weld as a threadlocker to keep them from leaking or ever moving. I've used
JB weld before in fuel-submerged applications and had no issues. Between the tightly threaded fit and the JB weld I've had no leaks.
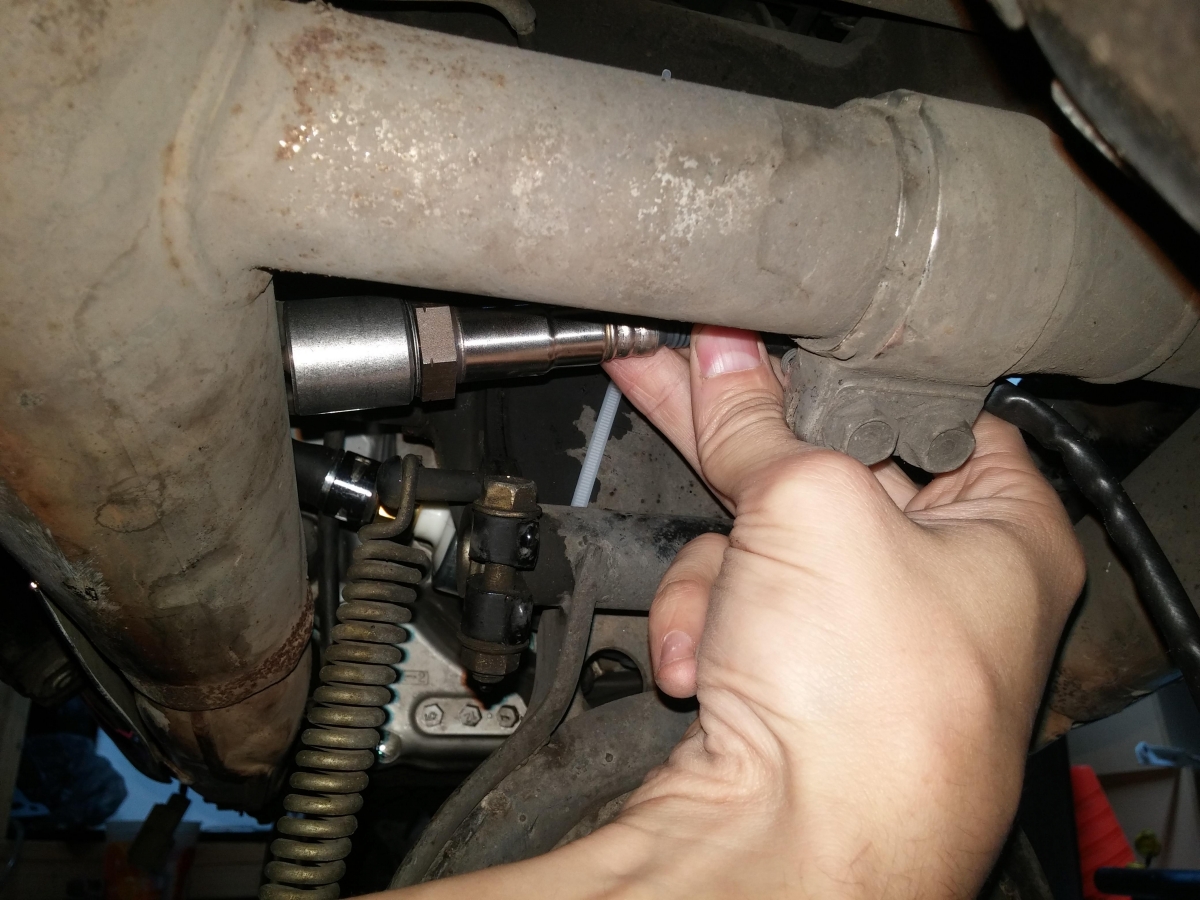
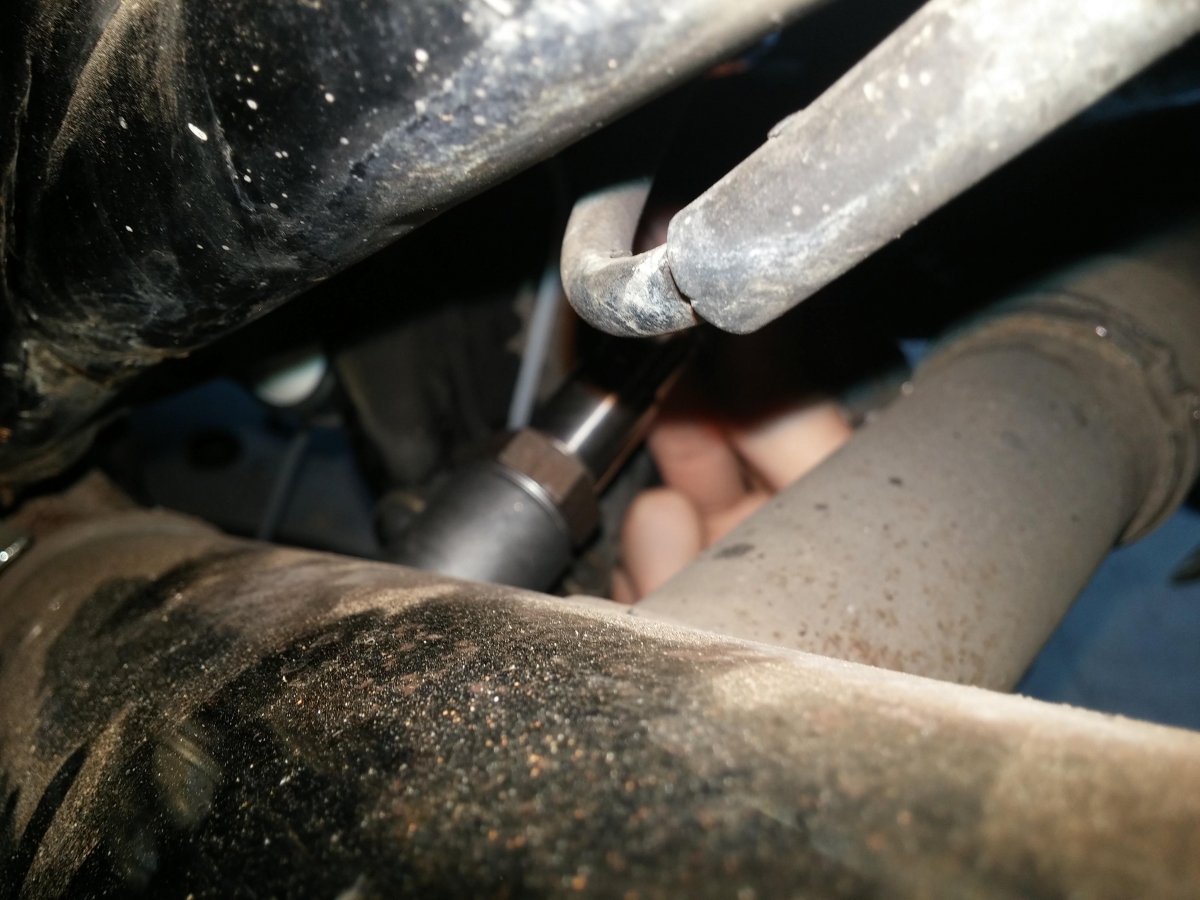
Finding a spot for the O2 sensor:
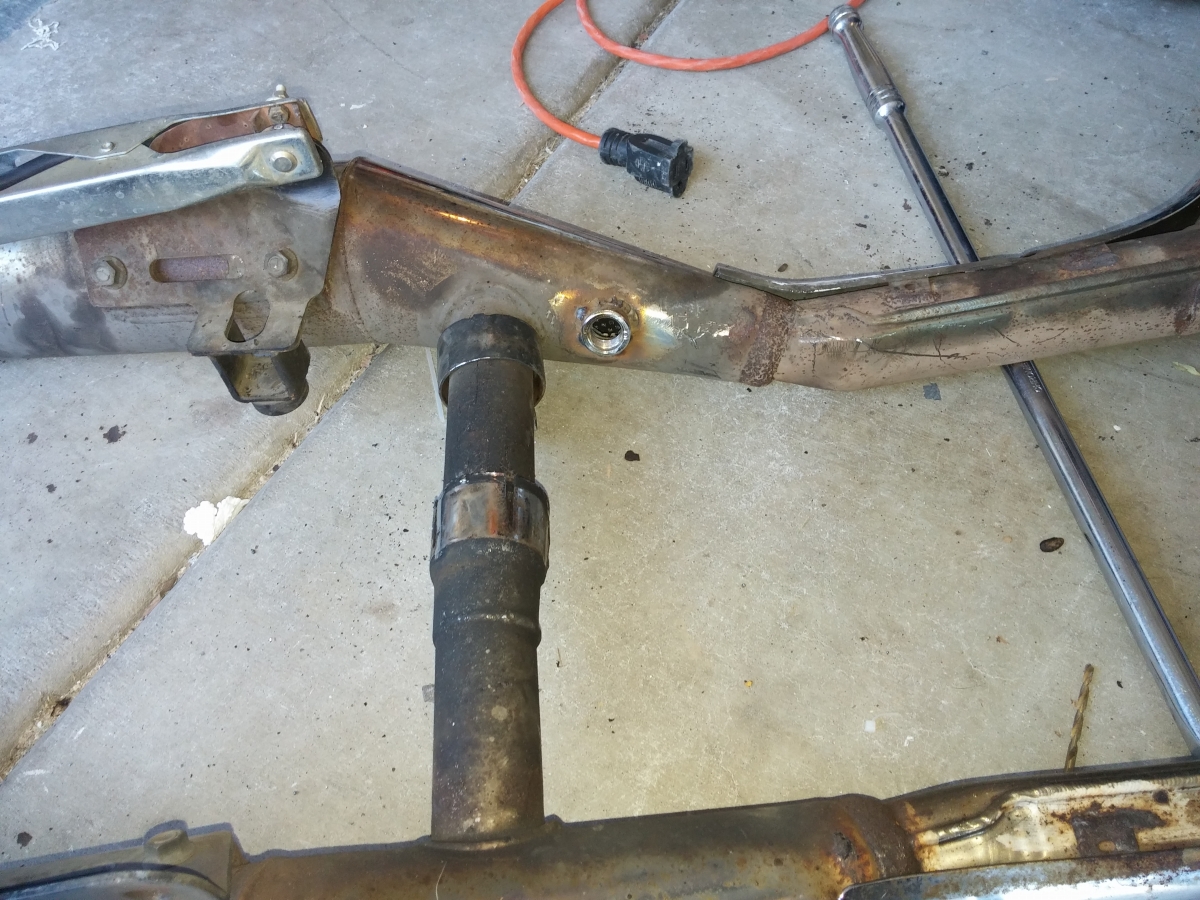
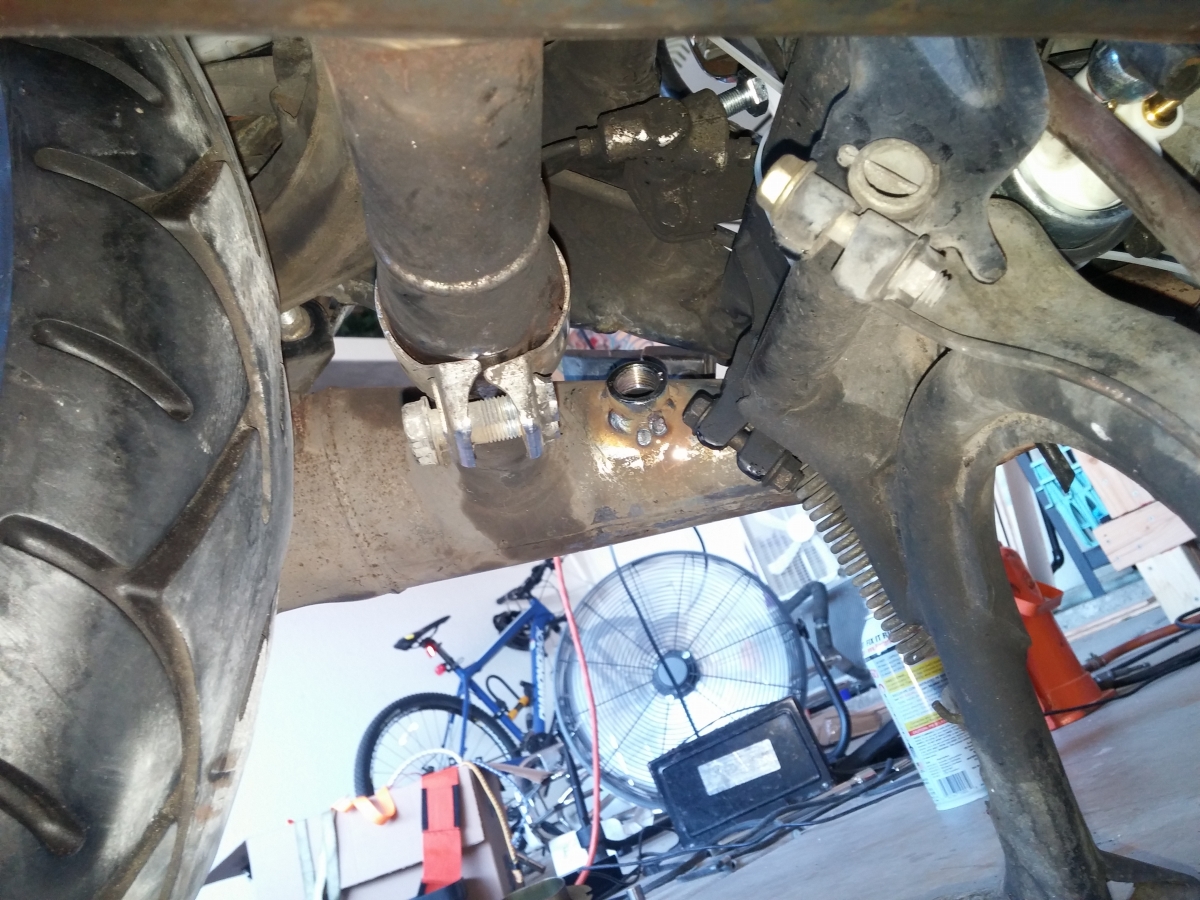
Welded the O2 bung in place:
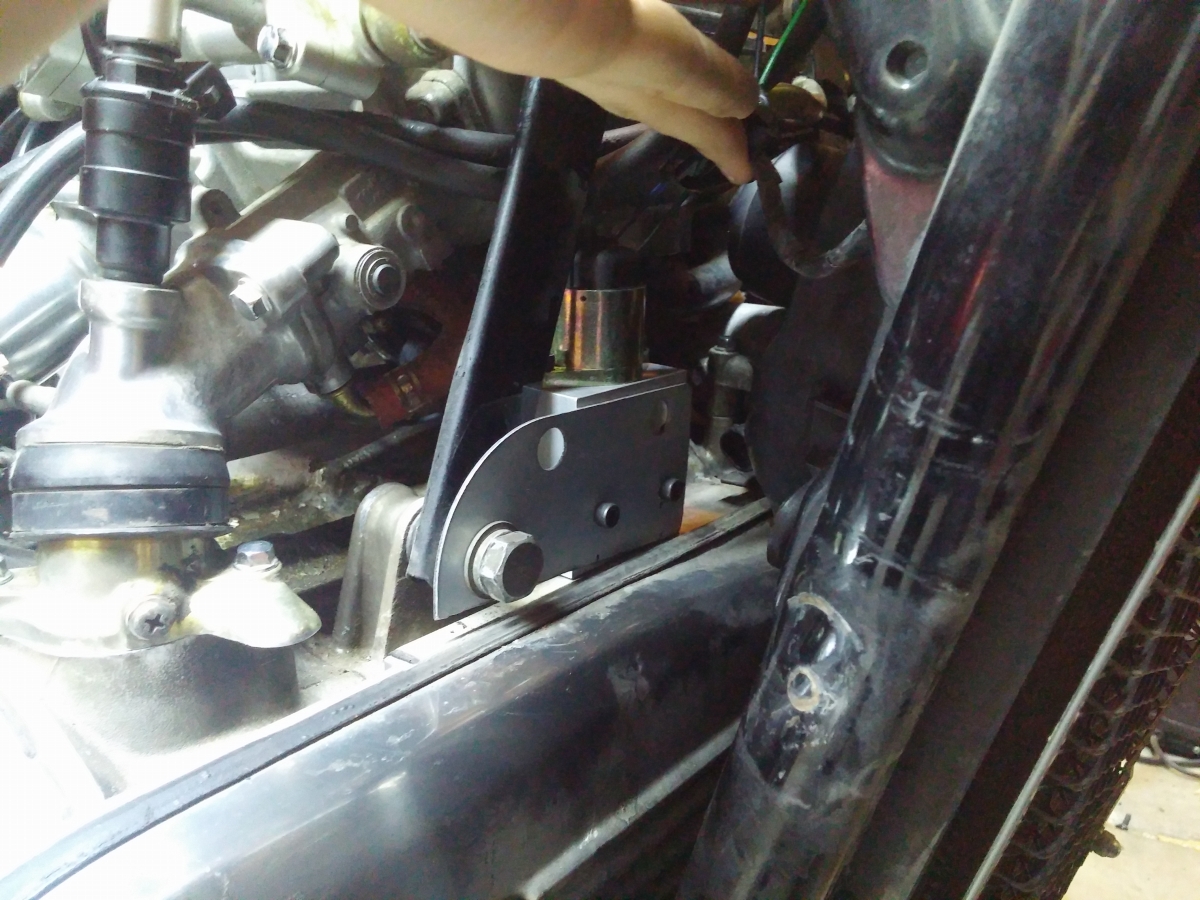
Bracket made for IACV housing on the front right motor mount:
Decided to put the Megasquirt here where it's accessible from the fake gas tank:
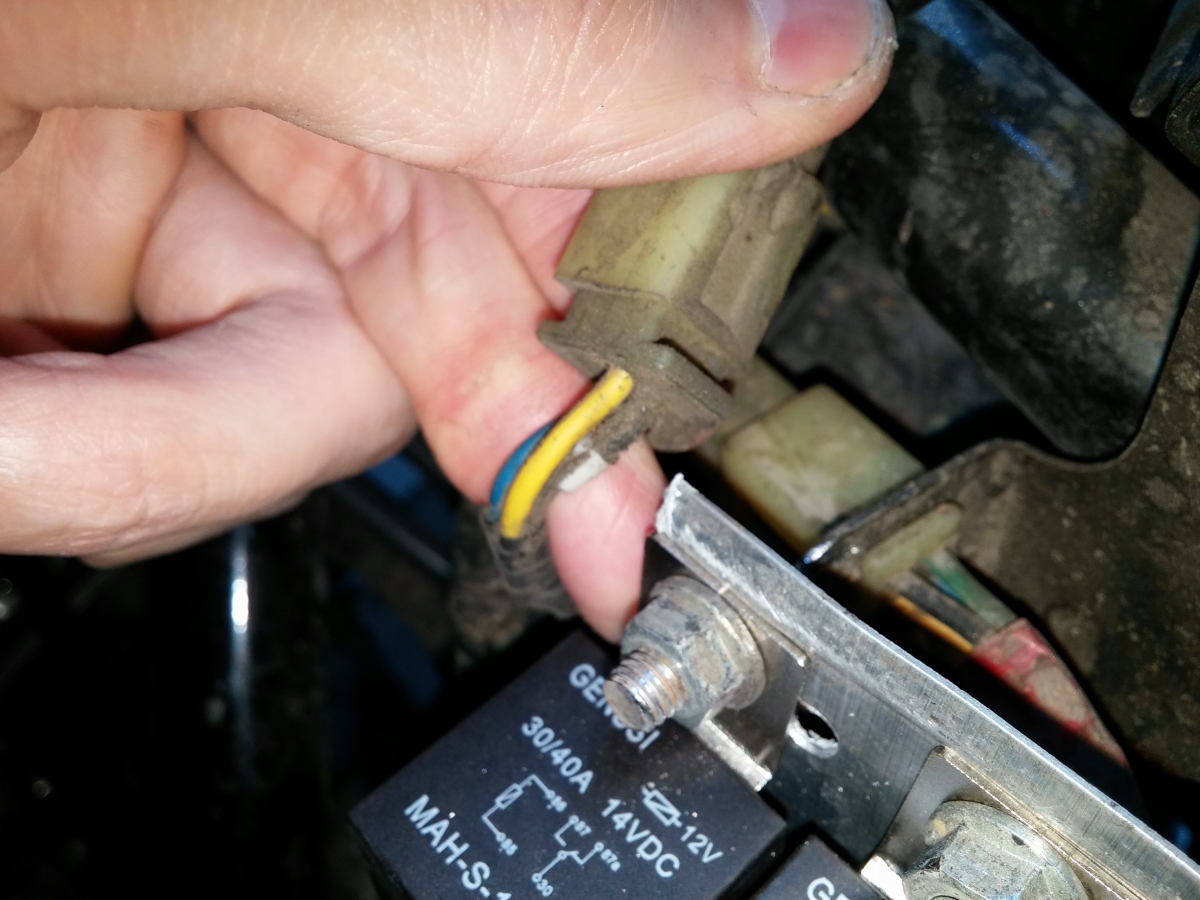
Relay panel. Left relay is for the radiator fan (now controlled by the ECU), right relay powers the Megasquirt, injectors, and O2 sensor (Innovate LC-2). There's a third
relay next to the battery for the fuel pump.

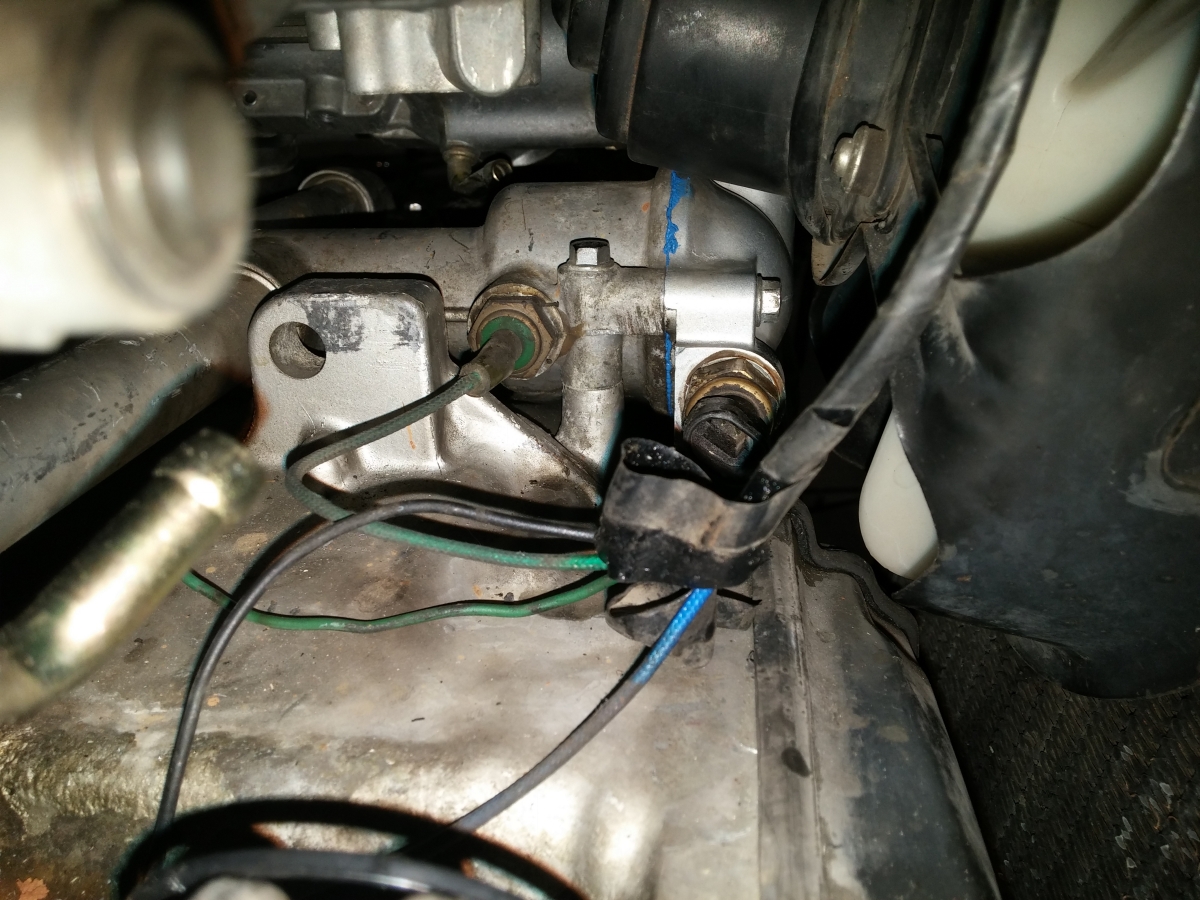
Wiring for the fan. This used to go to the thermoswitch.
These wires next to my relay panel go to the ignition coils. They'll work nicely for the MS's tach input.
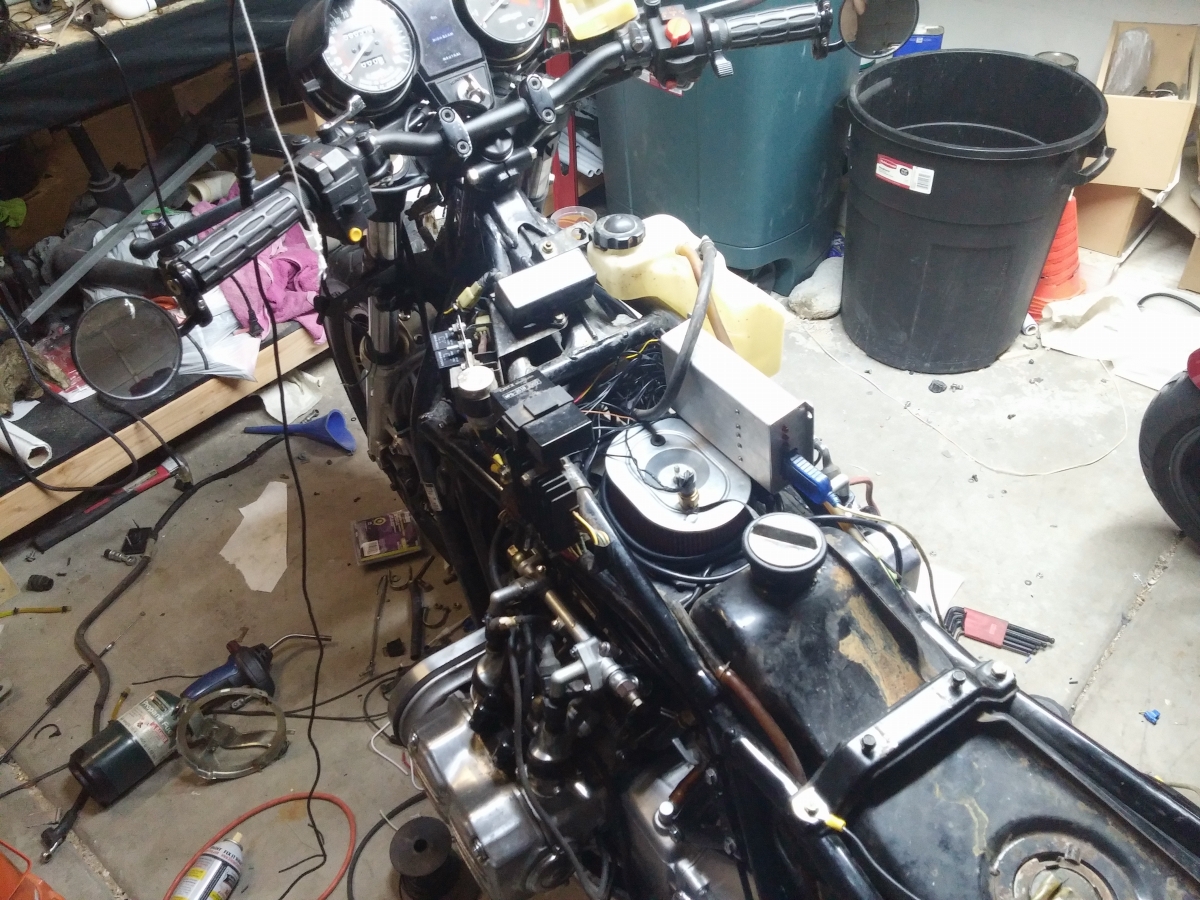
Wiring harness complete. Intake air temp sensor threaded into drilled/tapped hole in filter.
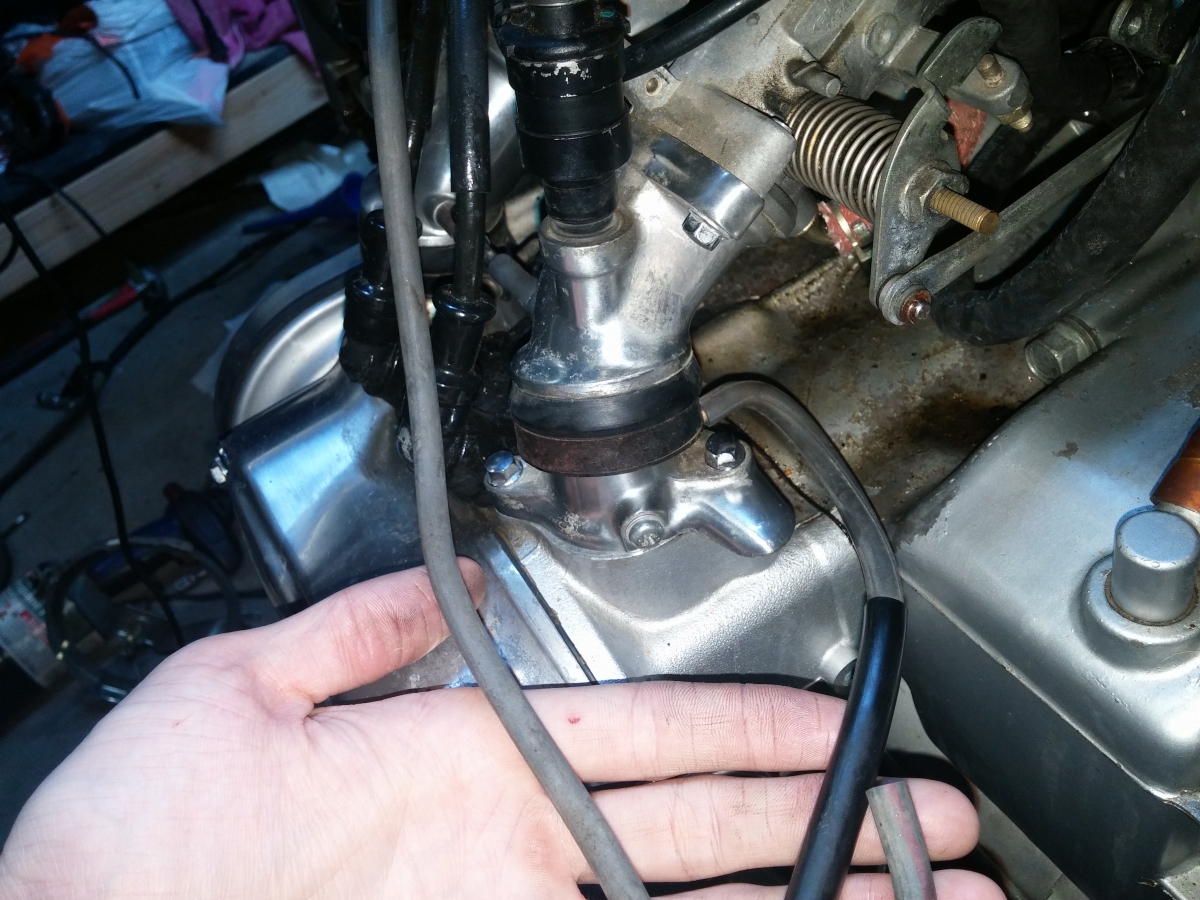
Vacuum lines. This one at the base of the intake elbow crosses over the engine and goes to the pulse generator's vacuum advance.
And she runs!
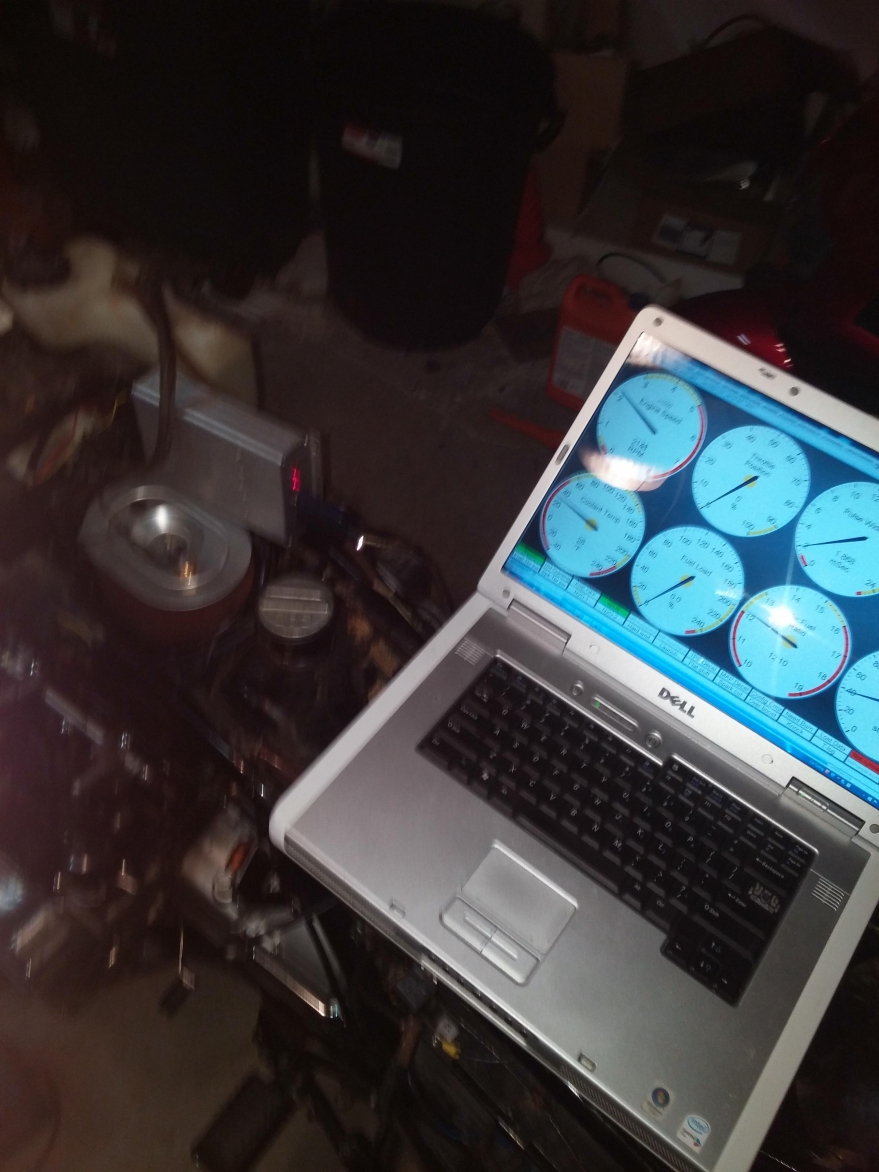
Apologies for the blurry pic there. I'll get some videos uploaded soon. I'll post some info about the wiring and tuning a bit later.
they leaked from nearly every gasket and something was wrong with the accelerator pump. Rebuild kits looked to be nearly $200 for some rubber pieces, so I decided to convert
the bike to EFI. This will be the third bike I've completed this conversion on; the first was a 1992 Suzuki Katana and the second was a 1997 Suzuki GSXR.
Let's begin.
Here's the new toy:
The previous owner said the carbs were just cleaned and had a receipt showing it was done earlier that month. The shop completely took him for a ride, and after the carbs
were "cleaned" and $1000 worth of work completed that didn't fix anything, the shop said he needed a pulse generator which they couldn't get. Basically saying "we can't
figure it out. Here's your bill; come get your bike." I began the process of stripping it down:
I then sat down and thought about it. The pulse generator didn't fit the diagnosis. All 4 cylinders fired and it would rev slowly to redline. This was a carb issue.
After opening up the carbs, I found that they were mostly clean. They leaked at every gasket and the didn't work well, but they were clean. Found some threads showing EFI
conversions were possible, so I decided to start collecting parts.
So here's where we stand.
I'm stripping the excess weight and touring parts from this bike at the same time; I have the FJR next to it for actual long distance riding. For the purpose of this thread
I'll skip most of the weight loss and style changes and focus on the EFI conversion itself.
GL1200 plenum has arrived:
Had to remove this air blocking plate to make some room:
Tons of room now:
Initial test fit with the left side bolted up:
About .6" overhang as expected.
Planning the cuts:
Chopped out the 0.6" section with an angle grinder:
Needed a bit of cleanup:
Bolted up the two sides and found the TPS hits the motor mount:
I marked the offending section with tape and trimmed it up.
Now that the mount is out of the way, here's how it bolted up:
Not bad. Slight gap, but small enough to fill in. Plenty of room to move it around as needed.
Back off the bike and prepping for JB weld. Backed the gap with duct tape so keep the epoxy in place while curing.
First application of JB weld. Hard drive for weight.
I recommend taping it better so you don't glue it to your desk like I did:
First coat dry, tape peeled off:
Looks pretty good. A bit thin in some areas.
Started tapping on it with a screwdriver to test the adhesion. Had a couple sections fail:
No matter, time for round two:
Round two worked great. Ground some of the excess down with a Dremel and moved onto the throttle linkage. Had to drill a hole to accommodate the shortened plenum:
Since I was going for a more stripped down look, I removed the ugly rubber boots from the injectors:
I bent the fuel rail at this time. Don't do that; wait until it's on the bike. This hit the fan and had other clearance issues.
I replaced the fan thermoswitch with a coolant temp sensor. Unfortunately this is on the cold side of the thermostat. I drilled a small bypass hole to prevent the sensor from
lagging too far behind.
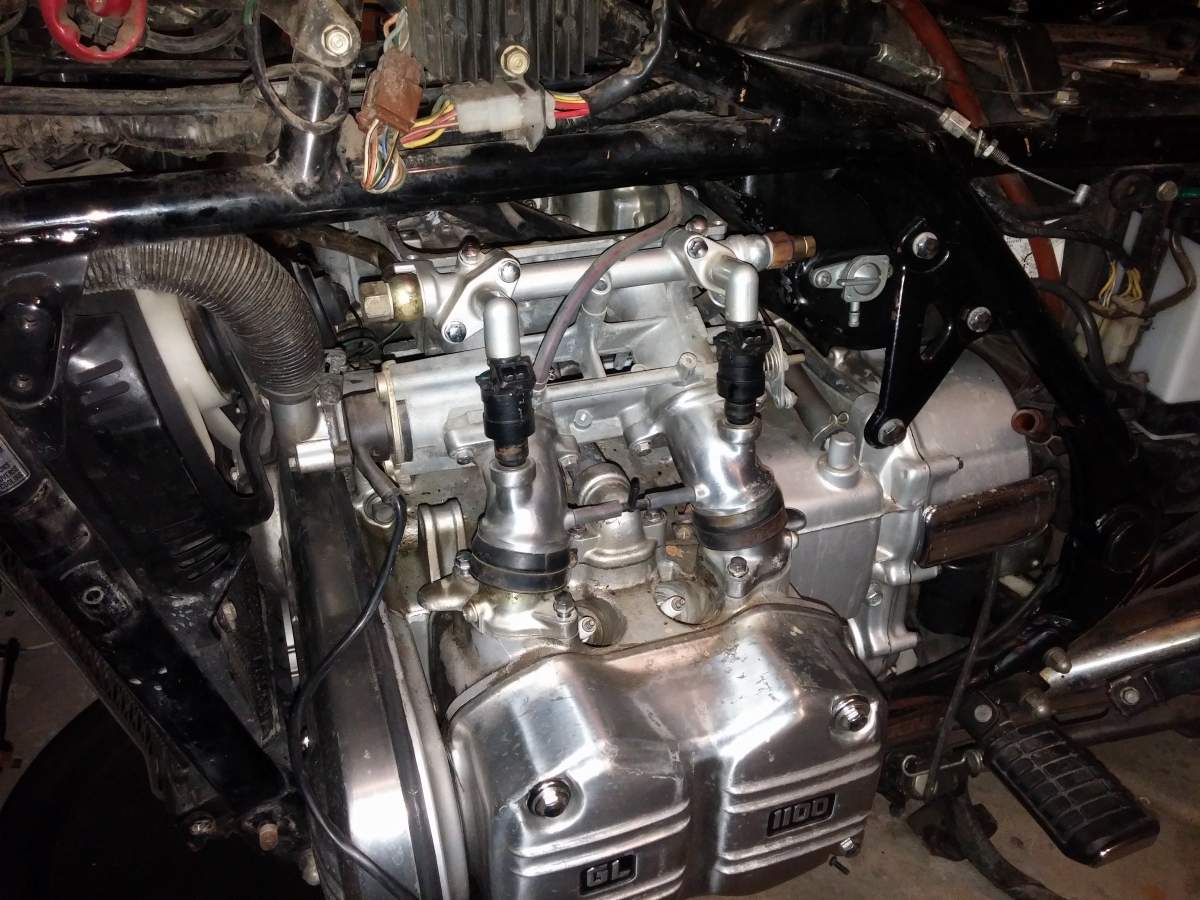
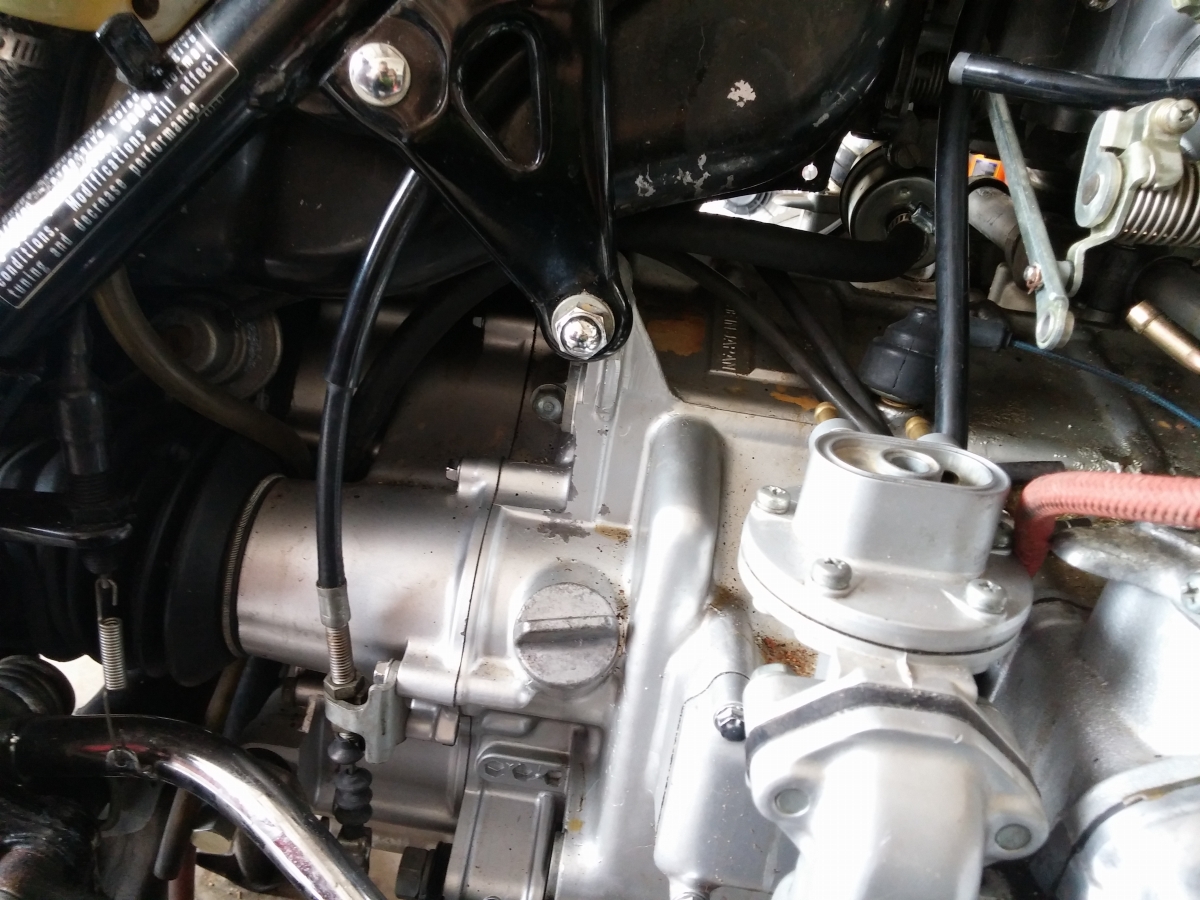
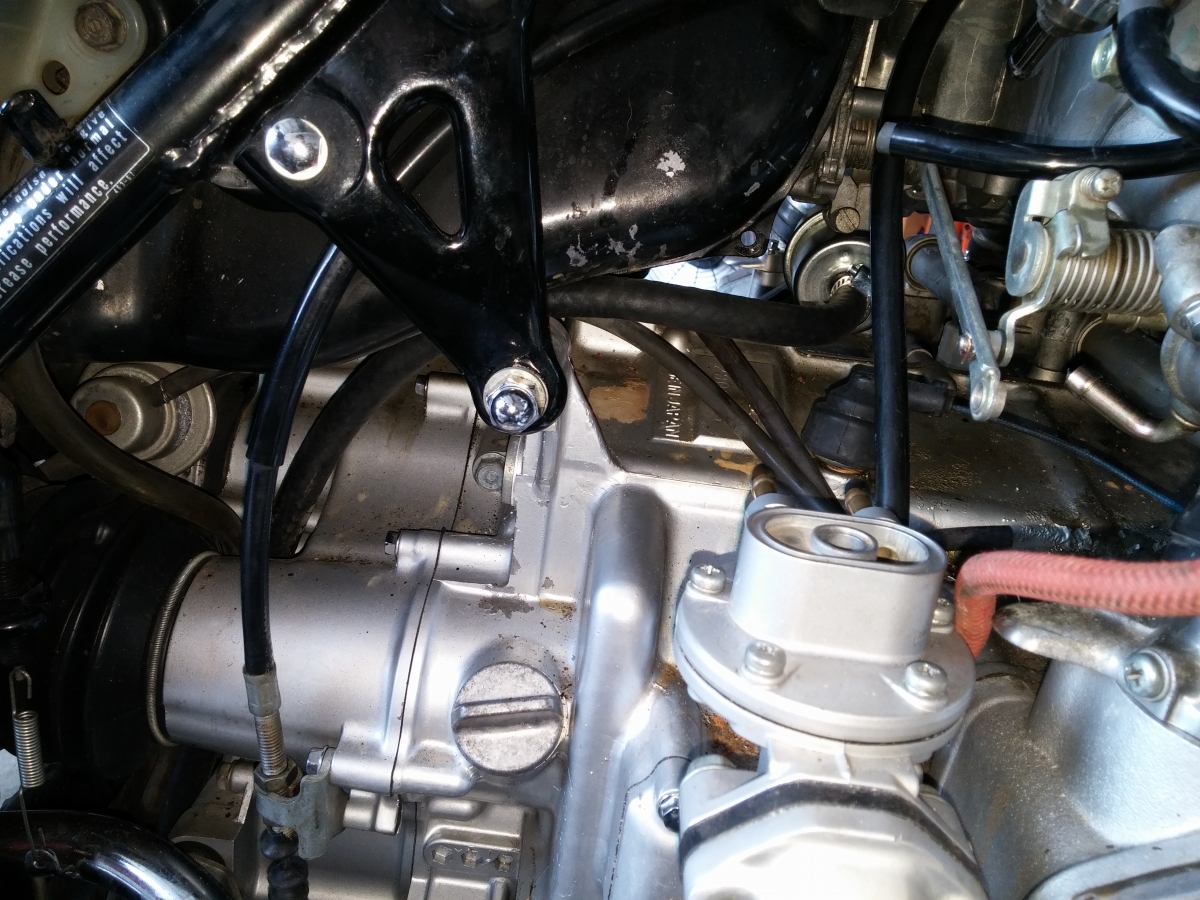
JB weld is dry, and now the plenum is bolted into place:
Making good progress:
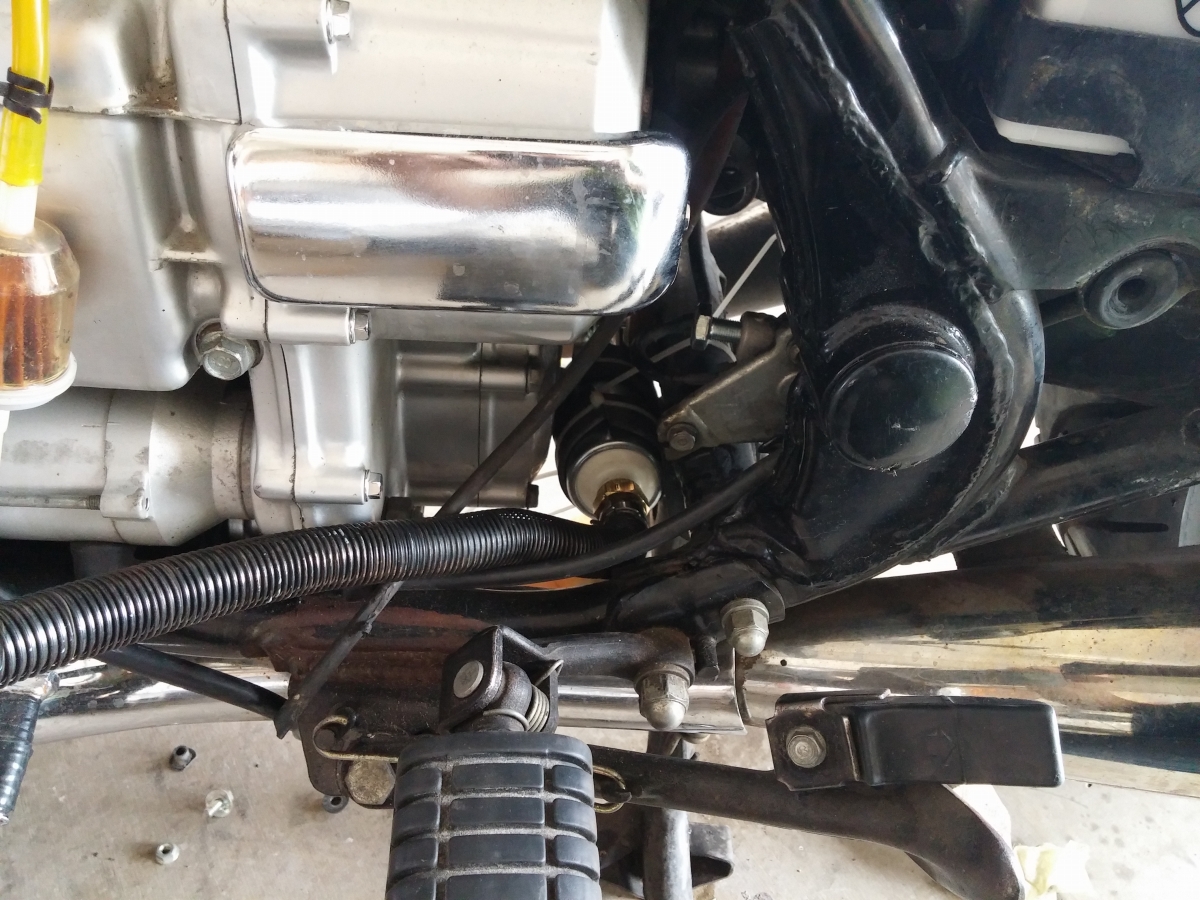
Mounted the fuel pump under the bike. It's tucked up in there higher than it looks. There's no way it could be hit by any road debris.
High pressure rated fuel filter:
Petcock size vs pump supply line:
Line from pump to filter, coming up from next to the driveshaft:
Sealed up a few emissions holes and began looking at the idle control. The junction boxes with the red hoses all had reed valves in them for some reason. I removed the reeds
so they're now free-flowing junctions. The hose at the top will go to a GM style stepper motor IACV.
IACV housing from diyautotune.com. Fits an early 90s Jeep Cherokee IACV:
Throttle cables connected with no modifications:
Airbox lid from a GL1200. Sectioned to match the plenum.
Tight squeeze:
Perfectly centered. Entering the home stretch now.
GL1200 air filter. Smaller hole is plugged, larger hole fits the intake air temp sensor.
No room for the airbox itself, but the filter fits in nicely:
I decided the petcock was too small to feed that fuel pump, so I bought a few 5/16 barbs:
Fuel return off the pressure regulator:
Fuel feed from the lowest point in the tank next to the air suspension:
Both fittings were threaded extremely tightly into drilled and tapped holes in the tank. I used JB weld as a threadlocker to keep them from leaking or ever moving. I've used
JB weld before in fuel-submerged applications and had no issues. Between the tightly threaded fit and the JB weld I've had no leaks.
Finding a spot for the O2 sensor:
Welded the O2 bung in place:
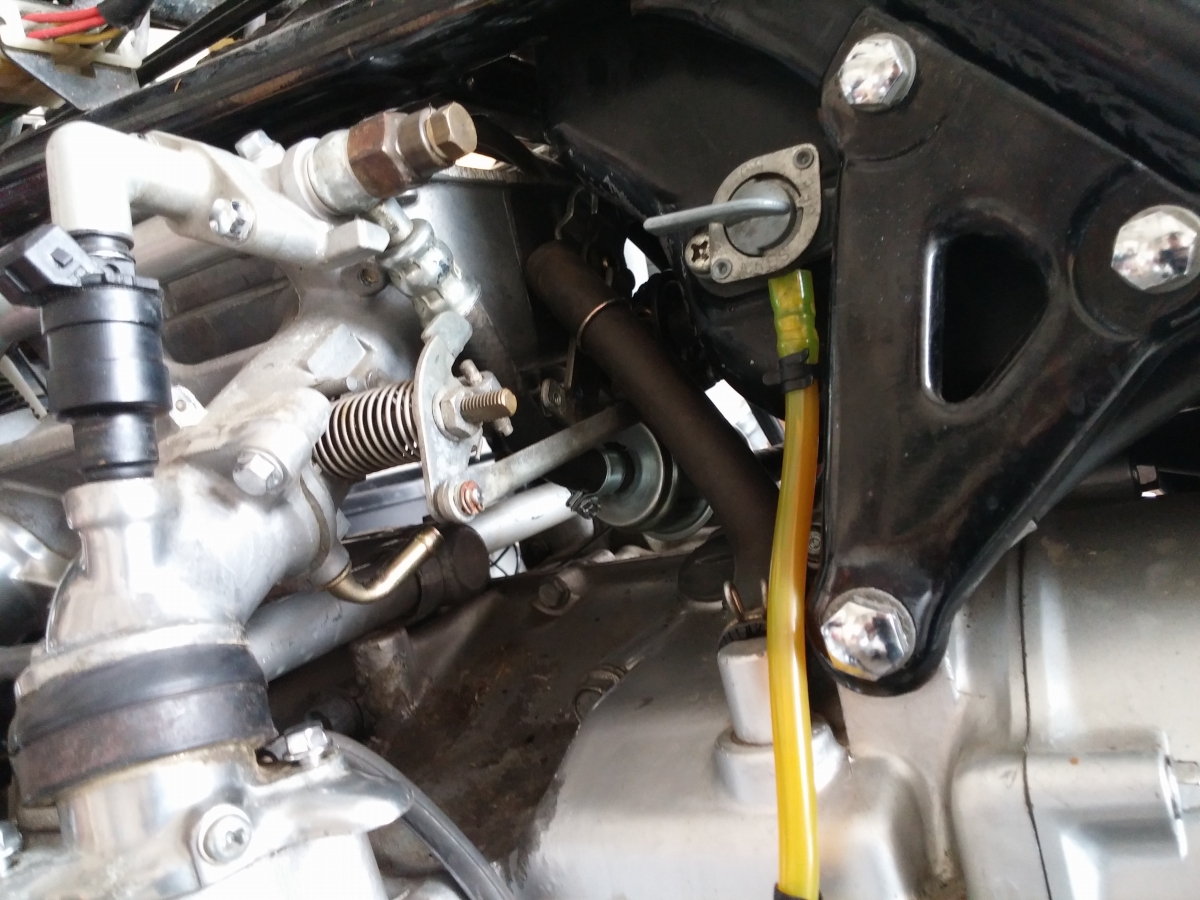
Bracket made for IACV housing on the front right motor mount:
Decided to put the Megasquirt here where it's accessible from the fake gas tank:
Relay panel. Left relay is for the radiator fan (now controlled by the ECU), right relay powers the Megasquirt, injectors, and O2 sensor (Innovate LC-2). There's a third
relay next to the battery for the fuel pump.
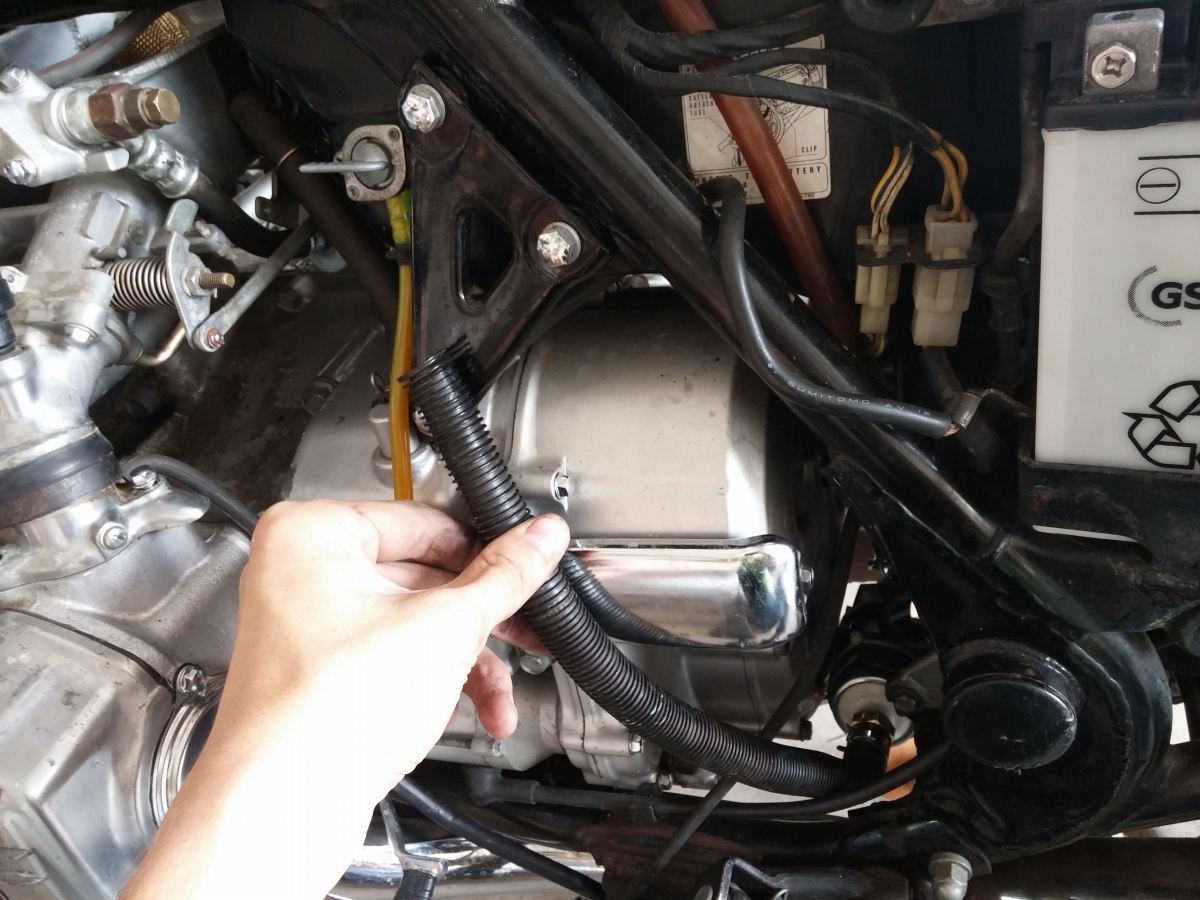
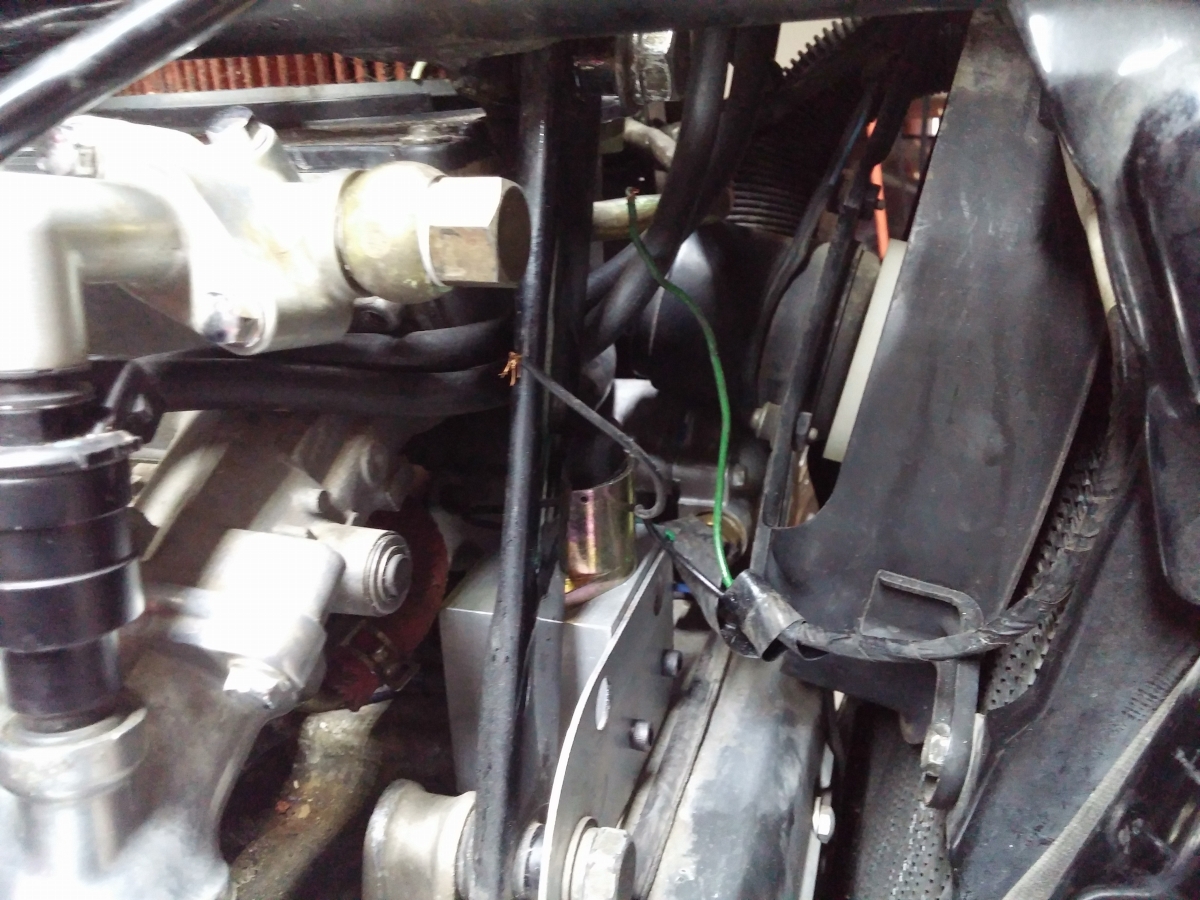
Wiring for the fan. This used to go to the thermoswitch.
These wires next to my relay panel go to the ignition coils. They'll work nicely for the MS's tach input.
Wiring harness complete. Intake air temp sensor threaded into drilled/tapped hole in filter.
Vacuum lines. This one at the base of the intake elbow crosses over the engine and goes to the pulse generator's vacuum advance.
And she runs!
Apologies for the blurry pic there. I'll get some videos uploaded soon. I'll post some info about the wiring and tuning a bit later.
 opcorn: